Breakfast in a hurry

Mornings are always a bit frenetic at my house.  I sleep-in until the very last minute and the husband can never leave soon enough(we commute together most days).  This combination makes for stressful mornings, so I do whatever I can to make the am more of a “grab and run.”  I started making a large portion of steel cut oats some time ago.  It preserves well and makes for a satisfying breakfast.

A double batch lasts five days between my husband and myself. I add eight cups of water to a pot and bring the water to boil. Once boiling, I add two cups of steel cut oats. Stir once and then wait until it comes back to a boil. Once it does, lower the heat to a simmer or a soft boil and stir occasionally.
Cook for twenty minutes or so(it’ll be thick but still runny).Take if off the heat and let sit until cool. 

Stir the water into the oats and pour it into a container where you can slice it into sections and refrigerate.

Ok, now you have breakfast for every morning of the week.  Scoop about a half a cup into a bowl or microwaveable container, add a little milk and heat in a microwave(30 seconds to a minute). Stir and add your goodies.  Mine will be a sliced banana, mixed, raw nuts and a sprinkle of dark chocolate. It’s a pretty delicious way to start my day, and I’m full for four hours plus. 

Note: I buy my organic, steel cut oats from my local co-op.  A 5 lb bag is around $9.00, and Amazon sells Bob’s Red Mill for about $18.77 for 6 lbs. Bob’s Red Mill Steel Cut Oats 

Let’s get crackin’

I remember reading about these crackers from one of the books my husband blames my DIY bug(obsession) on. We were taking an extended weekend for our annual fill of Shakespeare and staying in a small, rustic cabin in the southwestern part of WI. Did I mention it was small?  The “loft” ceiling was very low and we must have averaged 6-8 knocks on the head in just the first hour we were there.  I think I muttered something about being concussed before the weekend even started. To combat a sore noggin, I dug into my newly purchased ebook, America’s Test Kitchen-DIY

Make crackers?  The thought never occurred to me until I opened the Test Kitchen’s wonderful book.  The recipe was for Lavash crackers, and when I cracked a piece off coming out of the oven, I was hooked. When I make a foundation item like mustard, bread, or cheese, I weigh the labor against the final product. Was the hassle worth the end-result?  My husband, who turns every situation into a mathematical word- problem, measures it by price.  I don’t think price tells the whole picture, so I tend not to use that as a measurement. Making crackers is a bit more labor intensive for something I can buy for a couple of bucks in the store, but after making them, I am not sure I can buy something this good.

Add semolina, whole wheat, all purpose flour and salt to a stand mixer.

Add warm water and evoo and knead for 7 to 9 minutes

Knead dough by hand and divide into four balls. I weighed the ball after kneading and made sure I divided the dough into four equal pieces.
Spray evoo on the dough and wrap in plastic wrap. Let rest for one hour.
Invert a jelly roll pan, put something underneath to keep it from sliding, and roll out the dough.  Using a fork, indent every two inches.
Brush the egg, and spread the sesame seeds, sea salt and pepper. Gently press into the dough. 
Ummm, delicious crackers I couldn’t keep my fingers from out of. 
This recipe is taken from, America’s Test Kitchen-DIY:
Lavash Crackers(Makes about 1 pound)
11/2 cups semolina flour
3/4 cups whole wheat flour
3/4 cups all-purpose flour
3/4 teaspoon salt
1 cup warm water
1/3 cup extra-virgin olive oil, plus extra for brushing
1 large egg
2 tablespoons sesame seeds
2 tablespoons flake sea salt
1 teaspoon coarsely ground pepper
1. Using stand mixer fitted with dough hook, mix flours and salt on low speed. Gradually add water and oil and knead until smooth and elastic, 7-9 minutes. Turn dough out onto lightly floured counter and knead by hand to form smooth, round ball. Divide dough into 4-equal pieces, brush with oil, and cover with plastic wrap. Let rest at room temperature for 1 hour.
2. Adjust oven rack to upper-middle and lower-middle positions and heat oven to 425 degrees. Lightly coat two 18 by 13-inch inverted(or rimless) baking sheets with vegetable oil spray.
3. Press 1 piece of dough(keep remaining dough covered with plastic), into small rectangle, then transfer to one of prepared sheets. Using rolling pin and hands, roll and stretch dough evenly to edges of sheet. Using fork, poke holes in dough at 2-inch intervals. Repeat with second piece of dough on second prepared sheet.
4. Brush rolled-out dough with beaten egg, sprinkle with sesame seeds, sea salt and pepper, then gently press seasonings into dough. Bake crackers until deeply golden brown, 15 to 18 minutes, switching and rotating sheets halfway through baking. Transfer crackers to wire rack and let cool completely. Repeat rolling, seasoning, and baking with remaining 2 pieces of dough, making sure baking sheets are completely cool before rolling out dough.
5. Break cooled lavash crackers into large pieces. Lavash can be stored at room temperature in airtight container for up to 2 weeks. 
Make these for your next party and you won’t need dip. 

Cold and dry equals Homemade Granola

As the temperature drops into single digits here in the Midwest, some folks crave a big bowl of chili while others dream of a plate of cheese dripping, mac and cheese. Well, not me.  As the thermometer drops and the moisture sucking air moves in, I gleefully announce, “I’m making granola.”

So, I happily made granola last night until I realized, I had not bought any dates. Too darn lazy(and cold)to go to my local co-op, I continued-on with figs, apricots, raisins, and cherries.  Still, it’s just not the same granola without medjool dates.

I’ve been making this granola off and on since the late 90’s.  I pulled it out of the Milwaukee Journal Sentinel, and I said, “I can do this.”  It isn’t a cheap endeavor but neither is buying granola of this quality.  Besides, it tastes great over my often soupy, and tart, raw-milk yogurt.

These are the dry ingredients: A mix of chopped, raw pecans and cashews, coconut flakes, raw sunflower seeds, a mix of chopped figs and apricots, old fashioned oats, cherries and raisins, and golden flax seeds.

After preparing the dry, I move on to heating up on low: Vanilla, maple syrup-Grade B, coconut oil, honey(buy local if you can), and cinnamon. Whisk until fully combined.

After the wet ingredients are warmed, stir into dry ingredients except the dried fruit. Add the dried fruit last.

Prepare two jelly-roll pans and line with foil(or not–I like easy clean-up). I do not add non-stick spray even though the recipe recommends it.

Heat in a 350 degree oven for five minutes, pull out, stir and return back to oven, switching the rack placement. To keep it straight, the pan I pull from the top rack always goes on the right and the bottom goes on the left.  I then know the right goes on the bottom rack while the left goes on the top. You do this three times. I do not stir the granola after the final five minutes–I just leave it.  I leave it be for at least a couple of hours or even overnight. Dry air keeps the granola crunchy and downright delicious.

Cranberry Raisin Granola
3 C old-fashioned rolled oats
1/3 C sliced almonds 
1/3 C sunflower seeds
2 Tbls flax seed
1/4 C maple syrup
1/4 C mild flavored honey
2 tsp. canola oil
1 tsp. ground cinnamon
1 tsp. vanilla extract
1/2 C dried cranberries
1/2 C raisins
1/2 C chopped pitted dates

Preheat oven to 350 degrees

In bowl, combine oats, almonds, sunflower seeds, and flax seeds.

In small saucepan, heat maple syrup, honey, oil, cinnamon and vanilla until mixture is warm, 2 to 3 minutes. Stir, then pour warm liquid over oat mixture. Stir with rubber spatula until oats are moist and coated evenly. Mix in dried fruits.

Cover jellyroll pan with foil. Coat lightly with vegetable oil spray. Spread granola to cover pan in even layer.

Bake 5 minutes. Remove from oven. Stir and turn granola, to let it dry and color evenly. Repeat, stirring every 5 minutes, until oats are lightly browned, about 15 minutes.  They will still feel slightly soft and moist. Cool granola in pan; it will get crisp. Stored in airtight container, granola keeps 1-2 weeks.

As you can see, I changed up the ingredients a little bit.  I’m all about the pizazz, and I have it with pecans, cashews, cherries and coconut.

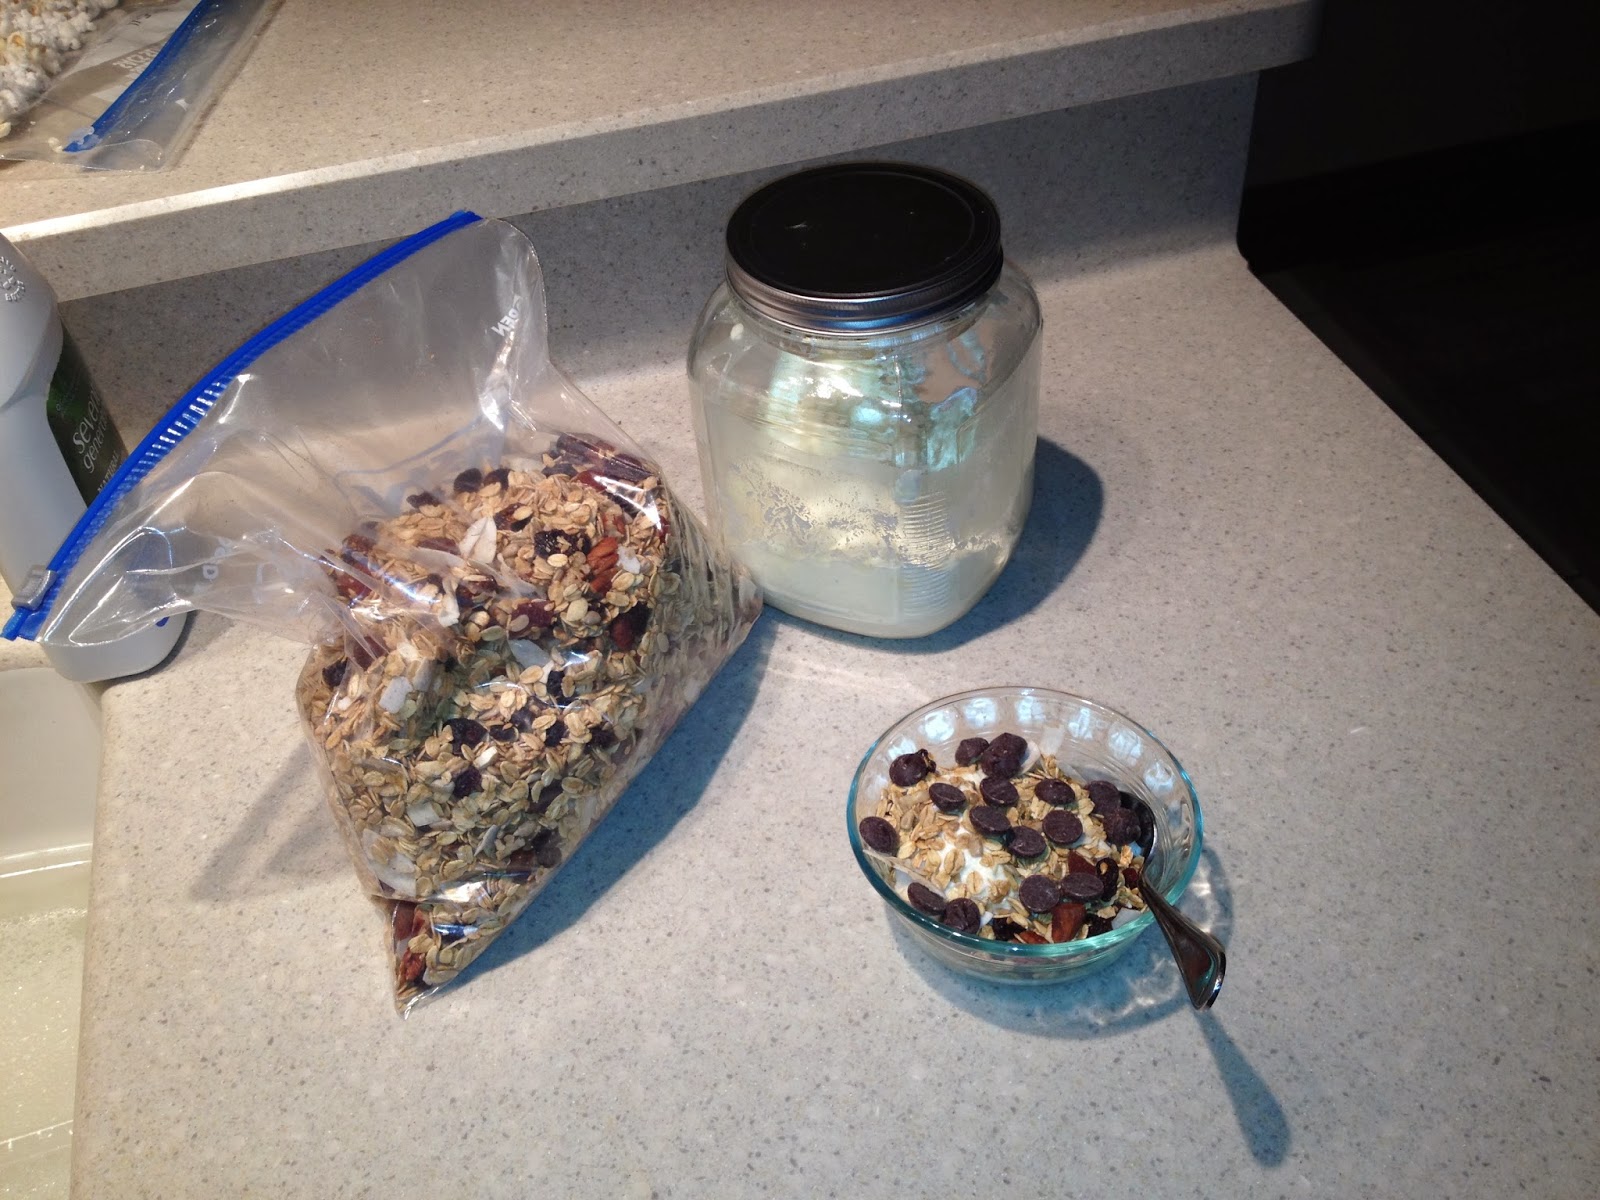
Granola, yogurt and dark chocolate chips=YUM!

I always double the recipe and refrigerate–it stays fresh and crisp longer. I used all organic ingredients except the honey. This is a healthier granola recipe but pay attention to the serving size of a half a cup.

Stay warm and be sure to make your kitchen smell delicious soon with this recipe.

Fermenting 101–Water Kefir

A facebook friend, a yogi in Colorado, posted a link about the benefits of water kefir. I read it, and quickly ordered the grains from someone referred to as the kefirlady. For $20.00, I received live kefir grains, directions, and a tablespoon or so of organic sugar(turbinado or sucunat).  And so began my trials and tribulations with water kefir grains.

What drew me to water kefir was it mimicked soda/pop, and it was a probiotic that will aid in digestion and elimination. Since I was giving up soda(that’s how we say it here), and I could always use some digestive help, I was intrigued.  Let me assure you, it was not love at first taste.  It was live bacteria, and I needed to nurture them with sugar, warmth and delicate handling–oh, great. Oh, and did I mention they have an odor about them?  Trust me, nothing like dairy kefir but that’s for another blog. I went out and bought organic, brown sugar and bottled water, and I treated them gently, but I continued to “lose” grains at an alarming rate. I thought my stainless steel strainer was to blame, so I ordered a tighter weave, plastic strainer from Amazon 4.
I then added organic molasses to the mix and also some organic, dried fruit(A tip on dried fruit: It’s messy and a pain to clean from your grains. Leave it in your kefir container for a day only or tie it up in cheese cloth). I still lost grains and had to order more. Where did my grains go, you ask?  Well, as far as I can figure, a fair amount went down the sink while the others dissolved due to not enough food. Since my baking with yeast turned out to be gigantic failures, it appeared my luck with live bacteria was equally pathetic. I would not give up!

I have tweaked my methods and I have had the most success when I change them every 4-5 days, and add four tablespoons of Whole Cane Sugar with two tablespoons of organic molasses in 6-8 cups bottled water.  Another addition to assure success is to add the dried fruit for the last few days of fermenting-this energizes the grains with more sugar. Be sure and rinse the boys when you refresh the recipe and use glass to store them in and non-metal to handle the grains.

 Water Kefir

DSC_0848Here is the outcome from my last batch.  The grains have been soaking for five days with figs thrown in for the last two days. Notice the natural carbonation with grains floating on top(the large pieces are the figs).

DSC_0846

In this photo are the items needed to change-out the grains. The items are pretty obvious, but I want to stress the nylon strainer.  I was losing a lot of grains through my other larger holed strainers until I found this strainer on Amazon .It works like a charm.

DSC_0853I’ve strained the grains and saved the liquid in the water container. The saved water kefir will go into the fridge and consumed once chilled. Never put your grains into the fridge unless you want them to go dormant.  I’ve heated the water to take the chill off, added 3 Tbls of organic sugars and did a generous pour of blackstrap molasses. The molasses is what is making this future batch so much darker.   I gently spoon the grains into the sugar water and stir.

DSC_0855 DSC_0856

I attach a paper towel and rubber band and place the jar in the bottom oven. It will sit in the cold oven for the 4-5 days.

It takes a little getting used to, but I have learned to love it.  I’ve been making water kefir for three years, and I drink about 8 ozs. at night mixed with powdered magnesium, before I go to bed.