A facebook friend, a yogi in Colorado, posted a link about the benefits of water kefir. I read it, and quickly ordered the grains from someone referred to as the kefirlady. For $20.00, I received live kefir grains, directions, and a tablespoon or so of organic sugar(turbinado or sucunat). And so began my trials and tribulations with water kefir grains.
What drew me to water kefir was it mimicked soda/pop, and it was a probiotic that will aid in digestion and elimination. Since I was giving up soda(that’s how we say it here), and I could always use some digestive help, I was intrigued. Let me assure you, it was not love at first taste. It was live bacteria, and I needed to nurture them with sugar, warmth and delicate handling–oh, great. Oh, and did I mention they have an odor about them? Trust me, nothing like dairy kefir but that’s for another blog. I went out and bought organic, brown sugar and bottled water, and I treated them gently, but I continued to “lose” grains at an alarming rate. I thought my stainless steel strainer was to blame, so I ordered a tighter weave, plastic strainer from Amazon 4.
I then added organic molasses to the mix and also some organic, dried fruit(A tip on dried fruit: It’s messy and a pain to clean from your grains. Leave it in your kefir container for a day only or tie it up in cheese cloth). I still lost grains and had to order more. Where did my grains go, you ask? Well, as far as I can figure, a fair amount went down the sink while the others dissolved due to not enough food. Since my baking with yeast turned out to be gigantic failures, it appeared my luck with live bacteria was equally pathetic. I would not give up!
I have tweaked my methods and I have had the most success when I change them every 4-5 days, and add four tablespoons of Whole Cane Sugar with two tablespoons of organic molasses in 6-8 cups bottled water. Another addition to assure success is to add the dried fruit for the last few days of fermenting-this energizes the grains with more sugar. Be sure and rinse the boys when you refresh the recipe and use glass to store them in and non-metal to handle the grains.
Water Kefir
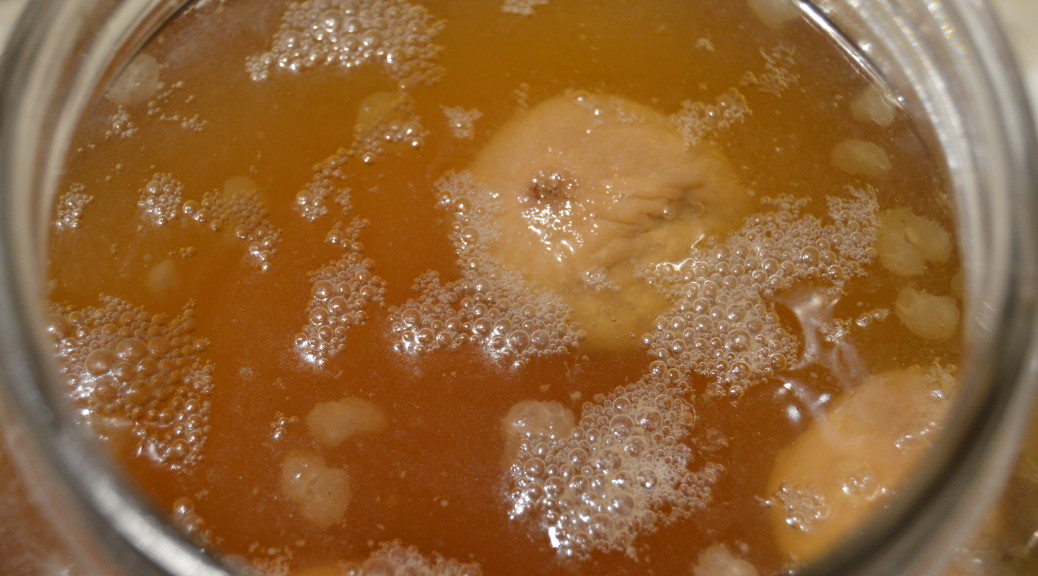
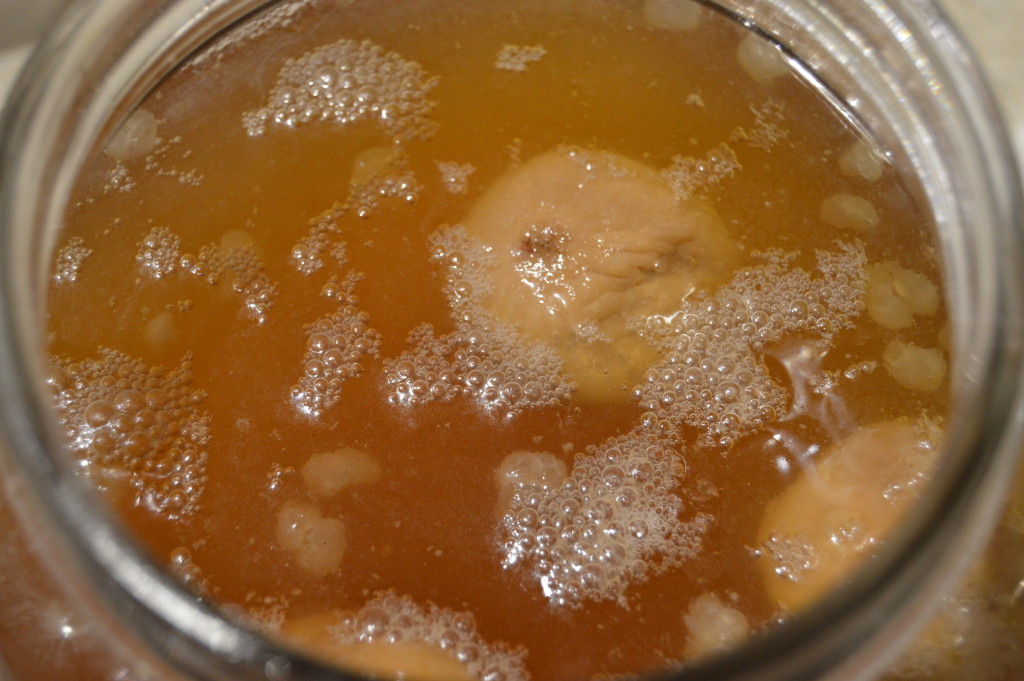 Here is the outcome from my last batch. The grains have been soaking for five days with figs thrown in for the last two days. Notice the natural carbonation with grains floating on top(the large pieces are the figs).

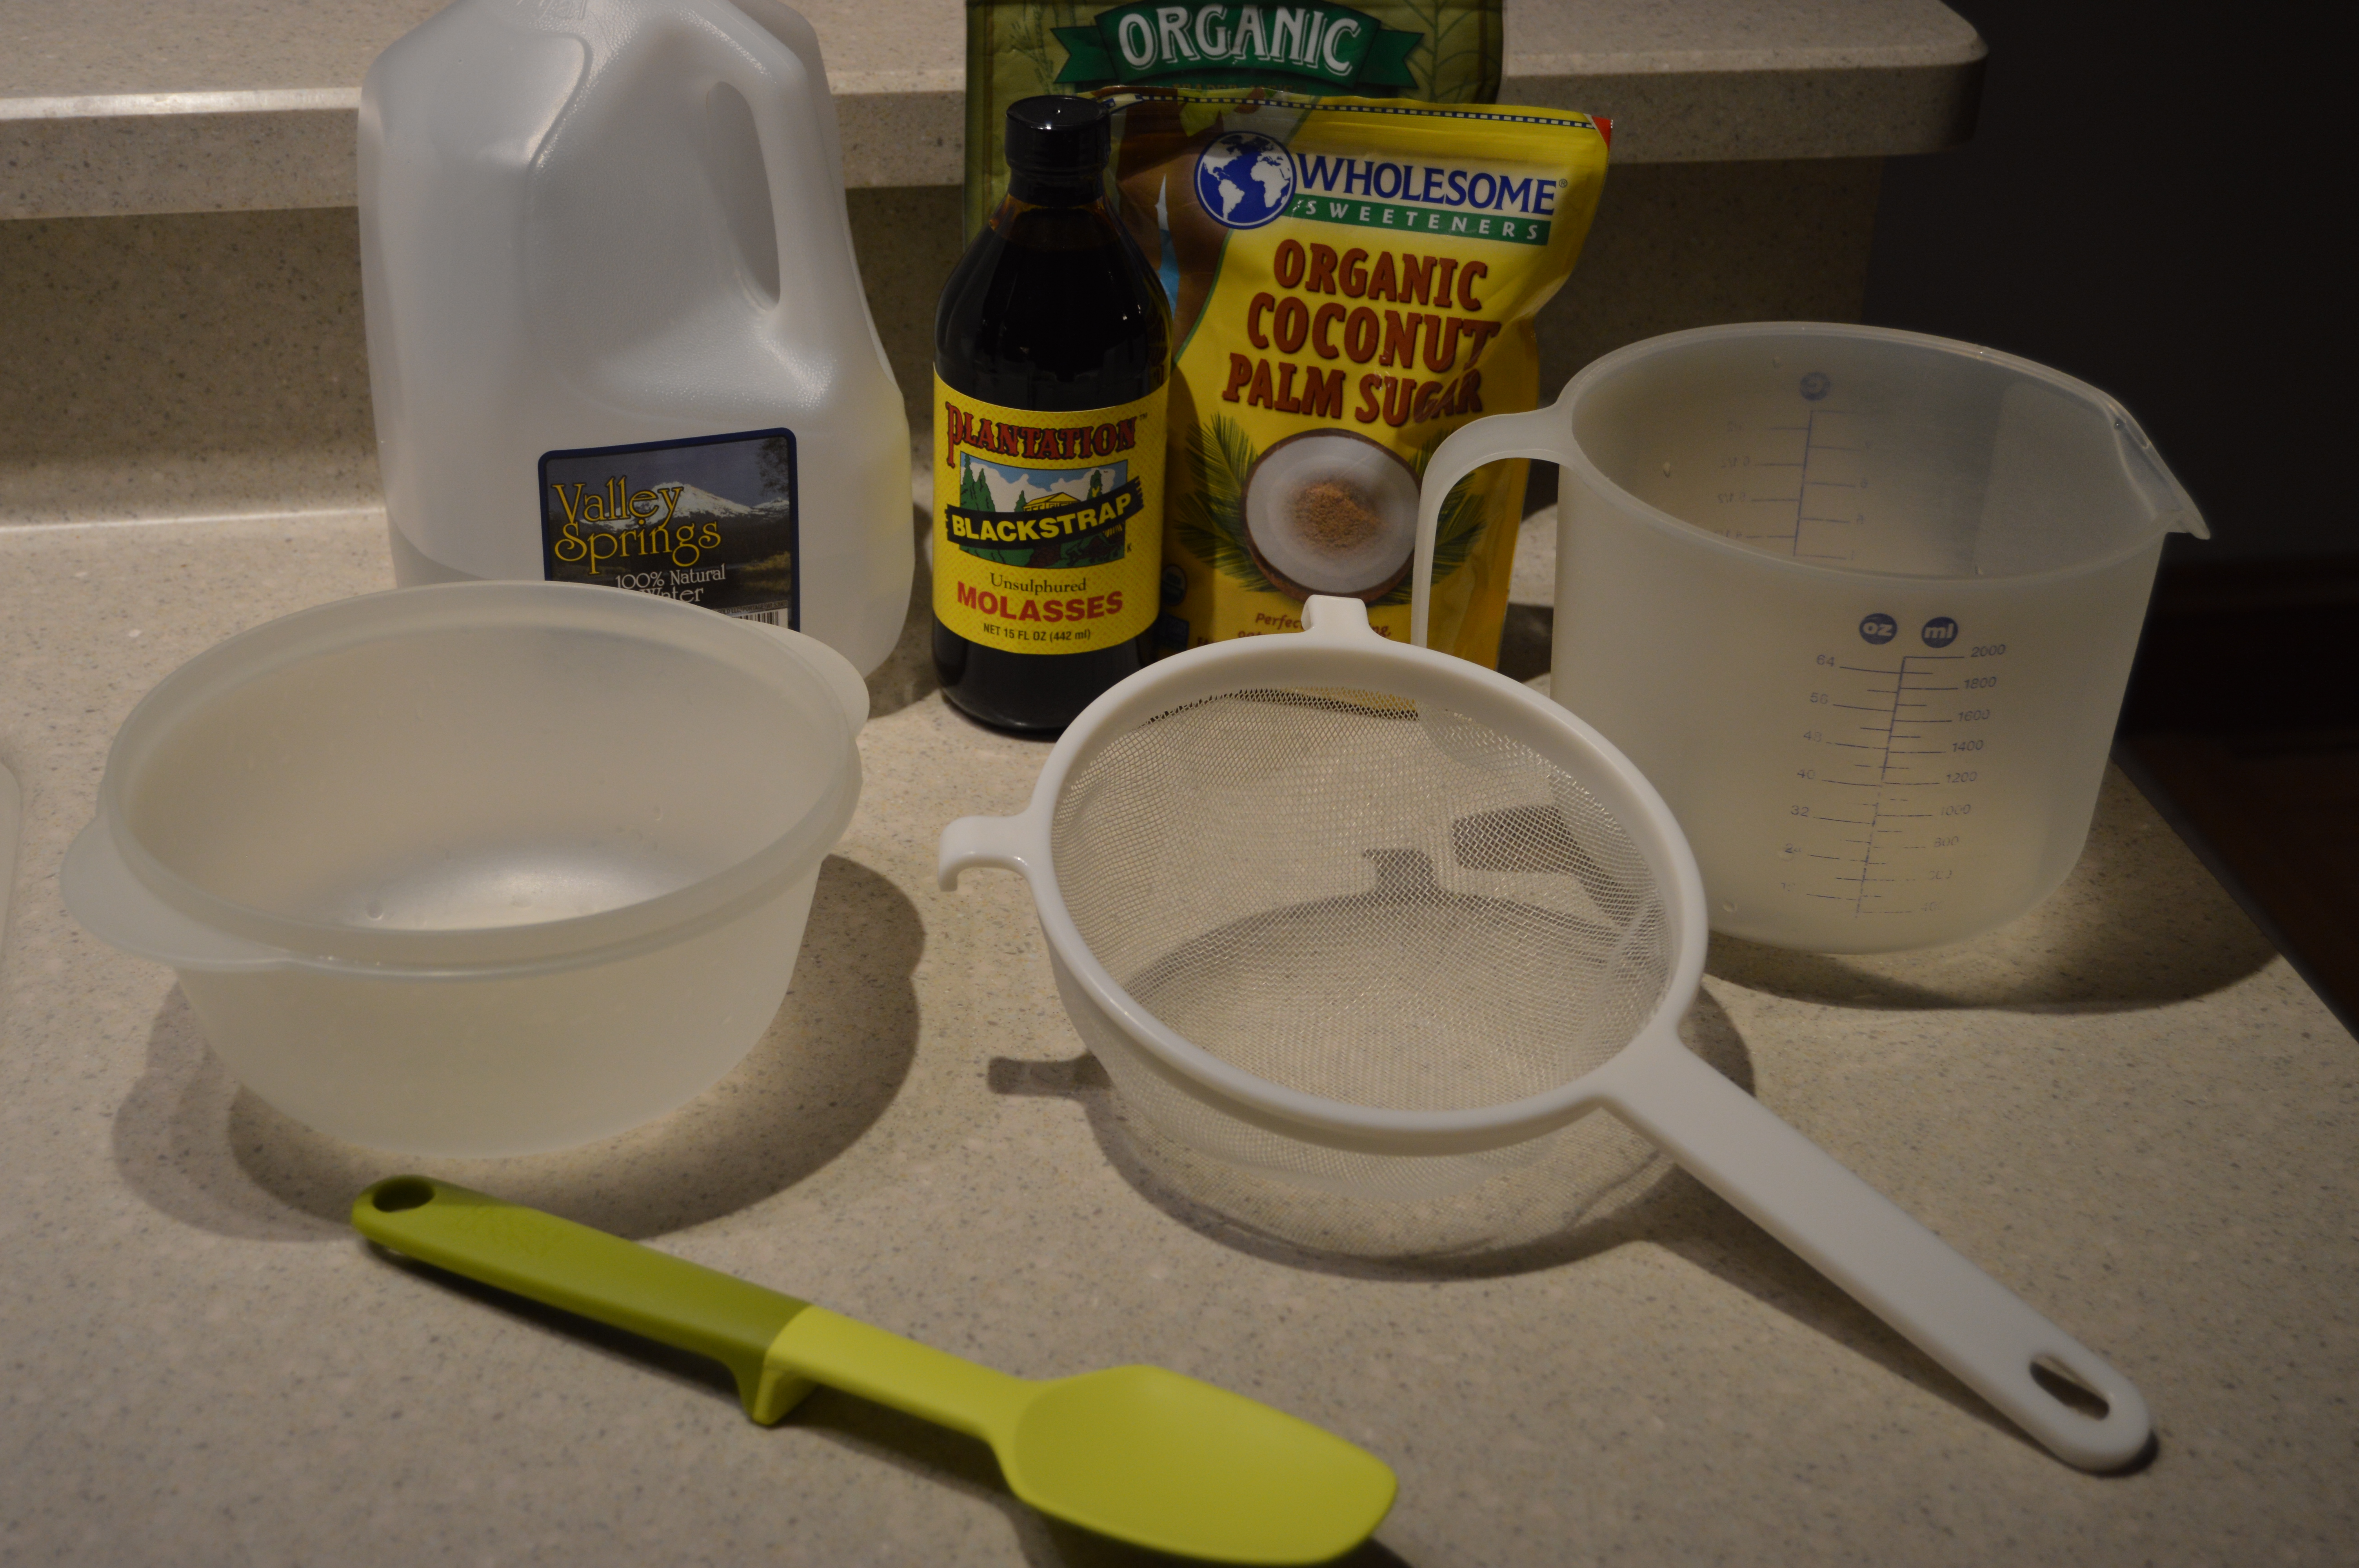
In this photo are the items needed to change-out the grains. The items are pretty obvious, but I want to stress the nylon strainer. I was losing a lot of grains through my other larger holed strainers until I found this strainer on Amazon .It works like a charm.
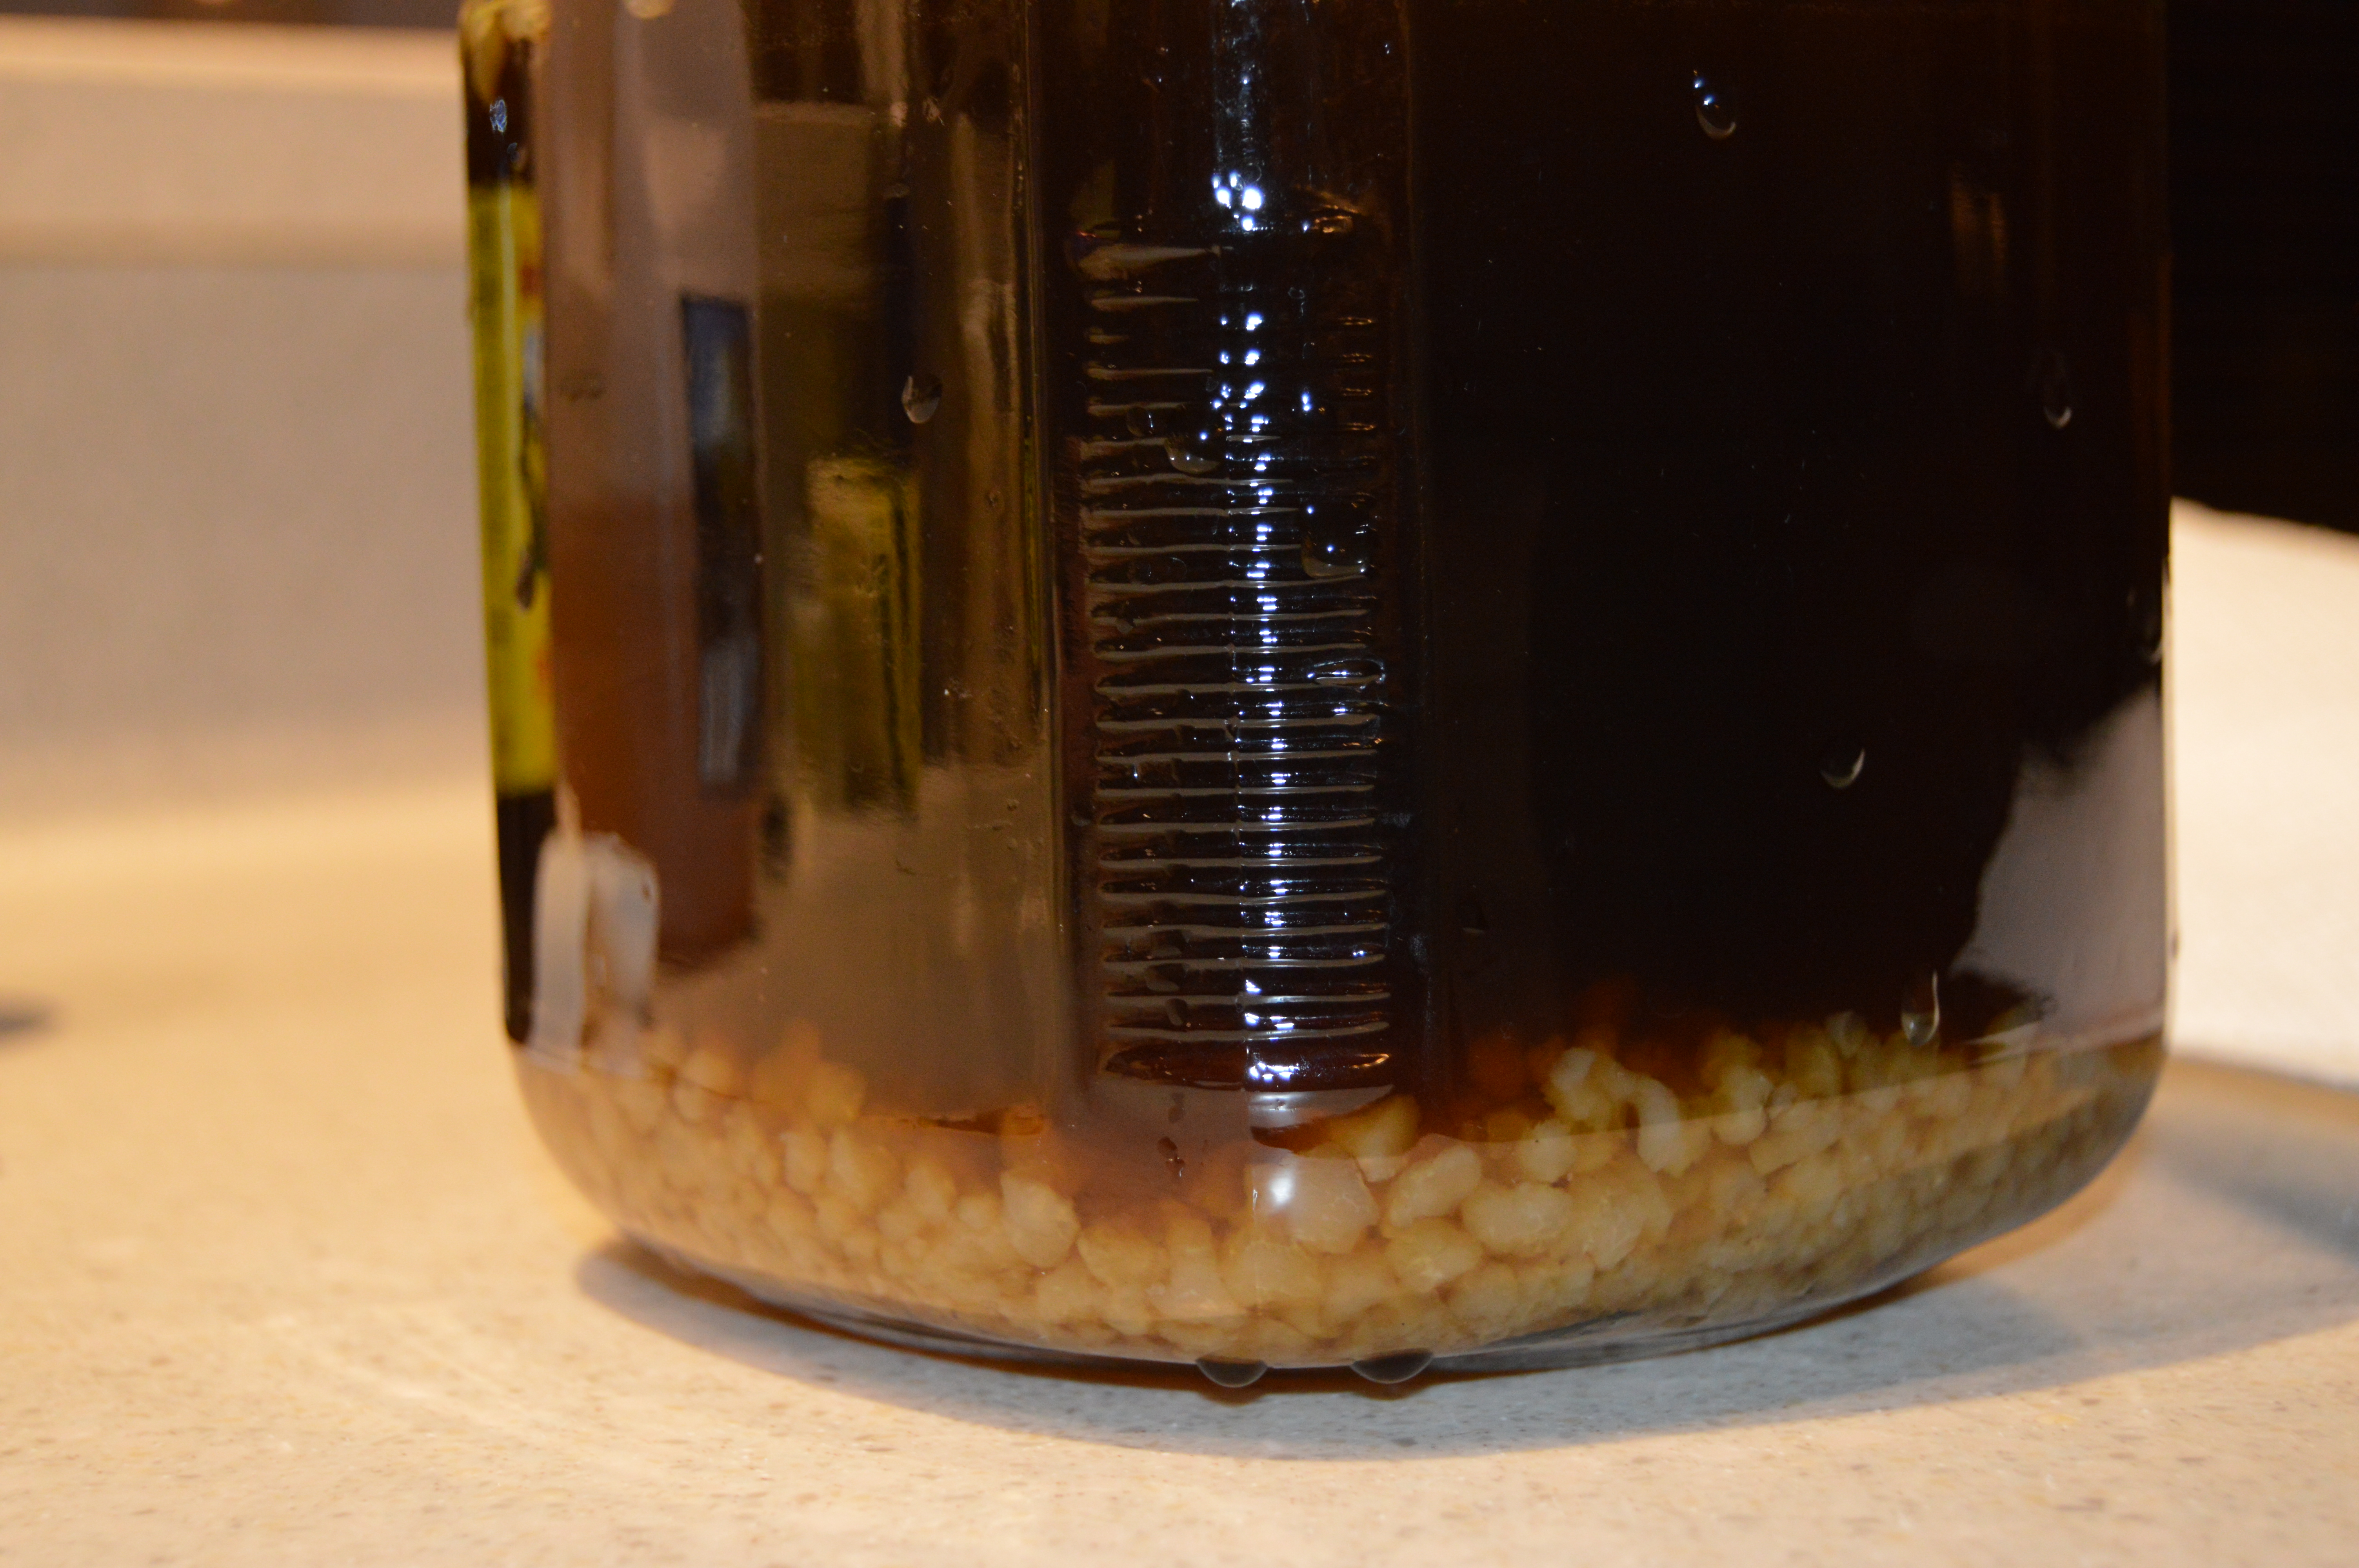
 I’ve strained the grains and saved the liquid in the water container. The saved water kefir will go into the fridge and consumed once chilled. Never put your grains into the fridge unless you want them to go dormant. I’ve heated the water to take the chill off, added 3 Tbls of organic sugars and did a generous pour of blackstrap molasses. The molasses is what is making this future batch so much darker. I gently spoon the grains into the sugar water and stir.


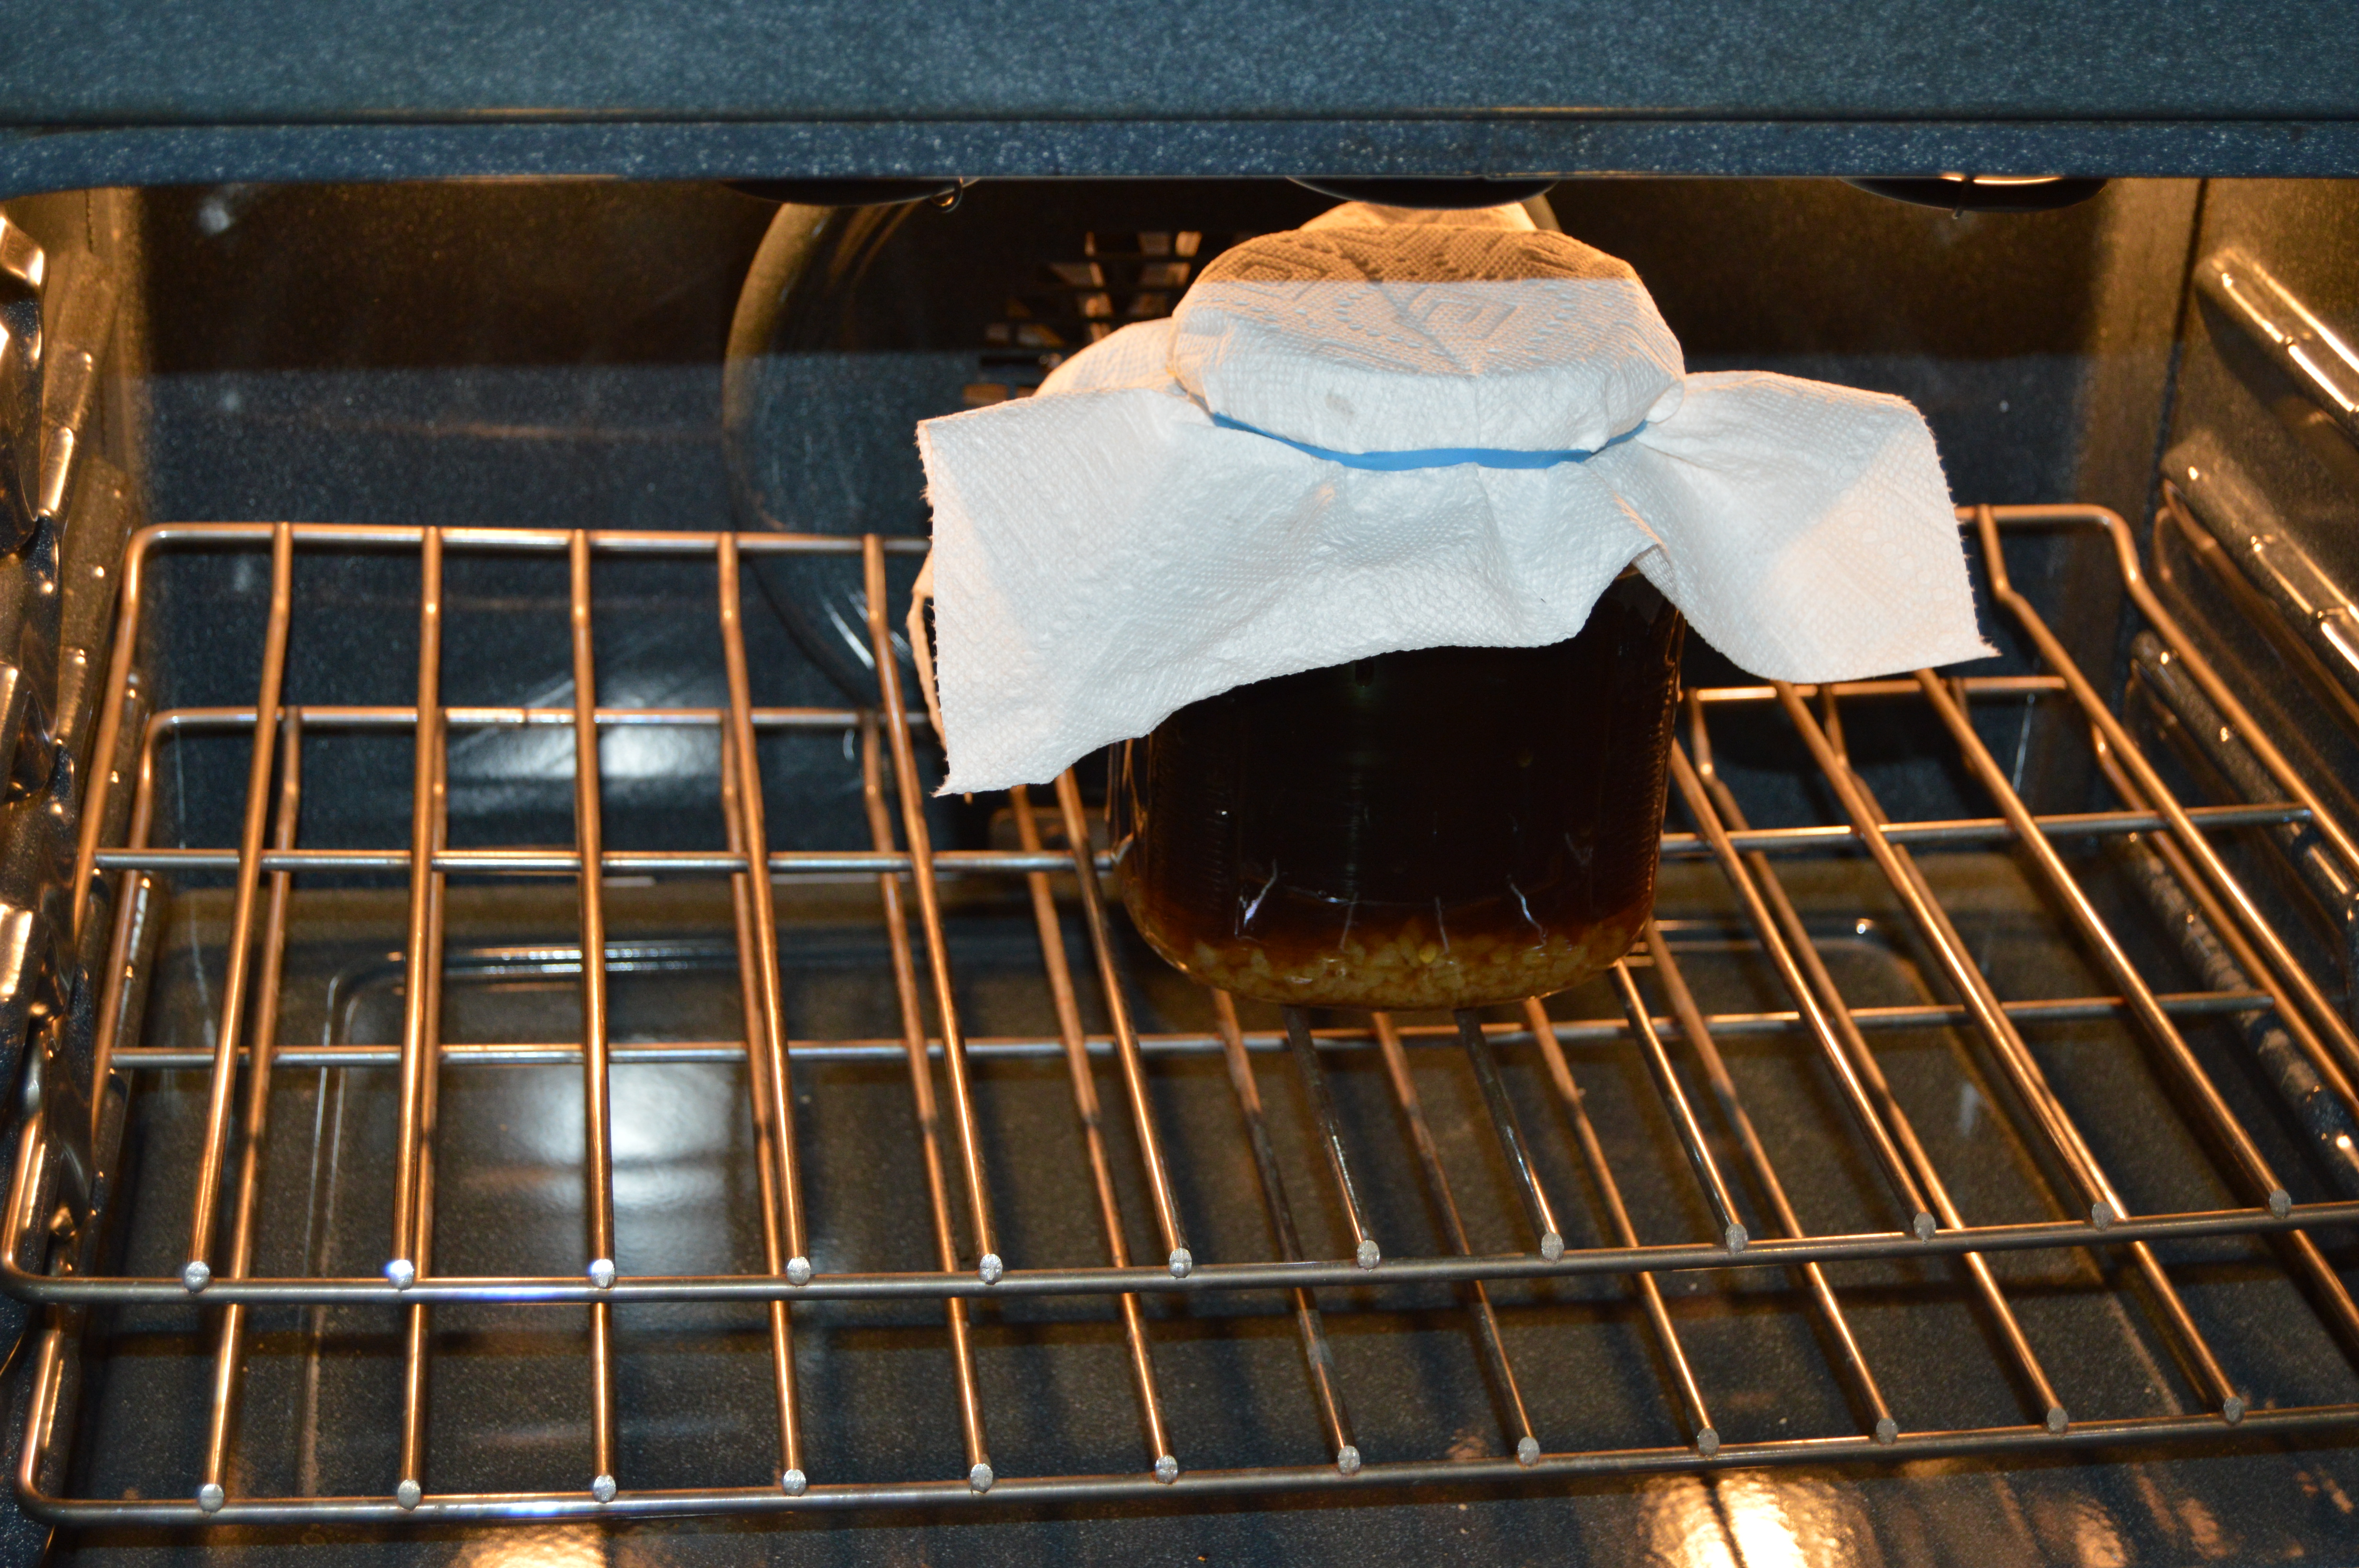
I attach a paper towel and rubber band and place the jar in the bottom oven. It will sit in the cold oven for the 4-5 days.
It takes a little getting used to, but I have learned to love it. I’ve been making water kefir for three years, and I drink about 8 ozs. at night mixed with powdered magnesium, before I go to bed.