Easy Crock-Pot Apple Butter

This is a continuation of what I did with forty pounds of fresh, organic apples  hubby and I picked a few weeks ago.  He requested apple butter to be one of the results of the apple trip, and I couldn’t refuse.  But honestly, I never knew this was a “thing” until I met my hubby.  I am guessing his Missouri -born mom made it a time or two when he was a boy.  The stuff is good, but I look at it and wonder what to do with it.  The hubby uses it like a jam, but I see me pouring this over yogurt, ice cream or a bundt cake.  It has a lot of spice/flavor so whatever I add it to better be boring. Once you prep the apples, this recipe definitely goes in the “easy” category.  And another bonus is how good this makes the house smell for 10 hours.

DSC_0780DSC_0778
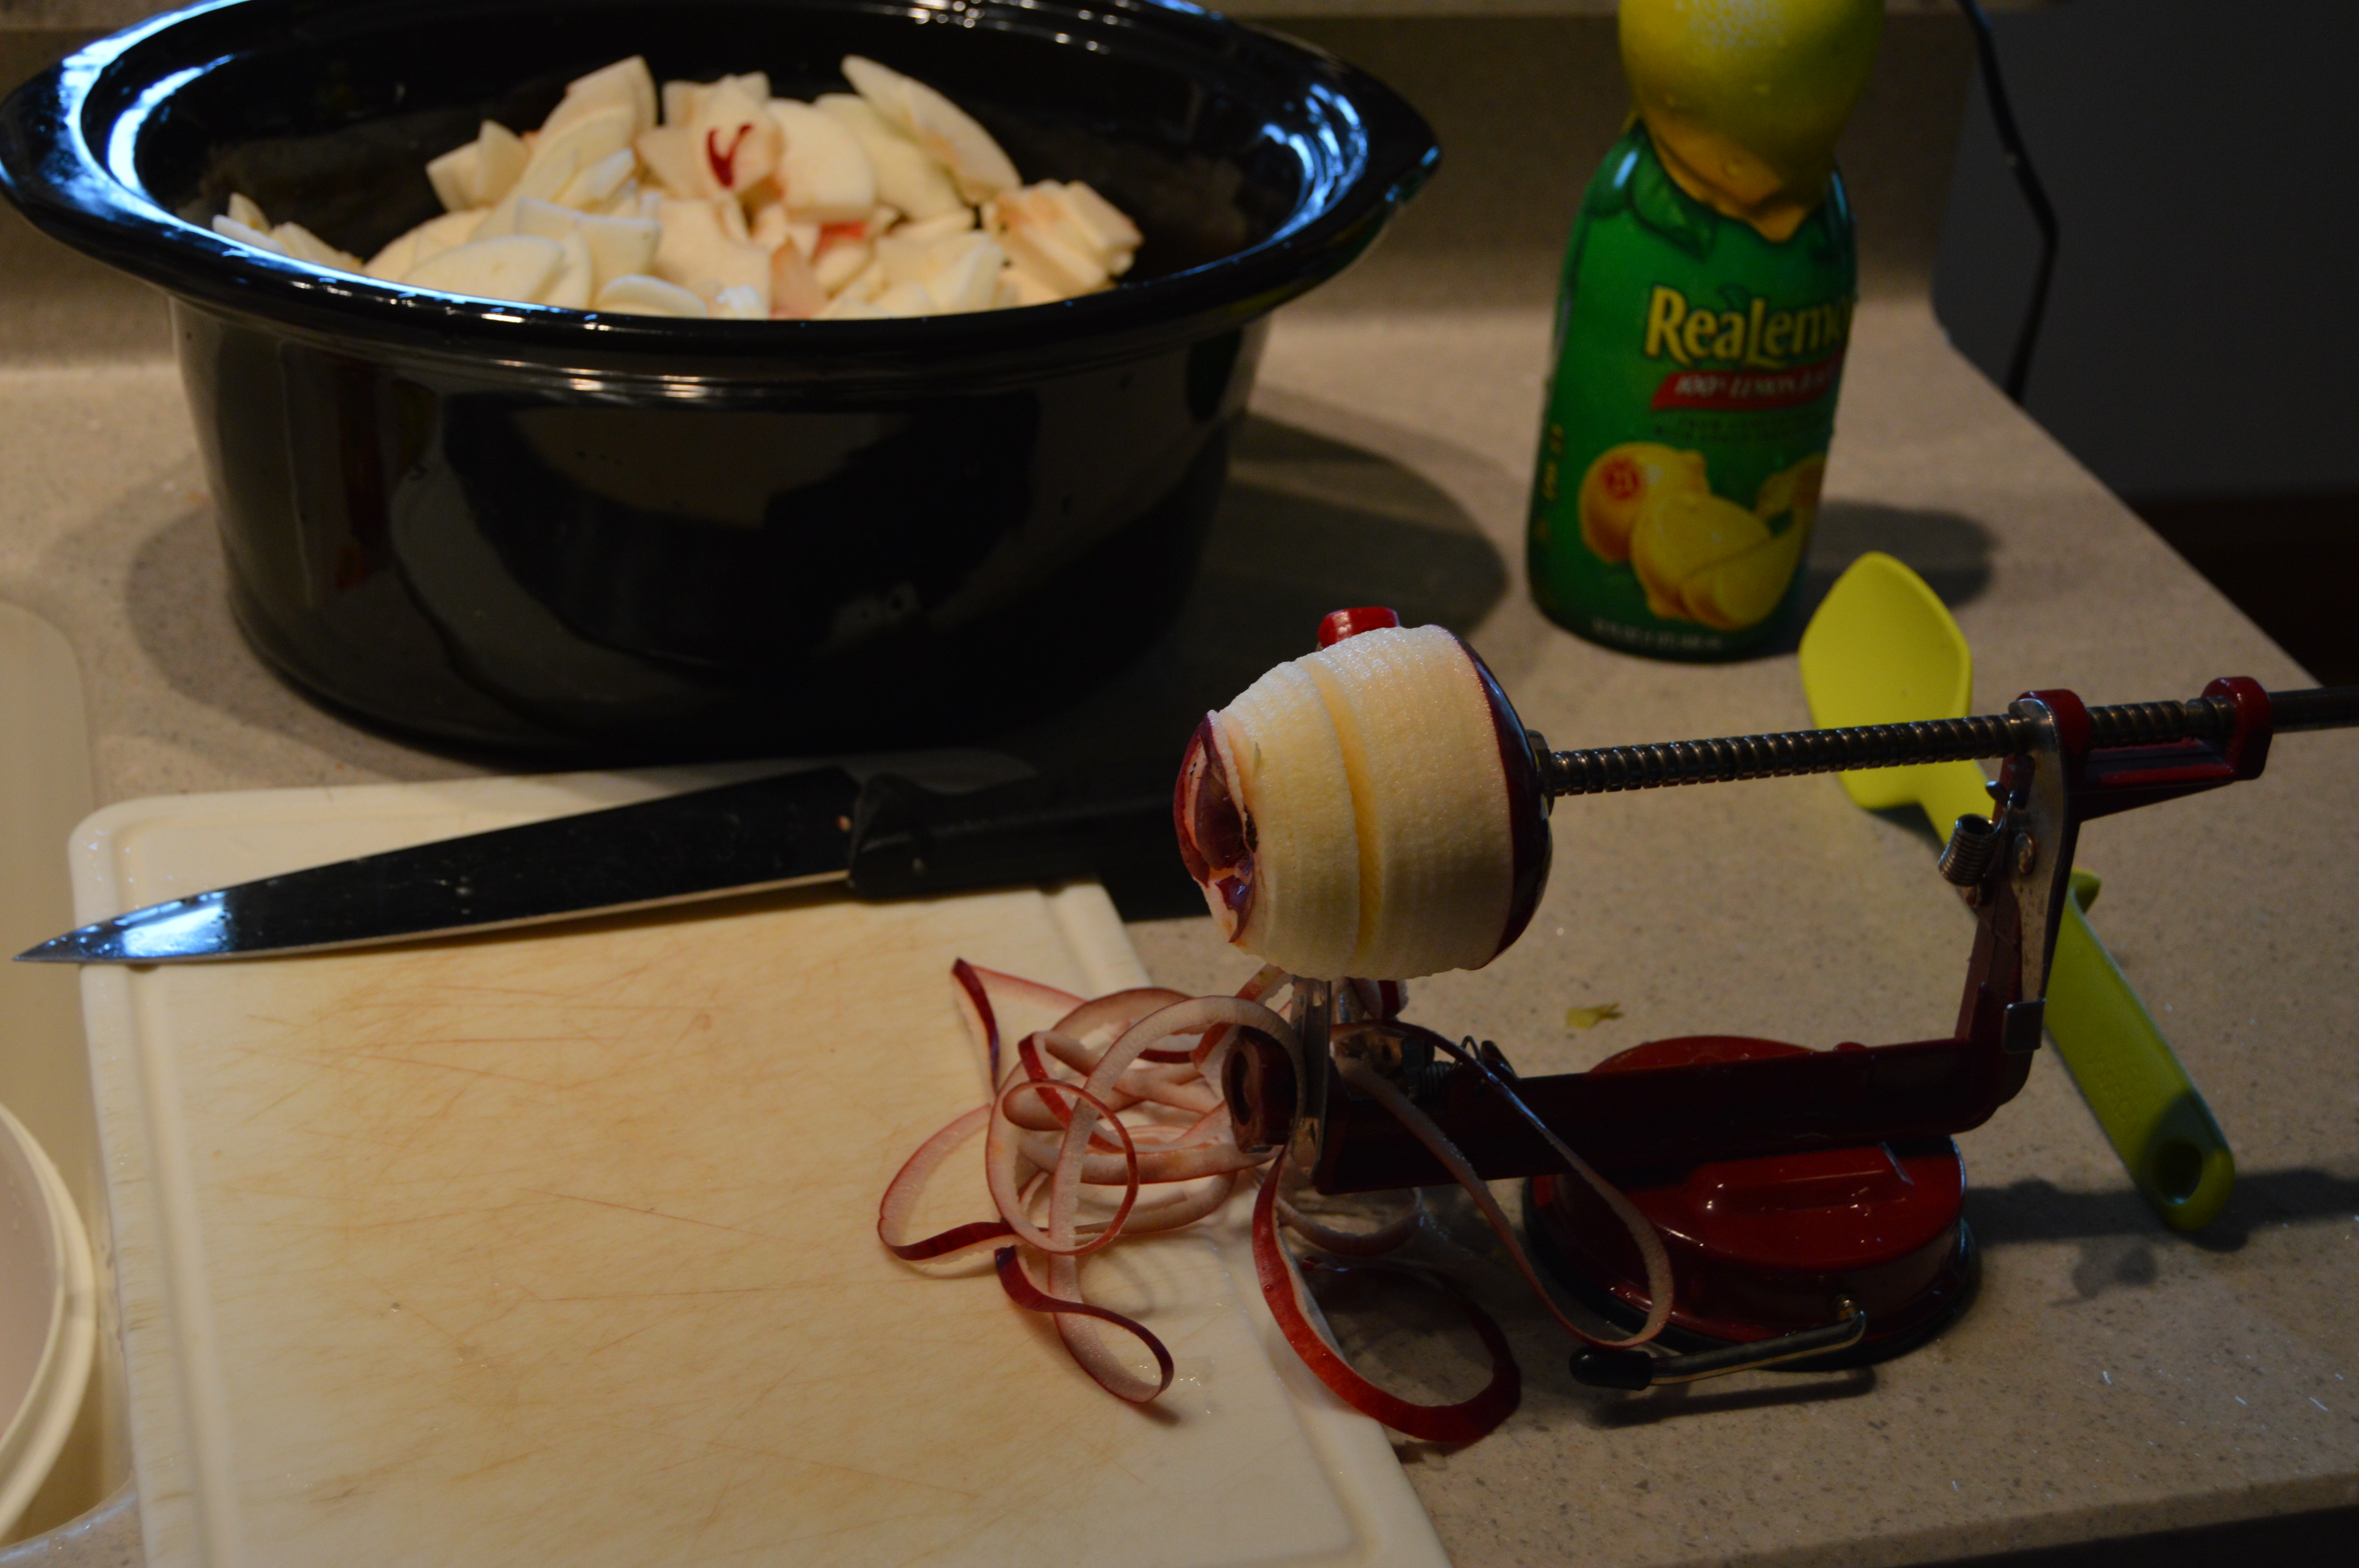
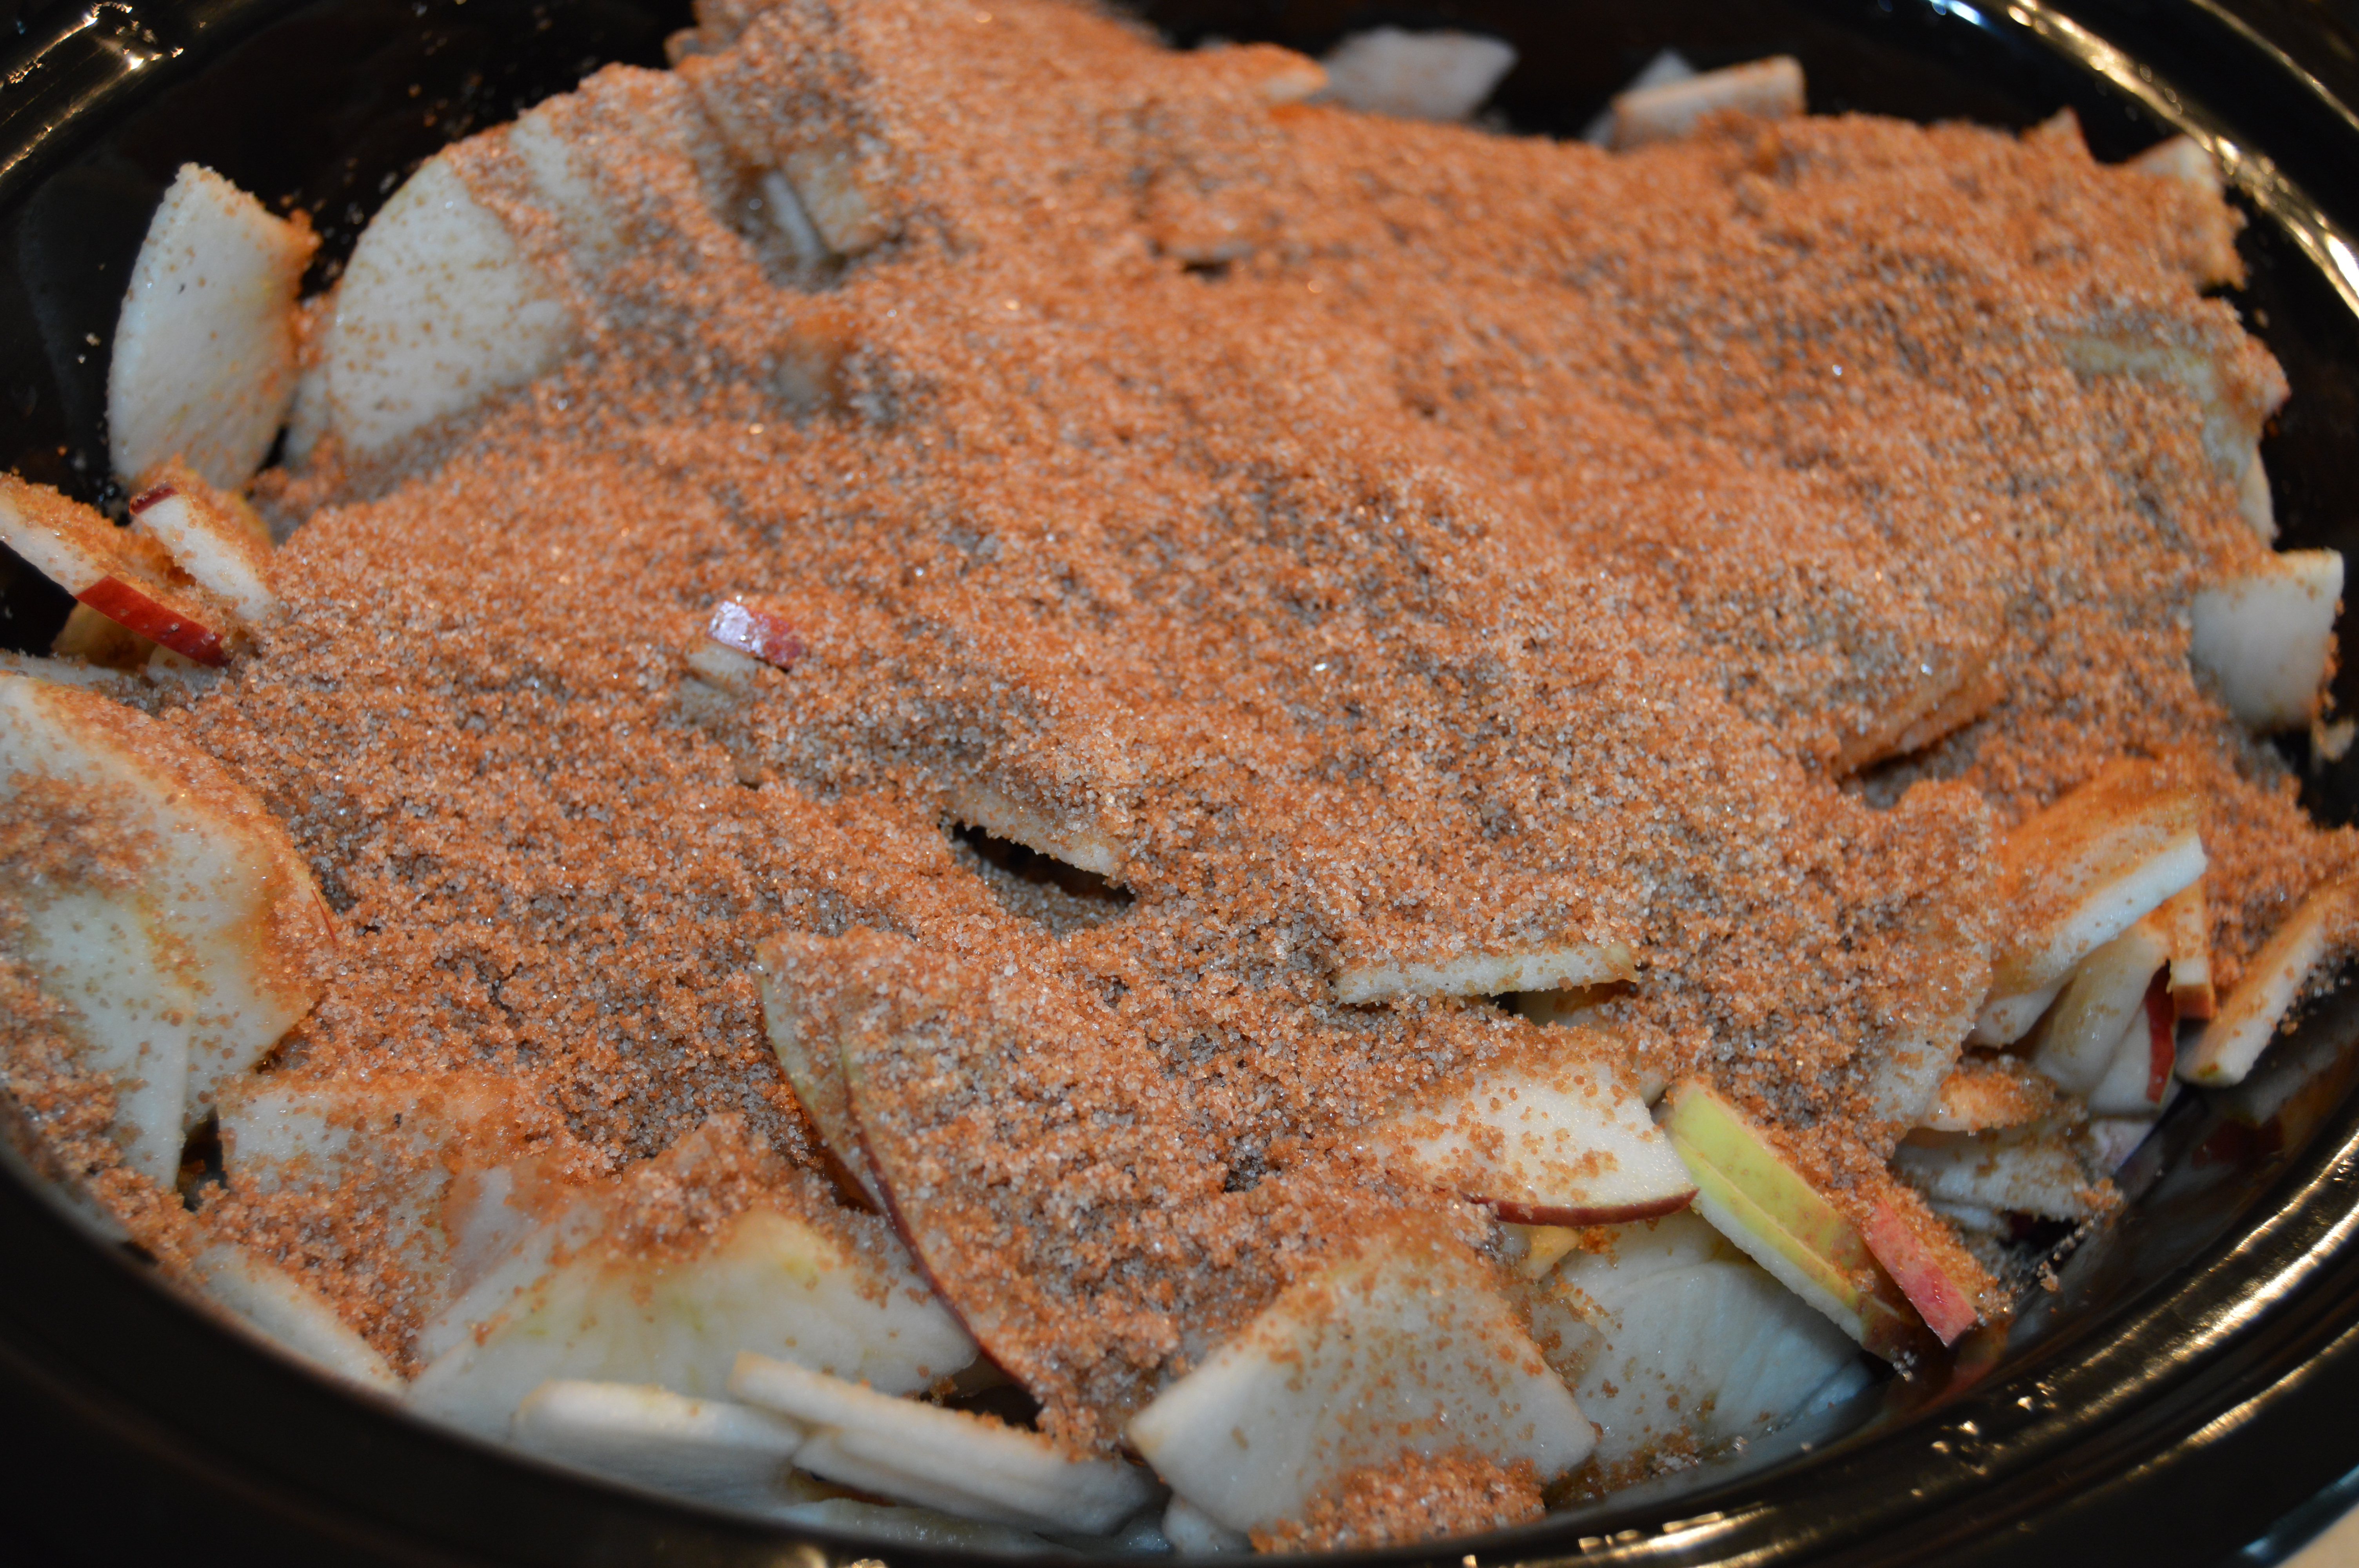
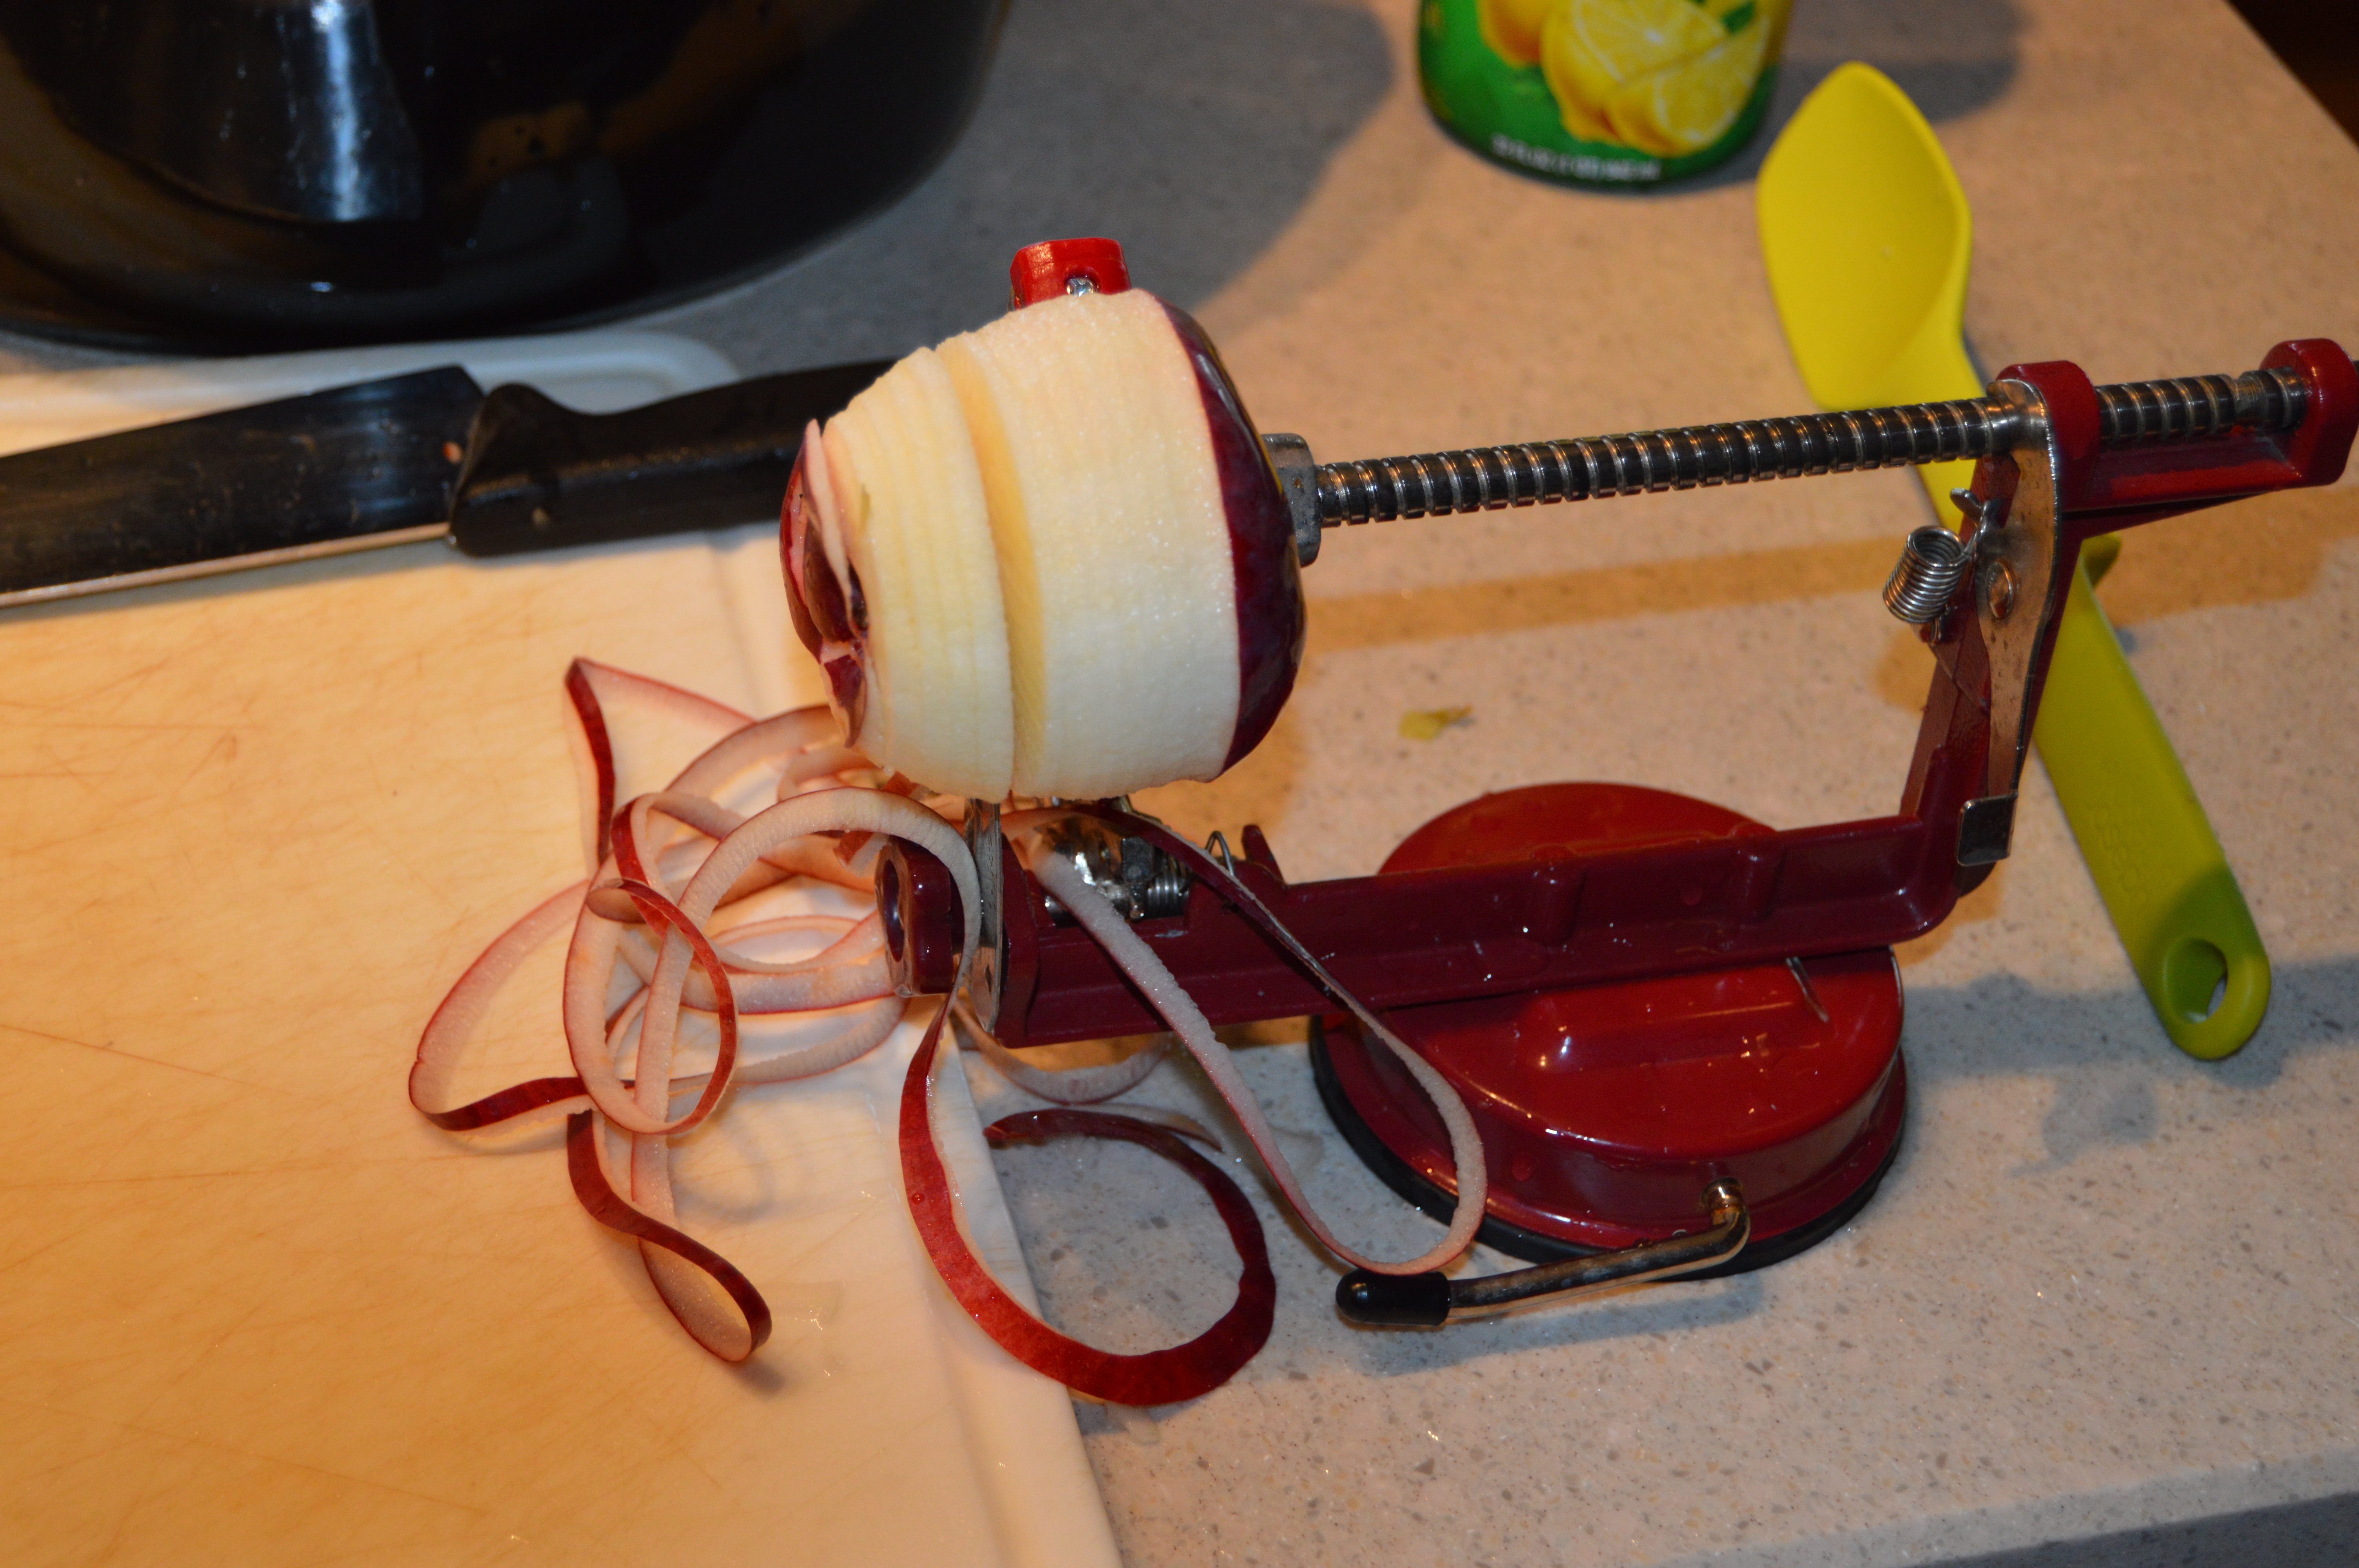
Here I am slicing, coring and peeling. I quarter the slices and place them and a dash of lemon juice in the slow cooker.


DSC_0782


DSC_0783
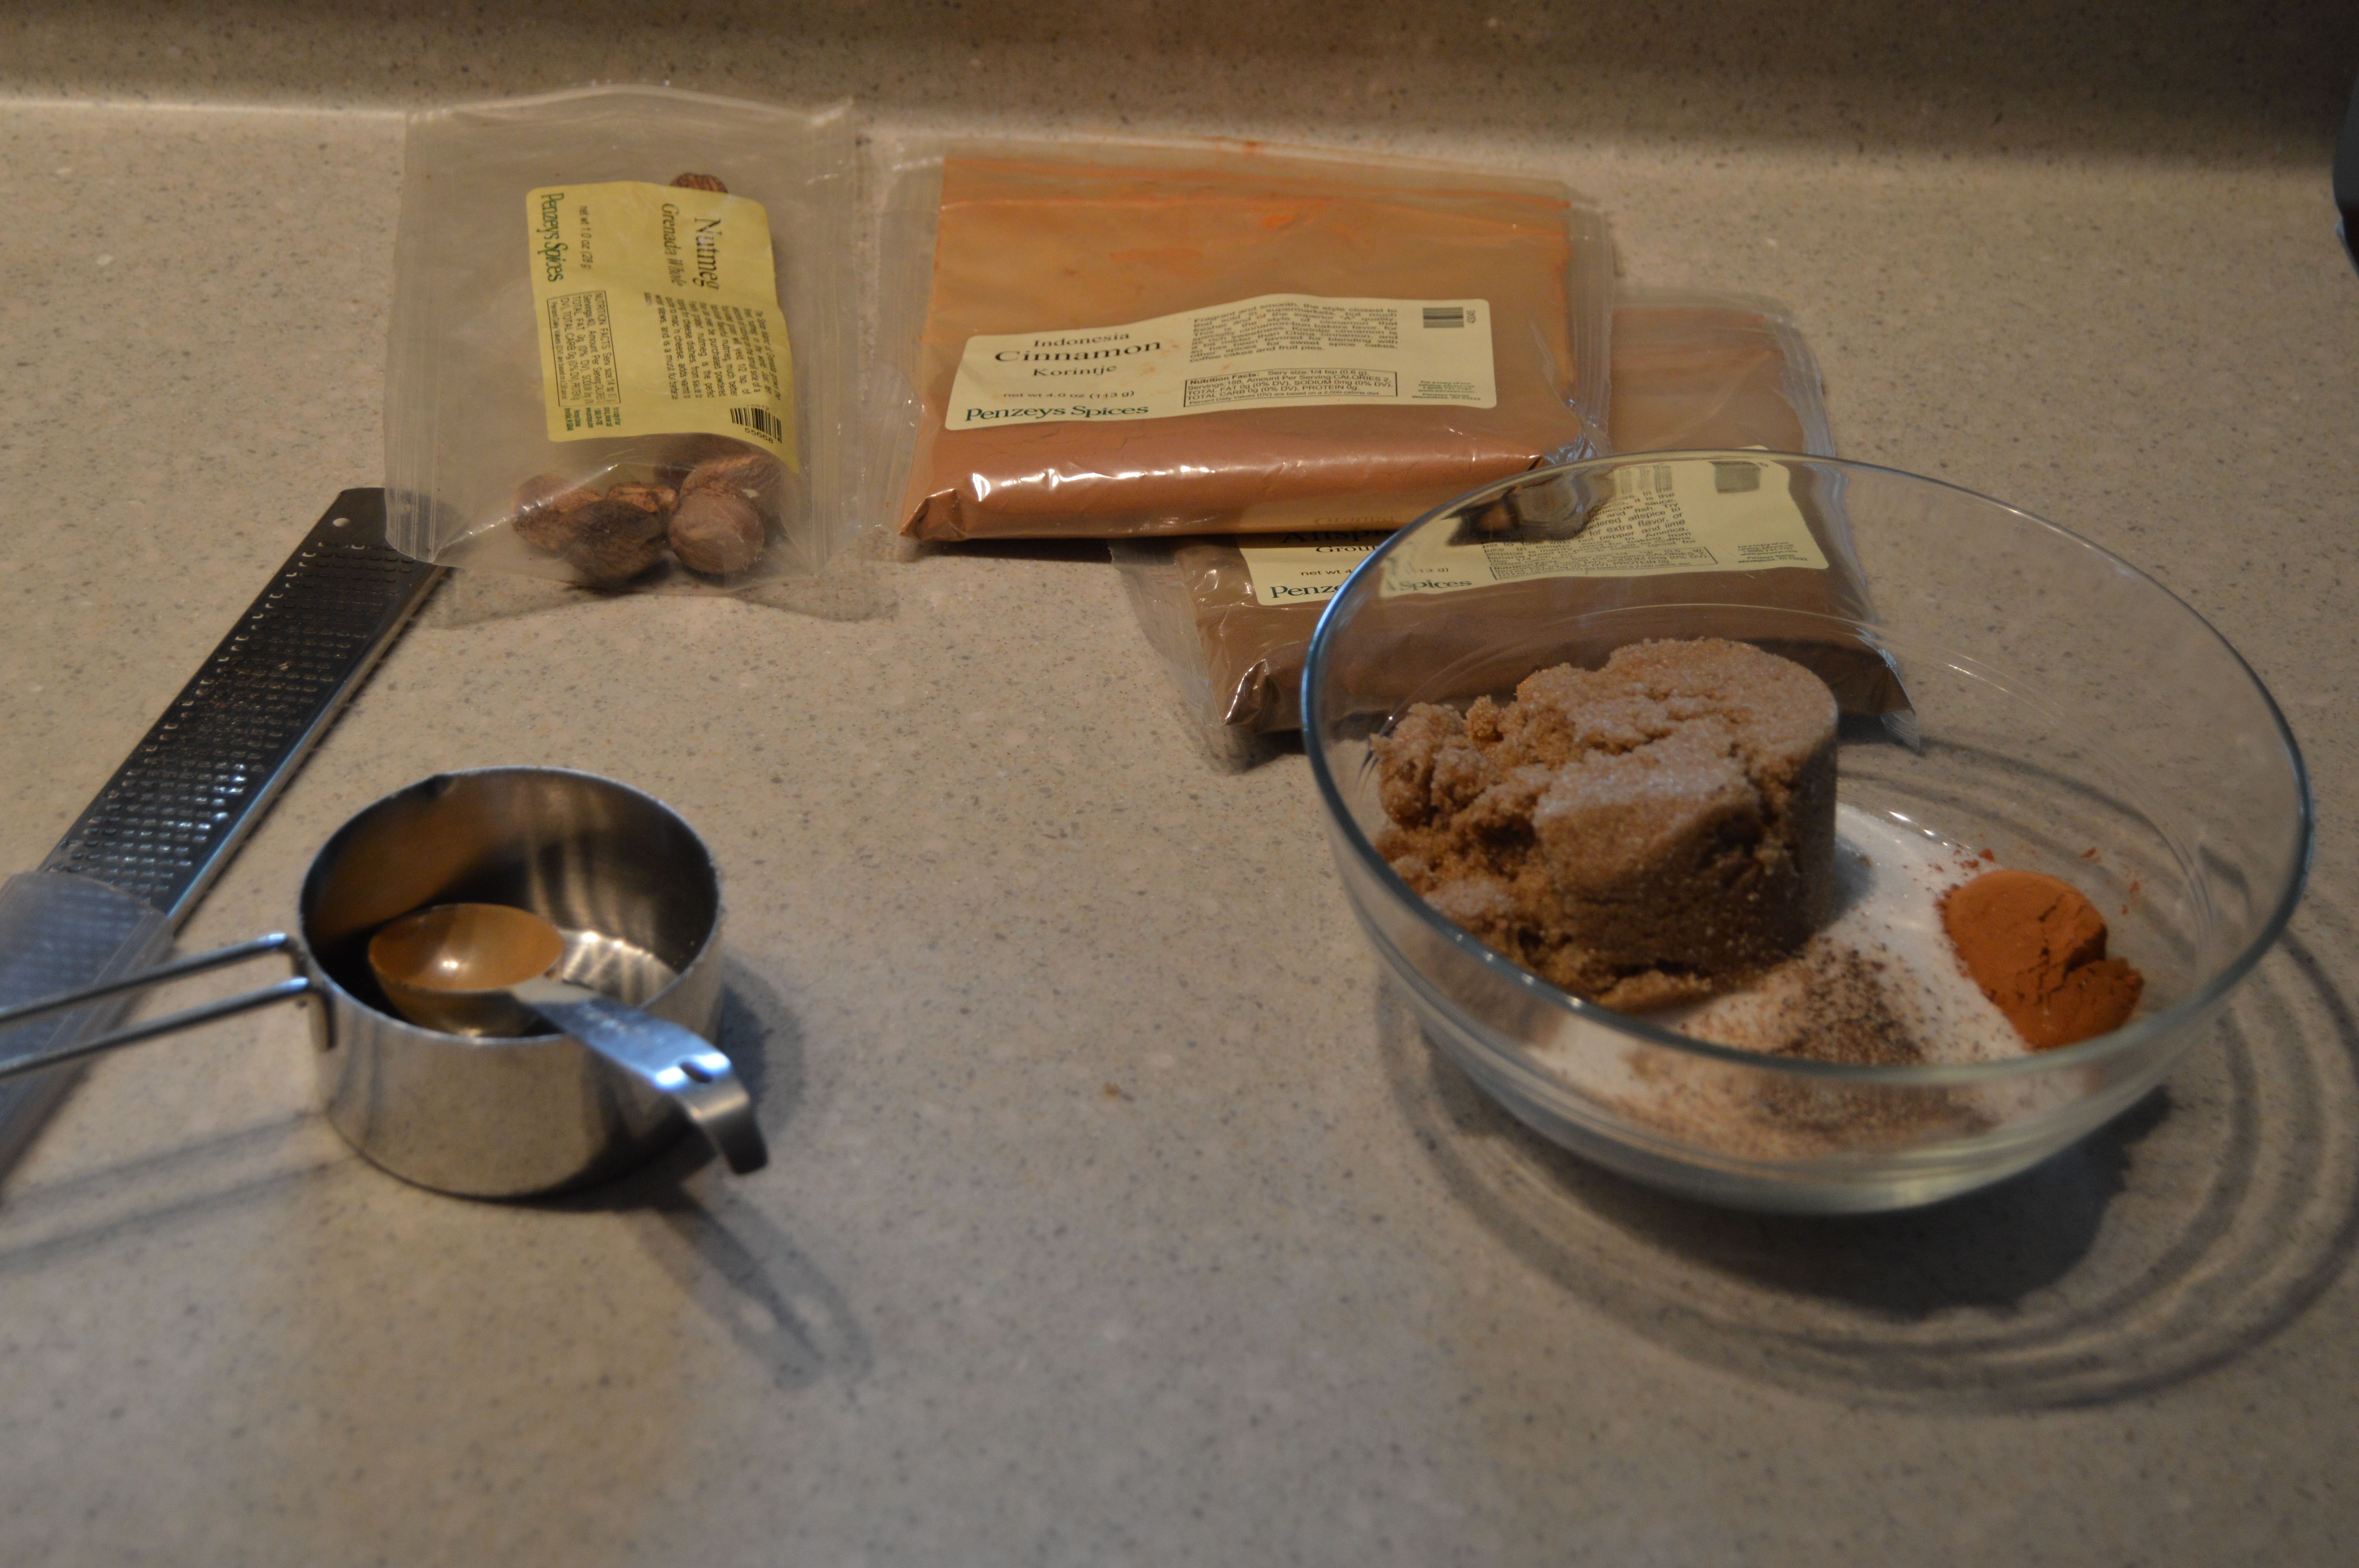
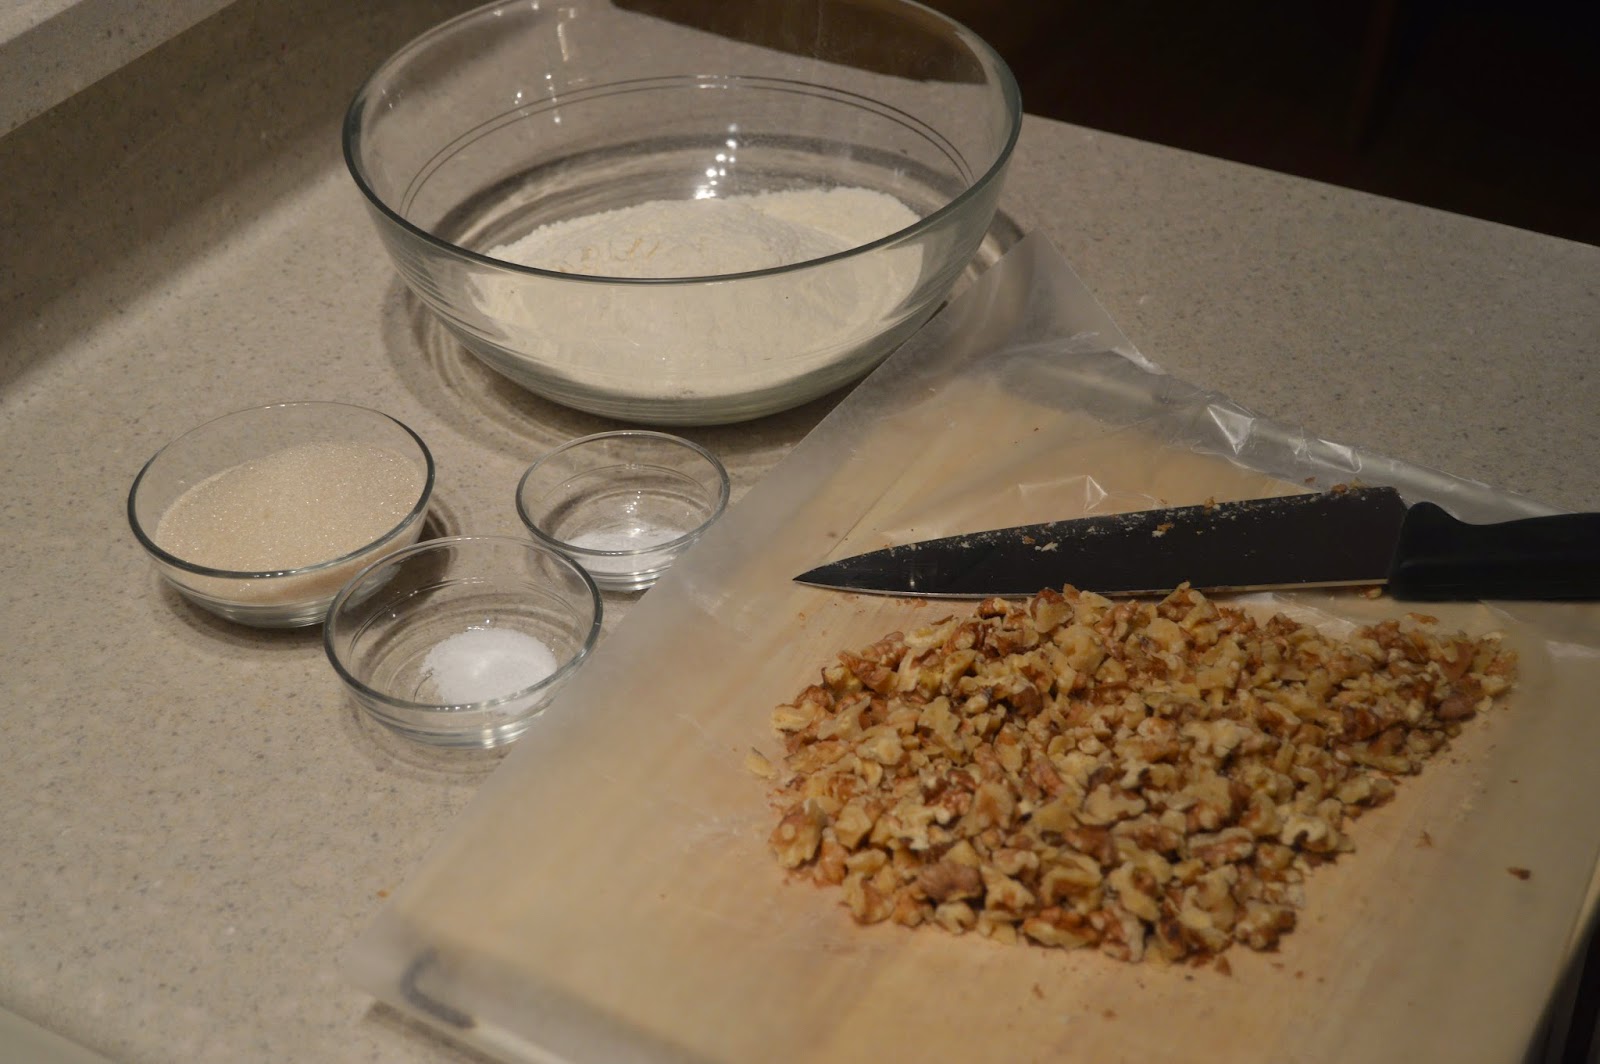
Nutmeg, cinnamon, all spice(I didn’t have cloves), brown sugar and granulated sugar.  I mixed these together and poured over the sliced apples in the crock-pot.

DSC_0790
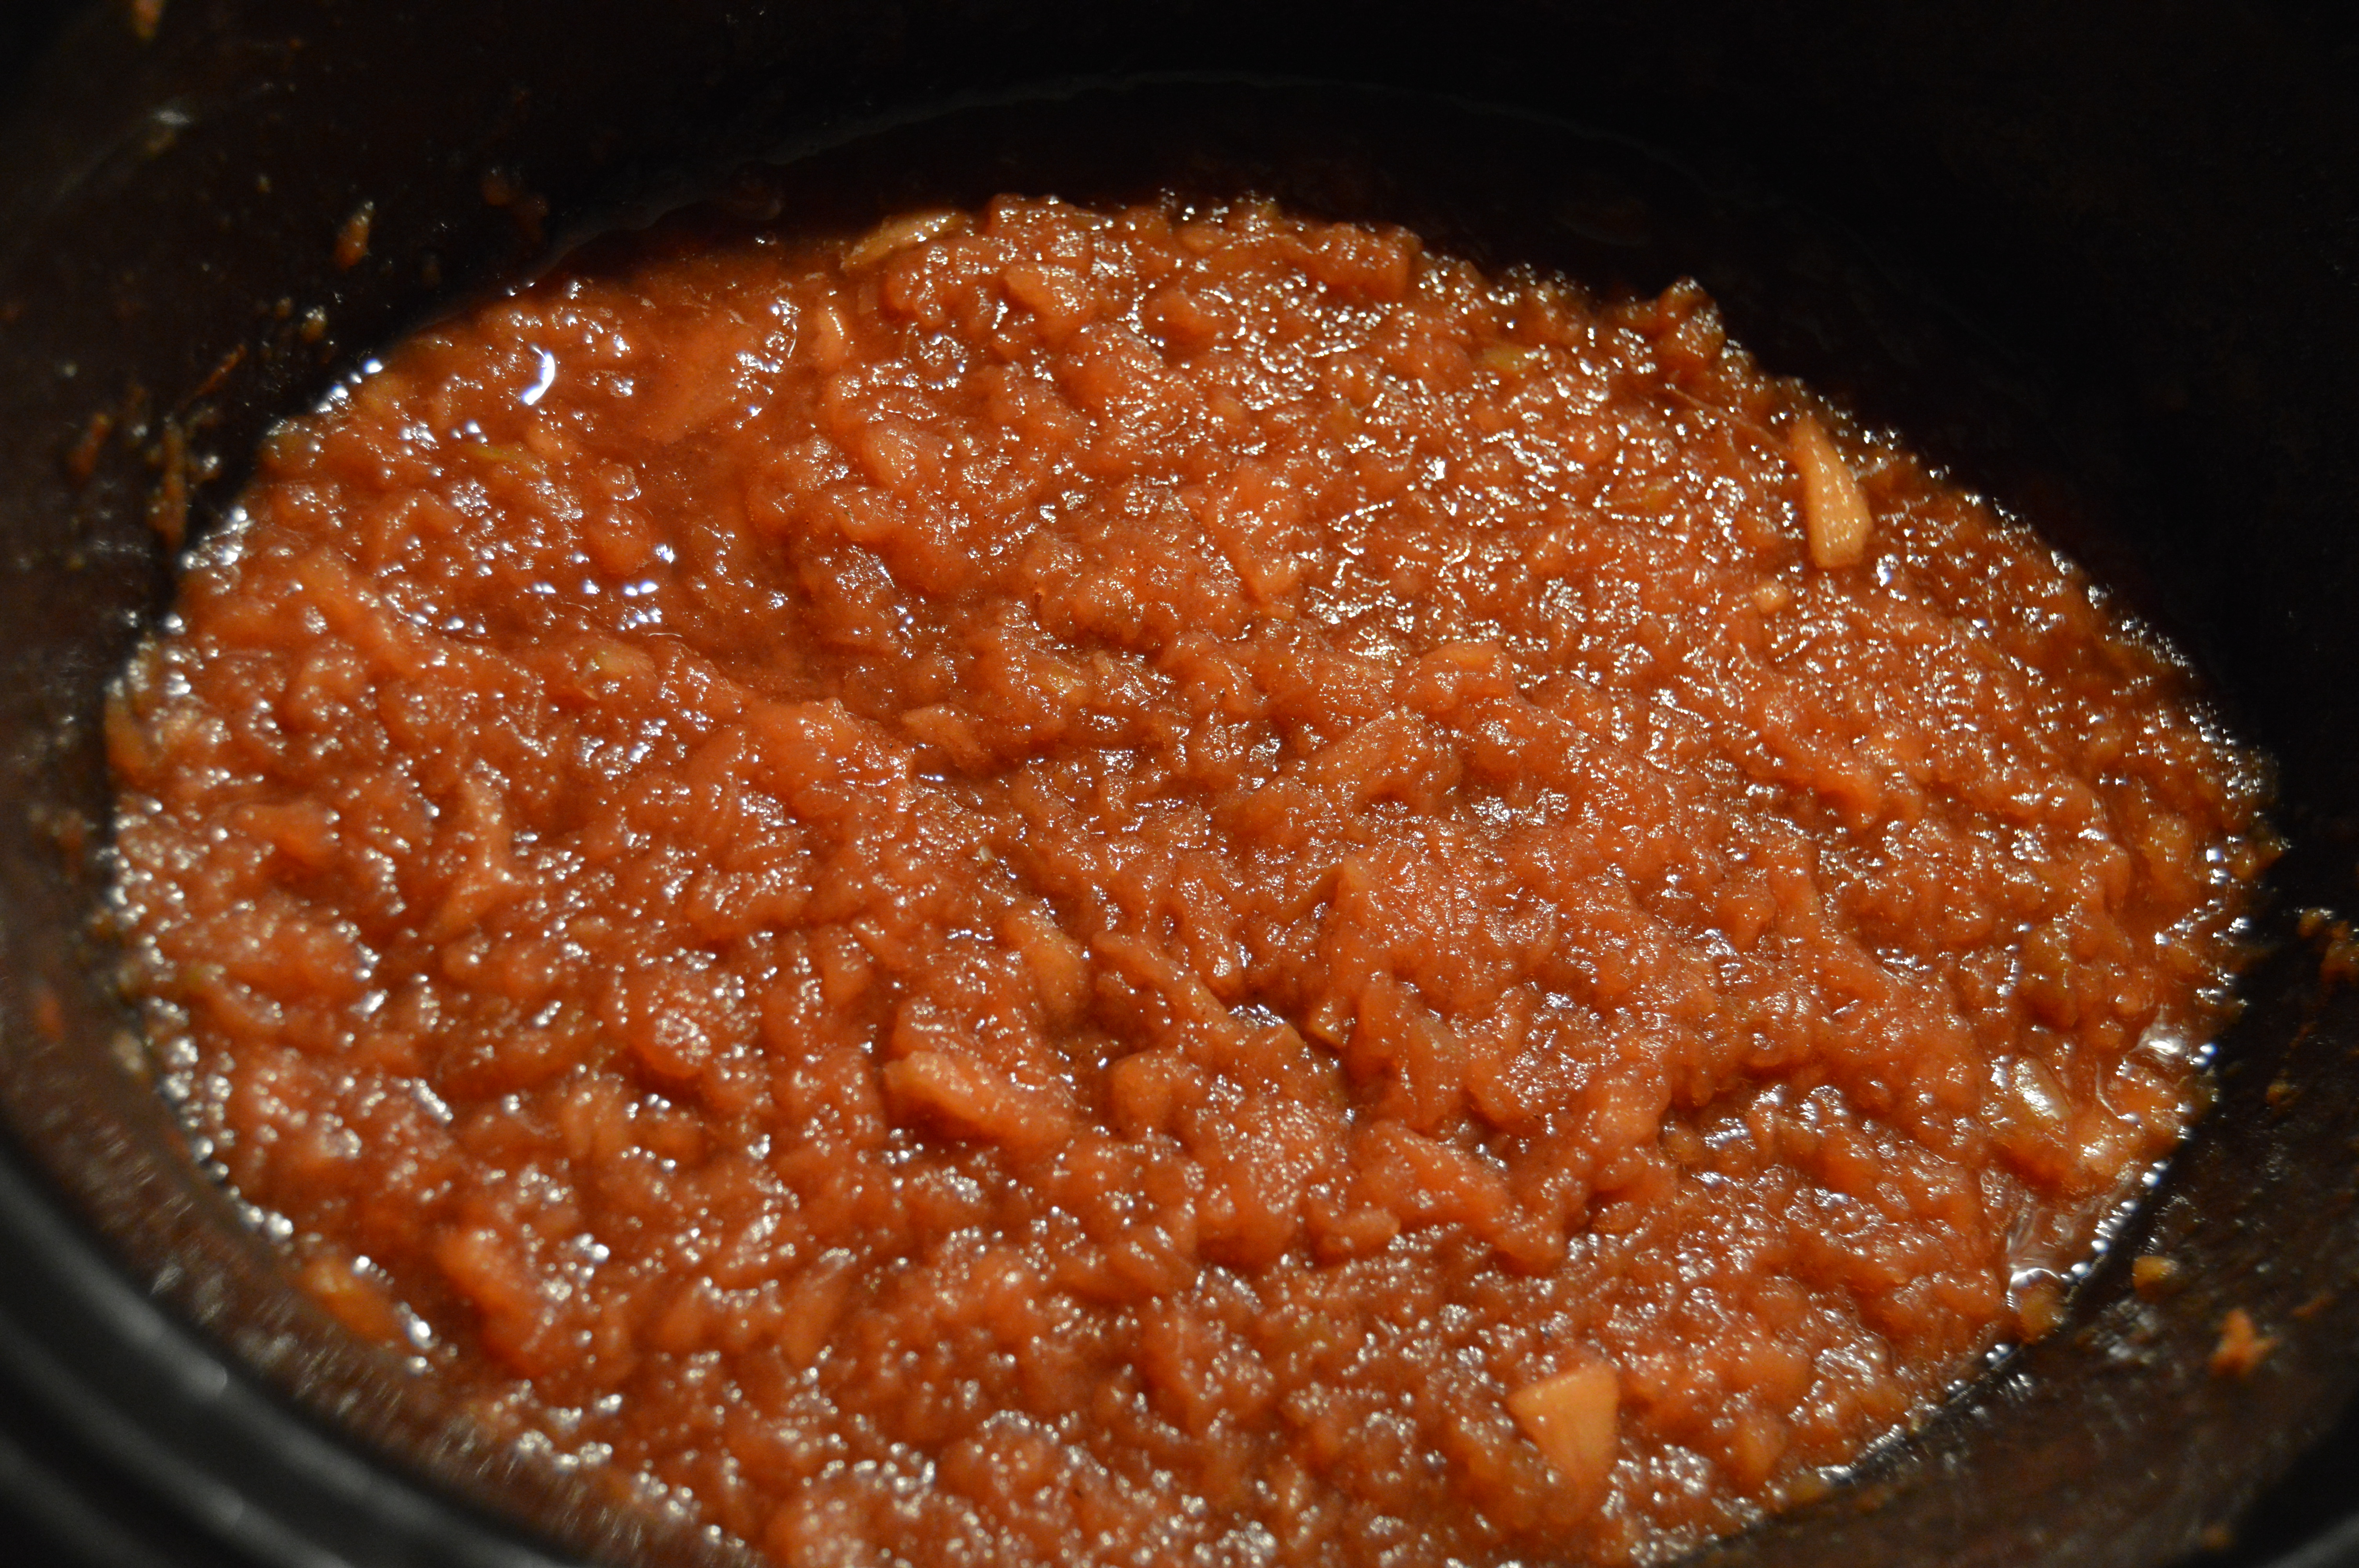
This is eight hours later: Spicy Applesauce

DSC_0793

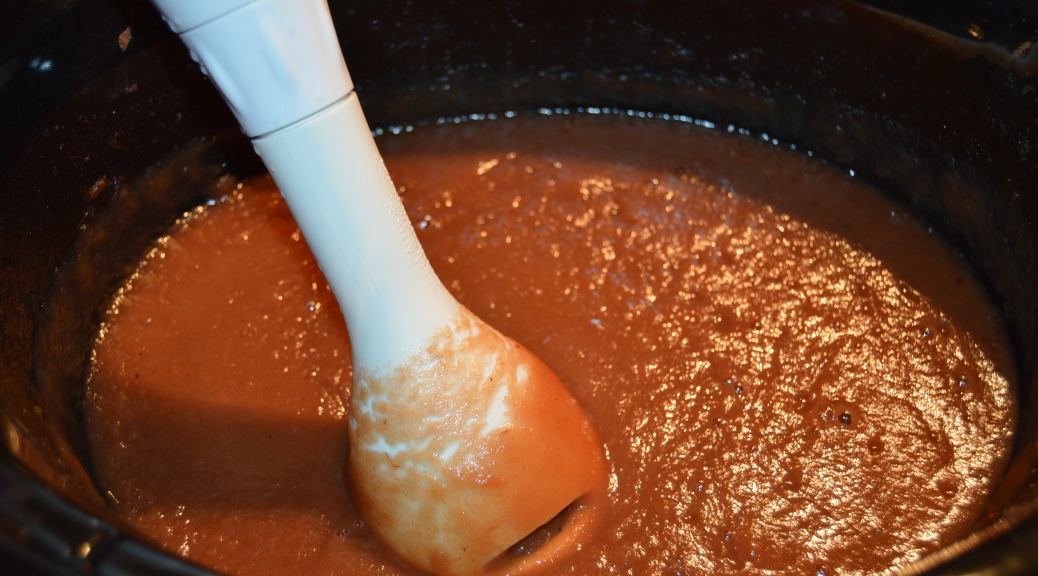
After allowing the moisture to cook-out, I took the immersion blender and turned a spicy applesauce into apple butter.

DSC_0801

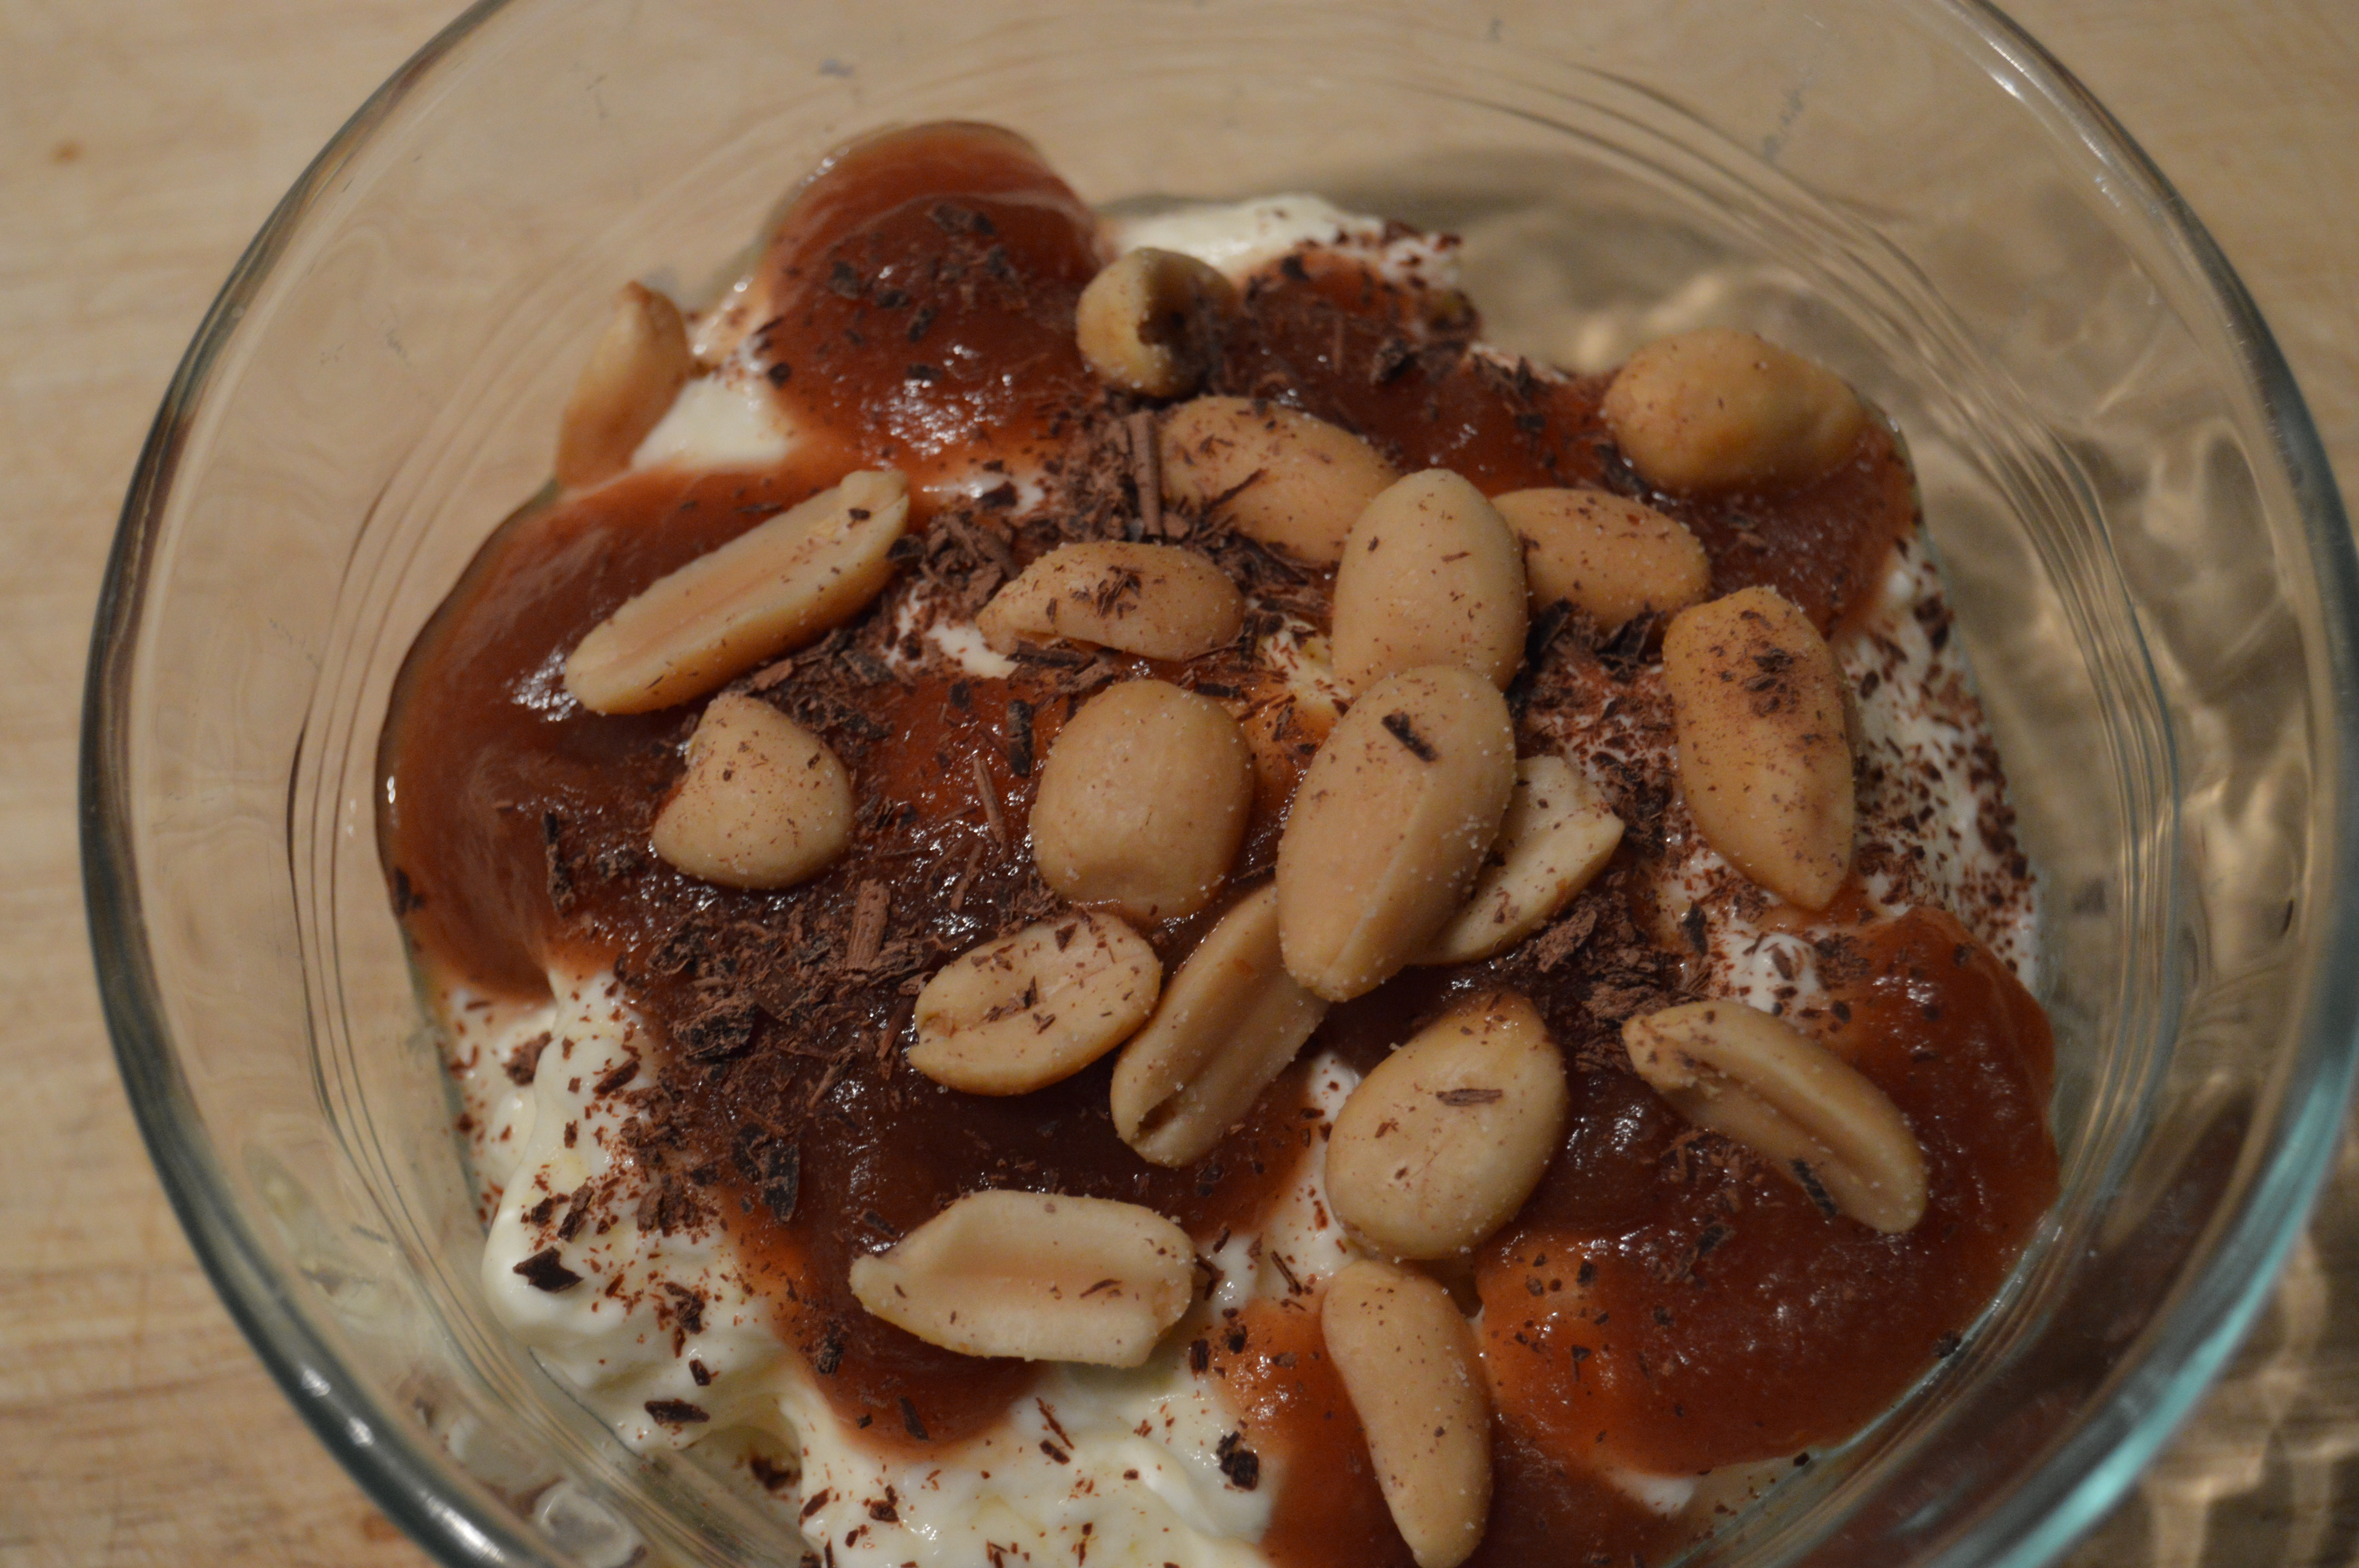
This is my homemade greek yogurt topped with apple butter, dark chocolate, and peanuts.  Trust me, this stuff won’t last in my freezer very long.

Easy Crock Pot Apple Butter

Excerpted mostly word for word from: http://www.deniseinbloom.com/crockpot-apple-butter-recipe/


Ingredients

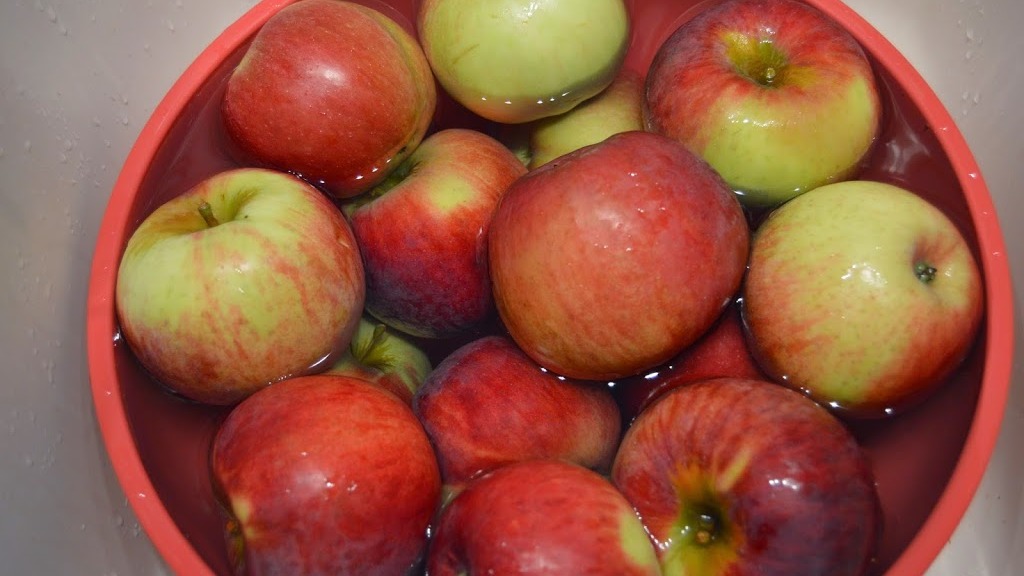
  • Apples, peeled, cored, and cut into large sections. (enough to fill your Crockpot to the top). I used 6 pounds or 12  Cortland apples
  • 1 1/2 cups granulated sugar. I used just one cup
  • 1 1/2 cups packed brown sugar. I used just one cup
  • 1 tbsp cinnamon
  • 1/2 tsp ground nutmeg
  • 1/4 tsp ground cloves. Nope, none handy, so I switched with all spice
  • 1/4 tsp salt
  • 1 tbsp vanilla
  • 2 tsp lemon juice. I used the lemon juice in the beginning to keep the apples from turning, so I did not add more.

Directions

  • Fill crock-pot with prepared apples.
  • In separate bowl combine and stir, 1 cup of granulated sugar, 1 cup of brown sugar, cinnamon, nutmeg, cloves, and salt. (reserve the rest of the sugar for later)
  • Pour sugar and spice mixture over apples.
  • Turn crock-pot onto low and cook apples for 10 hours. After first 1-2 hours gently stir in the sugar mixture to coat the apples.
  • Leave it and forget it now.  At this point I let mine cook overnight
  • After 10 hours take lid off and stir. Your mixture will be very dark and cooked down by about half the capacity of your crock-pot.
  • Stir in lemon juice, and vanilla.
  • At this point taste your apple butter for sweetness. I had tart firm apples and they needed more sugar, so I then added the additional 1/2 cup of granulated and 1/2 cup of packed brown sugar. You can adjust accordingly to your taste and the apples you are using.
  • Let apple butter continue to cook for 1-2 hours with lid off to absorb more liquid and make apple butter thicken more.
  • At the end of the cooking time, smooth apple butter with an emulsion blender.
  • Spoon into clean pint jars, and cover tightly with jar lid and ring. Be sure to leave room at the top of the jar if freezing.

Dehydrated Apples

It’s Fall in the Midwest and one of our many rites of passage before winter has us in it’s grasp is to head to one of the apple orchards in the area to pick our own apples.  Since I have an organic requirement, the apple orchard we went to is a little further away but the apples are well worth it. We stood at one tree and picked 20 lbs of Cortlands and then moved a few rows over to the Ida Reds and stood at one tree and picked another 20 lbs of apples.  We were done and heading back home in twenty minutes. So, I have 40 lbs of apples to use up, and I am so very gleeful about this.  The next day I pulled my apple peeler, corer and slicer out of storage. It is an absolute must if you are working with more than a few apples.  My first apple project was dehydrated apples.  My daughter’s boyfriend’s father is a big dehydrating guy,  and he gifted a few bags of dried apples to me in exchange for fresh eggs.  I absolutely loved the flavor, so I bugged both the boyfriend and later the father for the recipe.  He gave me a few, invaluable steps, and as you will see, I ran with them.

Gather your apples.  I used about a dozen or 6 lbs of apples, and I used the Courtlands(I’m saving the Idas for eatin’)

I used this handy kitchen gadget to core and slice the apples. It saves a lot of time, and it also slices the apples uniformly.

I poured a cup of pineapple juice with a half cup of lemon juice, and I put the apples in this liquid to both keep them from turning brown and to add sweetness.

I spooned about two cups of the sliced apples into a bag with a little juice and a half teaspoon of cinnamon, and I shook until all of the apples were evenly covered. Repeat with all apples and refresh the cinnamon with each bag.

Here are the apples before going into the dehydrator. I used all ten trays and set the temperature to 135 degrees for 8 hours. I didn’t want to completely dry the apples, so I kept the drying time shorter.

This was the first time dehydrating apples, and I have to admit, these turned out to be quite tasty.

Easy and Quick Homemade Granola Bars

I’ve blogged about making my own granola bars in the past, but I am always scouting for easier/tastier recipes.  This recipe trumps the recipe I blogged before because it calls for less dried fruit and fewer steps-winner, winner!  Oh, and I love the taste and texture.

This bar goes with me for long days at work or a late morning running errands(who wants to grocery shop hungry?).  It fills me up, but be warned, it can get messy. The plus and yet minus in this case is homemade granola bars don’t contain “stuff” to keep the bars glued together.

Trader Joe’s peanuts make great peanut butter. I put a half of a bag into the Vita Mix and I blend until it looks like butter. This makes lip smackin’ good peanut butter.

The recipe calls for a sauce pan on low heat to heat up the peanut butter and honey–pshaw–I throw it in a microsafe bowl and heat on high for a minute and then stir like a mad woman. Oh, and this isn’t honey it’s maple syrup.

Chop the nuts, add the oats, puffed rice and dried fruit to a large bowl. The puffed rice adds a really good texture with very few calories.  This may be what sets this bar high on my granola bar list.

Add the peanut butter and honey/syrup with the dry ingredients. Stir until well combined.

Add plastic, foil or parchment to the baking dish so you can just lift out and cut. 

Press the prepared mixture into the baking dish. I’ve made a double recipe here, so I am using a 13 x 9 dish. Put the mixture in the fridge and let harden for at least an hour.

Cut into bars and wrap each bar into plastic or foil. I keep my bars in a freezer safe bag in the freezer.

 I transport my bar in a cloth snack bag; environmentally friendly and pretty darn cute. Try the bar with an apple–delicious.

Granola Bars

Recipe excerpted word for word from Prevention Magazine, March 2014

Ingredients

1/2 cup honey
1/2 cup any nut butter
1 cup crispy brown rice cereal
1 cup granola or plain rolled oats
1/2 cup chopped nuts
1/2 cup chopped dried cherries or apricots

Directions

Put 1/2 cup honey and 1/2 cup any nut butter in small saucepan over medium heat. Stir until melted together, 2 to 3 minutes. Whisk to combine. Put 1 cup crispy brown rice cereal, 1 cup granola or plain rolled oats, 1/2 cup chopped nuts, and 1/2 cup chopped dried cherries or apricots in large bowl. Add honey mixture and stir well to combine. Lightly grease 8″ x 8″ baking dish or line with plastic wrap or parchment. Spread mixture evenly in dish, pressing down gently, and cover with plastic wrap. Chill until firm, at least 1 hour. Cut into bars. (For cleaner cutting, transfer to board by lifting edges of plastic wrap or parchment.)


Who Can Resist Banana Bread?

I can’t.

When I spot a few bananas getting past their prime, I instantly start carving out time to make banana bread. It’s a treat like no other. Sorry to say I’m a purist who does not put any chocolate in her banana bread; walnuts, yes, but not chocolate. It’s one of the few baked items I make that isn’t doused in a deep vat of dark chocolate. This tasty bread doesn’t need chocolate-gulp-it’s great without it.

The banana bread I’ve been making for years is from Cook’s Illustrated. It’s a great recipe and there is no reason to look for better or change it up at all. Cook’s stresses the key to great banana bread is the ripeness of the banana. The riper the better but be sure and bag them to keep the fruit fly population in check. If you don’t have the time to bake, bag the bananas and freeze until you do have the time.

First step is roasting the walnuts. Add the 1 and a 1/4 cup to a dry pan and roast on medium heat, stirring constantly until you hear popping or smell the oils. Be careful and don’t burn nuts. Let the nuts cool before chopping.

Gather your dry ingredients: sugar, flour, chopped walnuts, baking soda, and salt. Combine all into a large bowl.

Gather your wet ingredients: mashed bananas, melted butter, vanilla, eggs, and yogurt. Combine wet ingredients in a medium bowl and then add to dry. Stir gently until combined and add to prepared bread pan(greased and floured).

Bake for an hour or so until a long toothpick(or I use a spaghetti pasta)comes out clean.

Nom, nom, nom. I ate the heel seconds after taking the photo.

The Best Banana Bread

Excerpted word for word from:Cook’s Illustrated

Greasing and flouring only the bottom of a regular loaf pan causes the bread to cling to the sides and rise higher. If using a nonstick loaf pan, on which the sides are very slick, grease and flour sides as well as the bottom.

INGREDIENTS

2 cups unbleached all-purpose flour
3/4 cup granulated sugar
3/4 teaspoon baking soda
1/2 teaspoon table salt
1 1/4 cups toasted walnuts, chopped coarse (about 1 cup)
3 very ripe bananas, soft, darkly speckled, mashed well (about 1 1/2 cups)
1/4 cup plain yogurt
2 large eggs, beaten lightly
6 tablespoons unsalted butter, melted and cooled
1 teaspoon vanilla extract
INSTRUCTIONS

1. Adjust oven rack to lower middle position and heat oven to 350 degrees. Grease bottom only of regular loaf pan, or grease and flour bottom and sides of nonstick 9-by-5-by-3-inch loaf pan; set aside. Combine first five ingredients together in large bowl; set aside.

2. Mix mashed bananas, yogurt, eggs, butter, and vanilla with wooden spoon in medium bowl. Lightly fold banana mixture into dry ingredients with rubber spatula until just combined and batter looks thick and chunky. Scrape batter into prepared loaf pan; bake until loaf is golden brown and toothpick inserted in center comes out clean, about 55 minutes. Cool in pan for 5 minutes, then transfer to wire rack. Serve warm or at room temperature.