Category Archives: Kitchen DIY

Let’s Talk Turkey-Post Holiday and My Stuffing Recipe

Now that roasting pans have been put back into storage and the pie plates nestled where light rarely hits, it’s time to review what we could have done to the make the process less hectic and a more “thankful” affair.  Every year I strive to not over-cook the only dish I will not sample, produce  potatoes that are thoroughly cooked, and supply a  veggie dish worthy of coming out of a vegetarian’s kitchen.  Combined with rolls and pies I make myself, and a more newer tradition, making my own bread cubes for stuffing, is there any wonder I am a stressed out cook every Turkey Day?  Ease up, you say? Well, that’s just not how I’m wired.  One year, I will find a way to do it all and do it all well.  And it’s going to be next year.

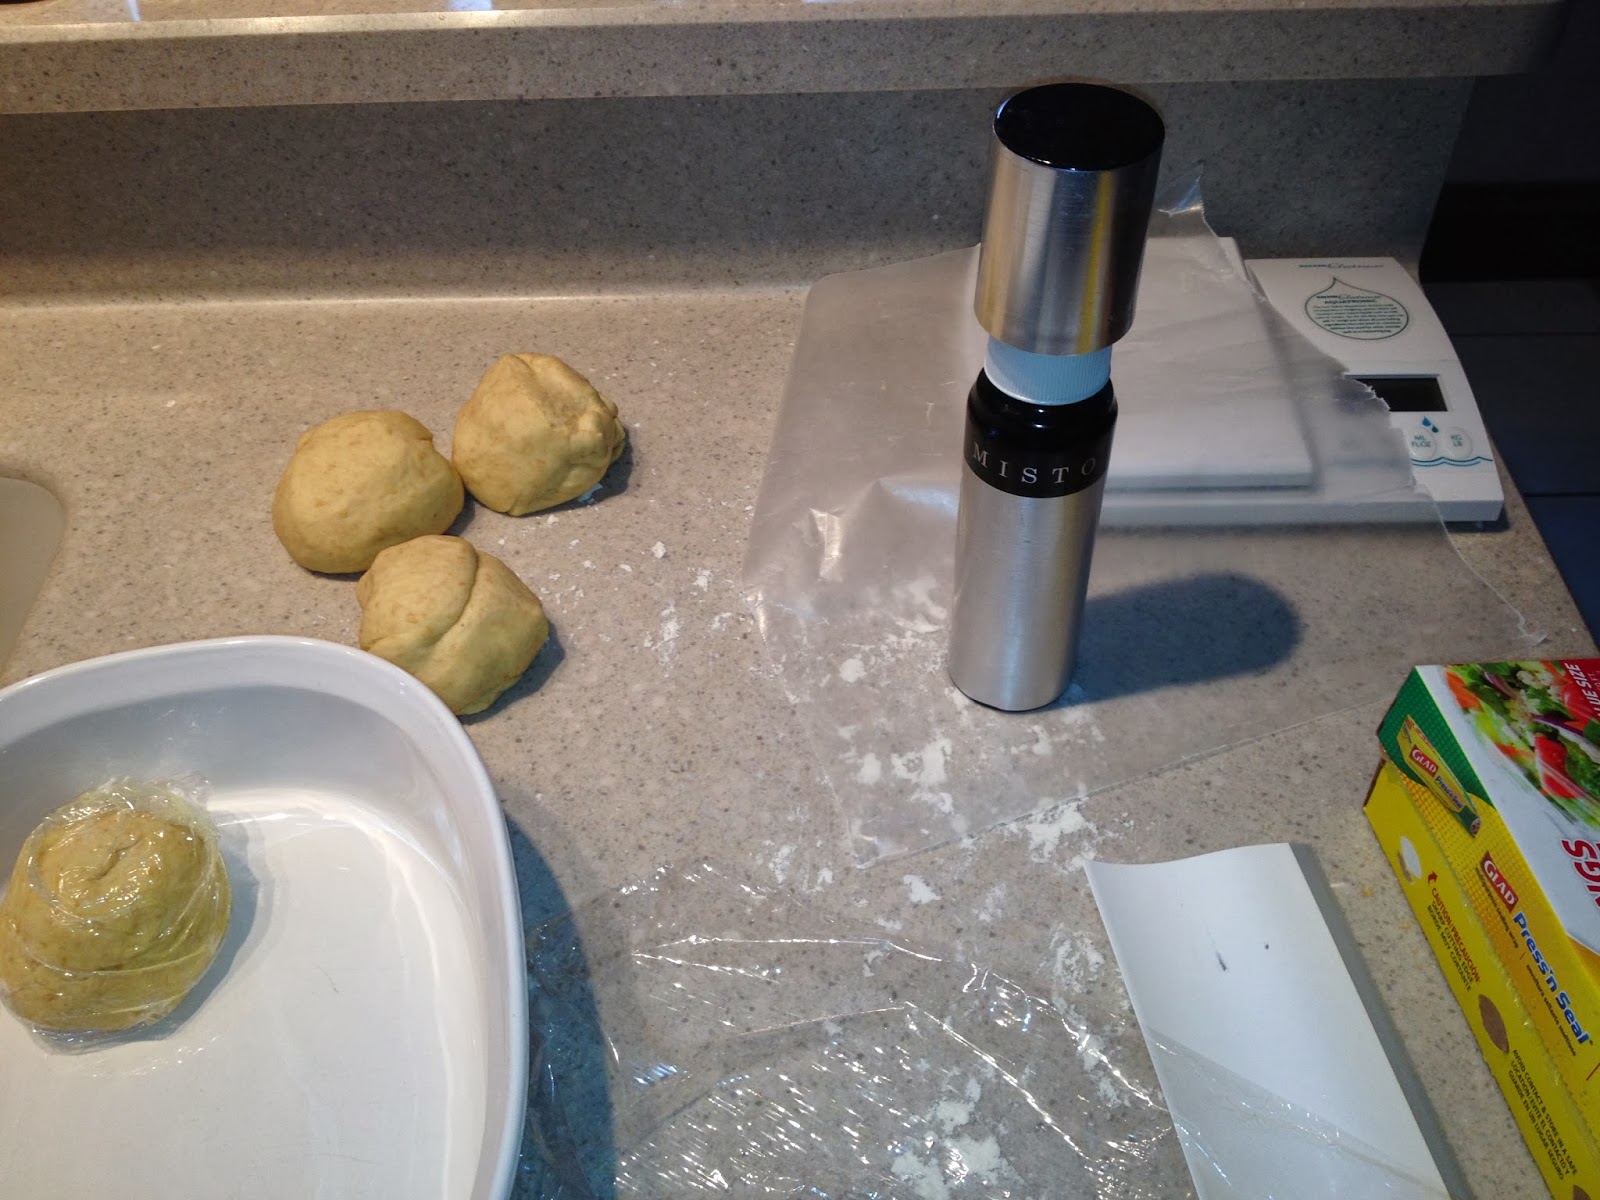
-One trick I found this year was to prepare the pumpkin pie crusts ahead of time.  I rolled out the crusts, pre-baked them and then froze the pie dish and in a jumbo sized Hefty bag.  That really alleviated a lot of mess stress closer to T-Day.

-Of course I made the rolls ahead of time and froze them.  It was a new recipe and they  were a huge success(recipe link below).  I also made polenta corn-bread the night before T-day.

http://www.mycatholickitchen.com/2014/11/cast-iron-parker-rolls-for-breadbakers.html

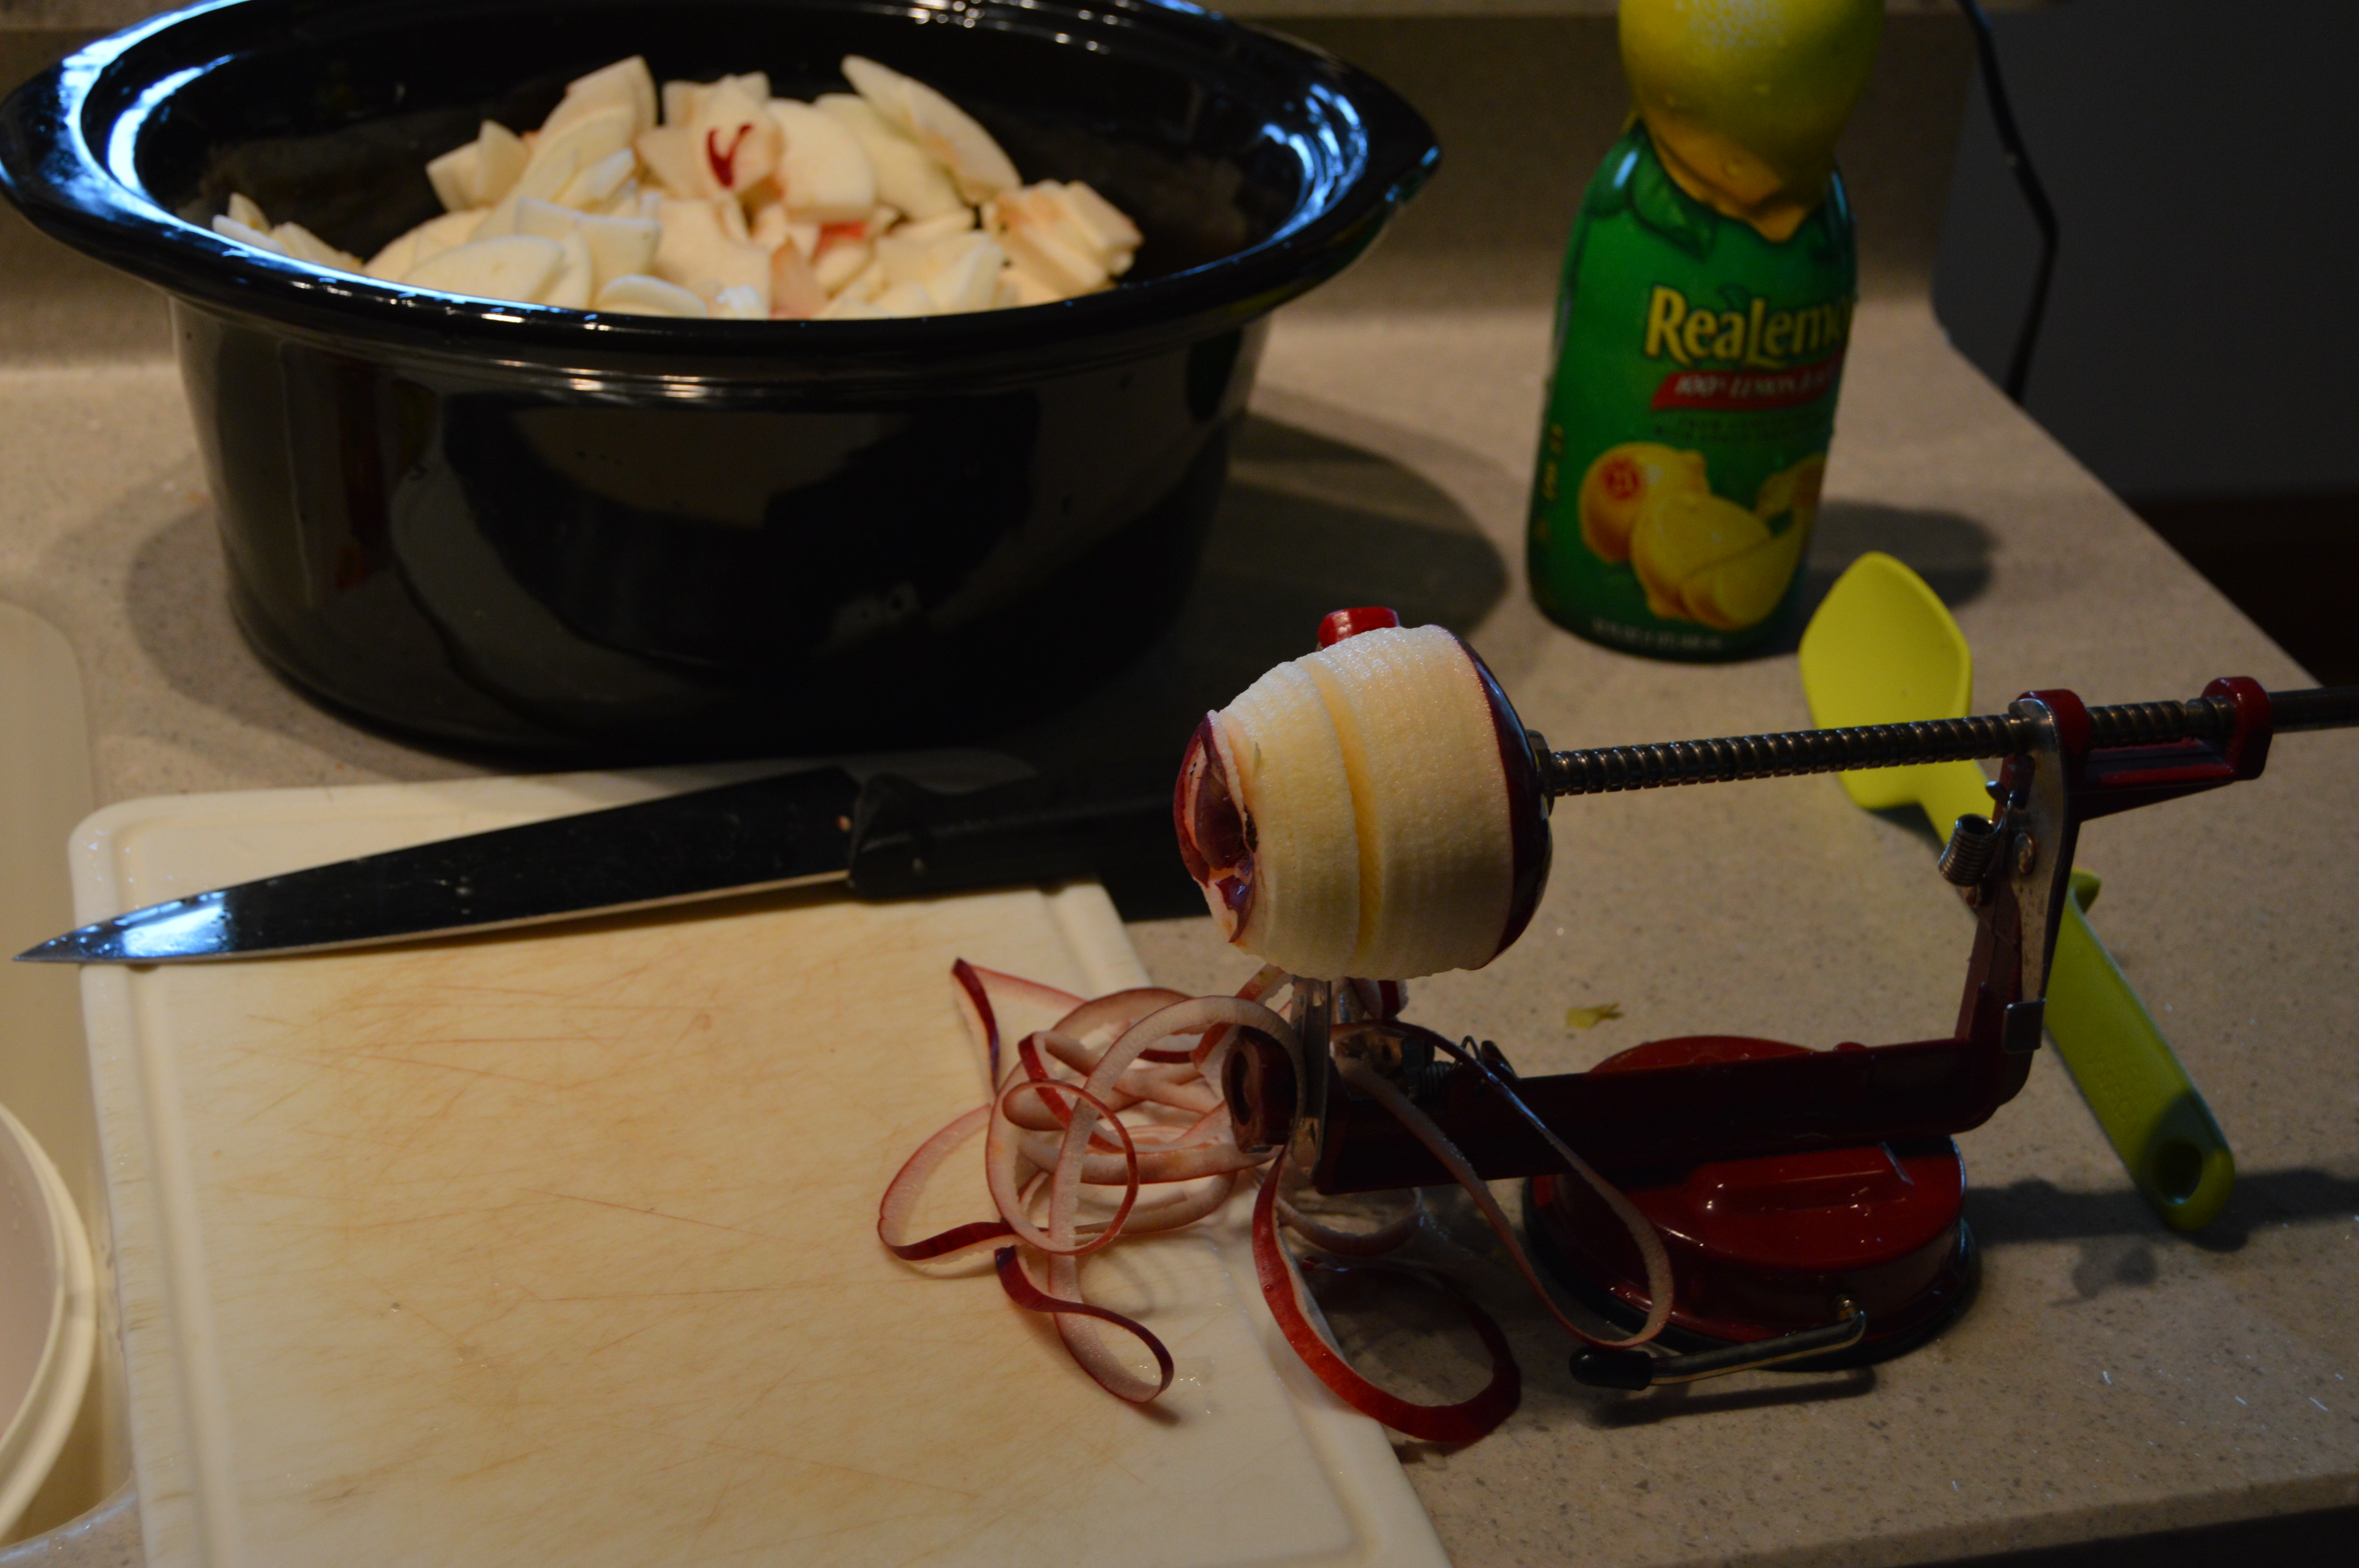
-I didn’t do it this year, but I am going to investigate doing mashed potatoes in the slow cooker.  I made scalloped potatoes this year.

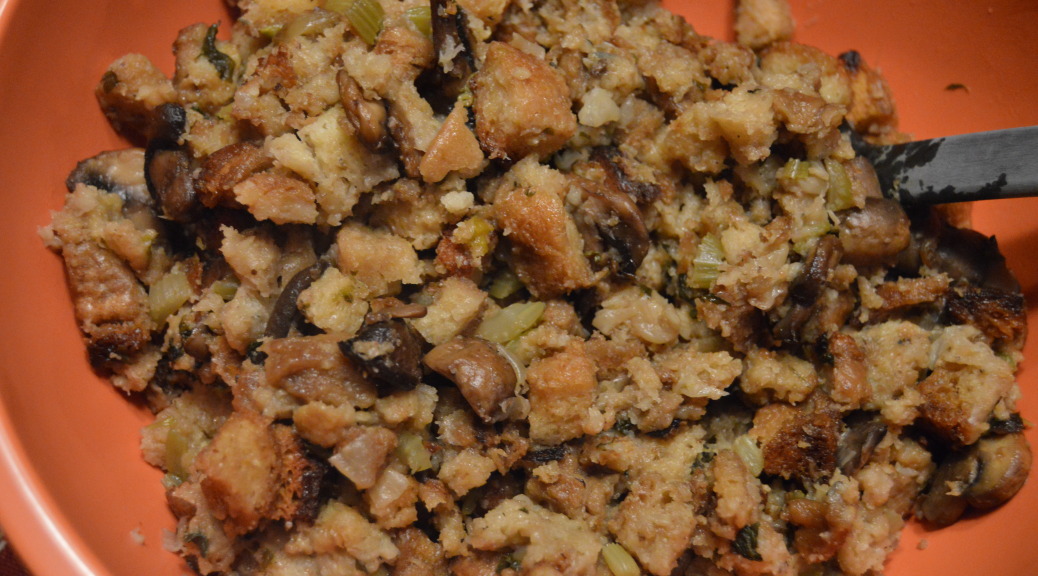
-This last one is not new for me but one I think you will want to know more about.  I do the stuffing in the slow cooker.  It goes on first thing T-Day morning, and it makes the house smell like…well…Thanksgiving.


This recipe is the halved version

DSC_0001

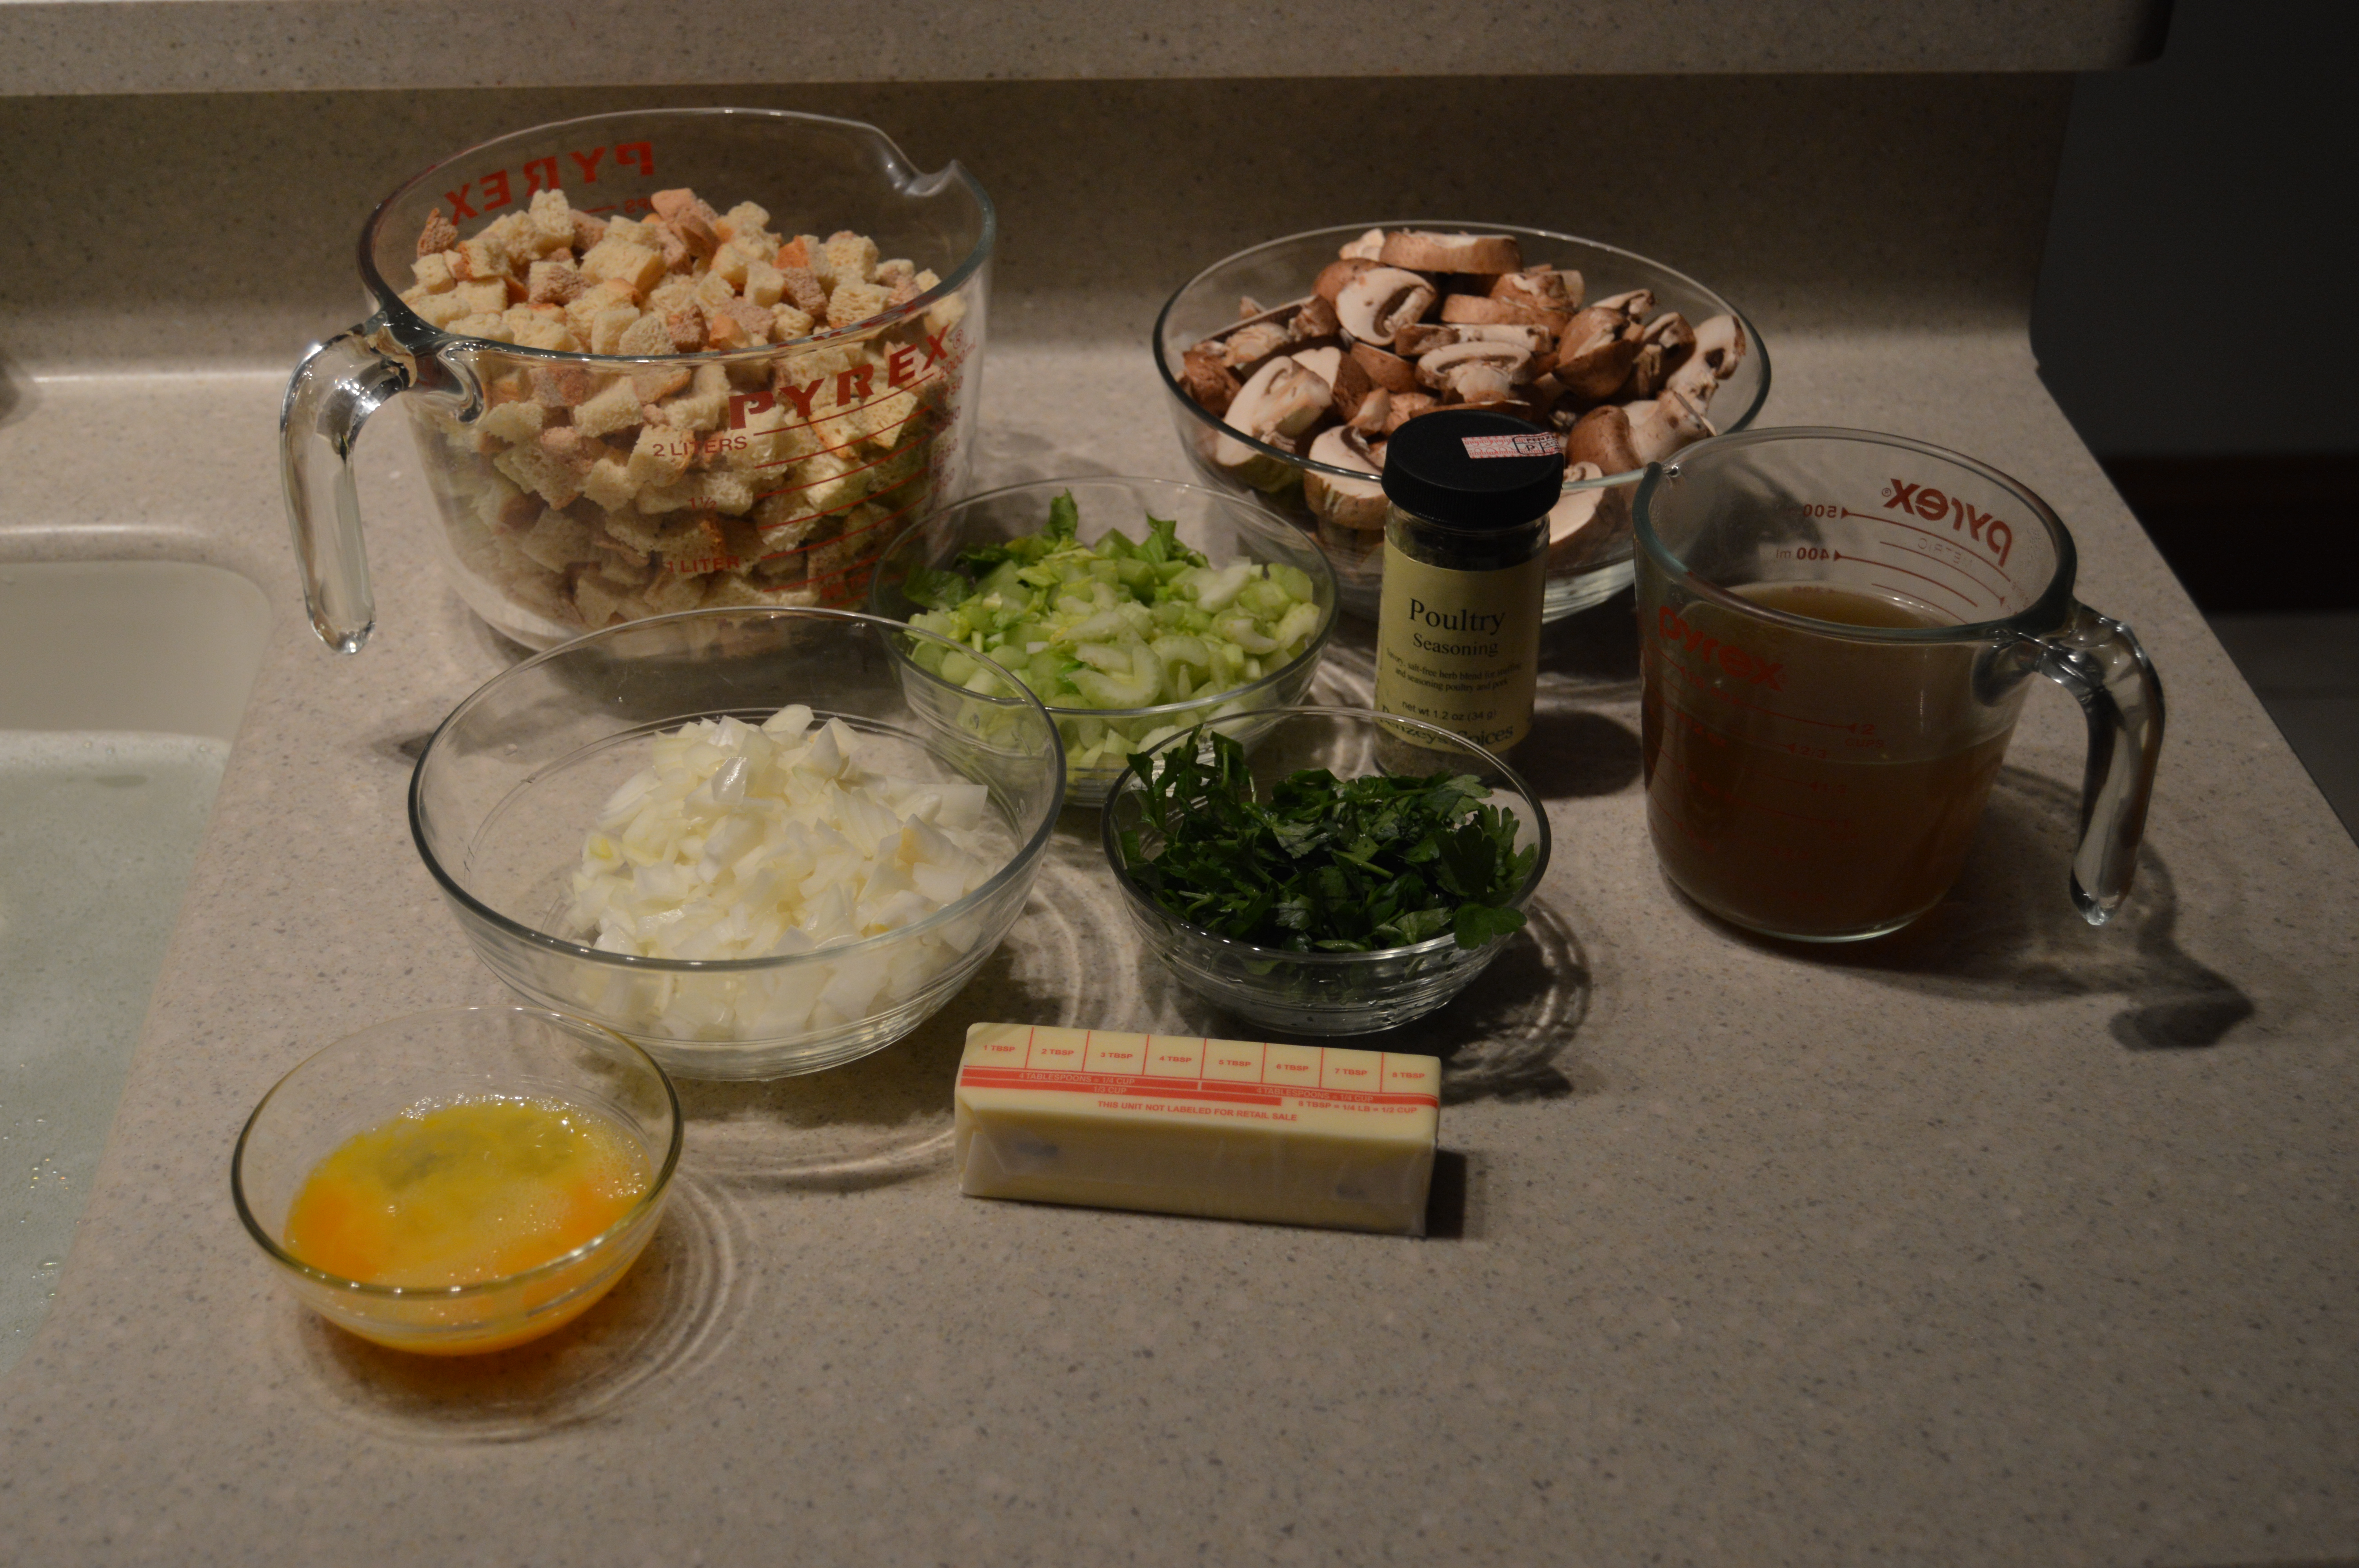
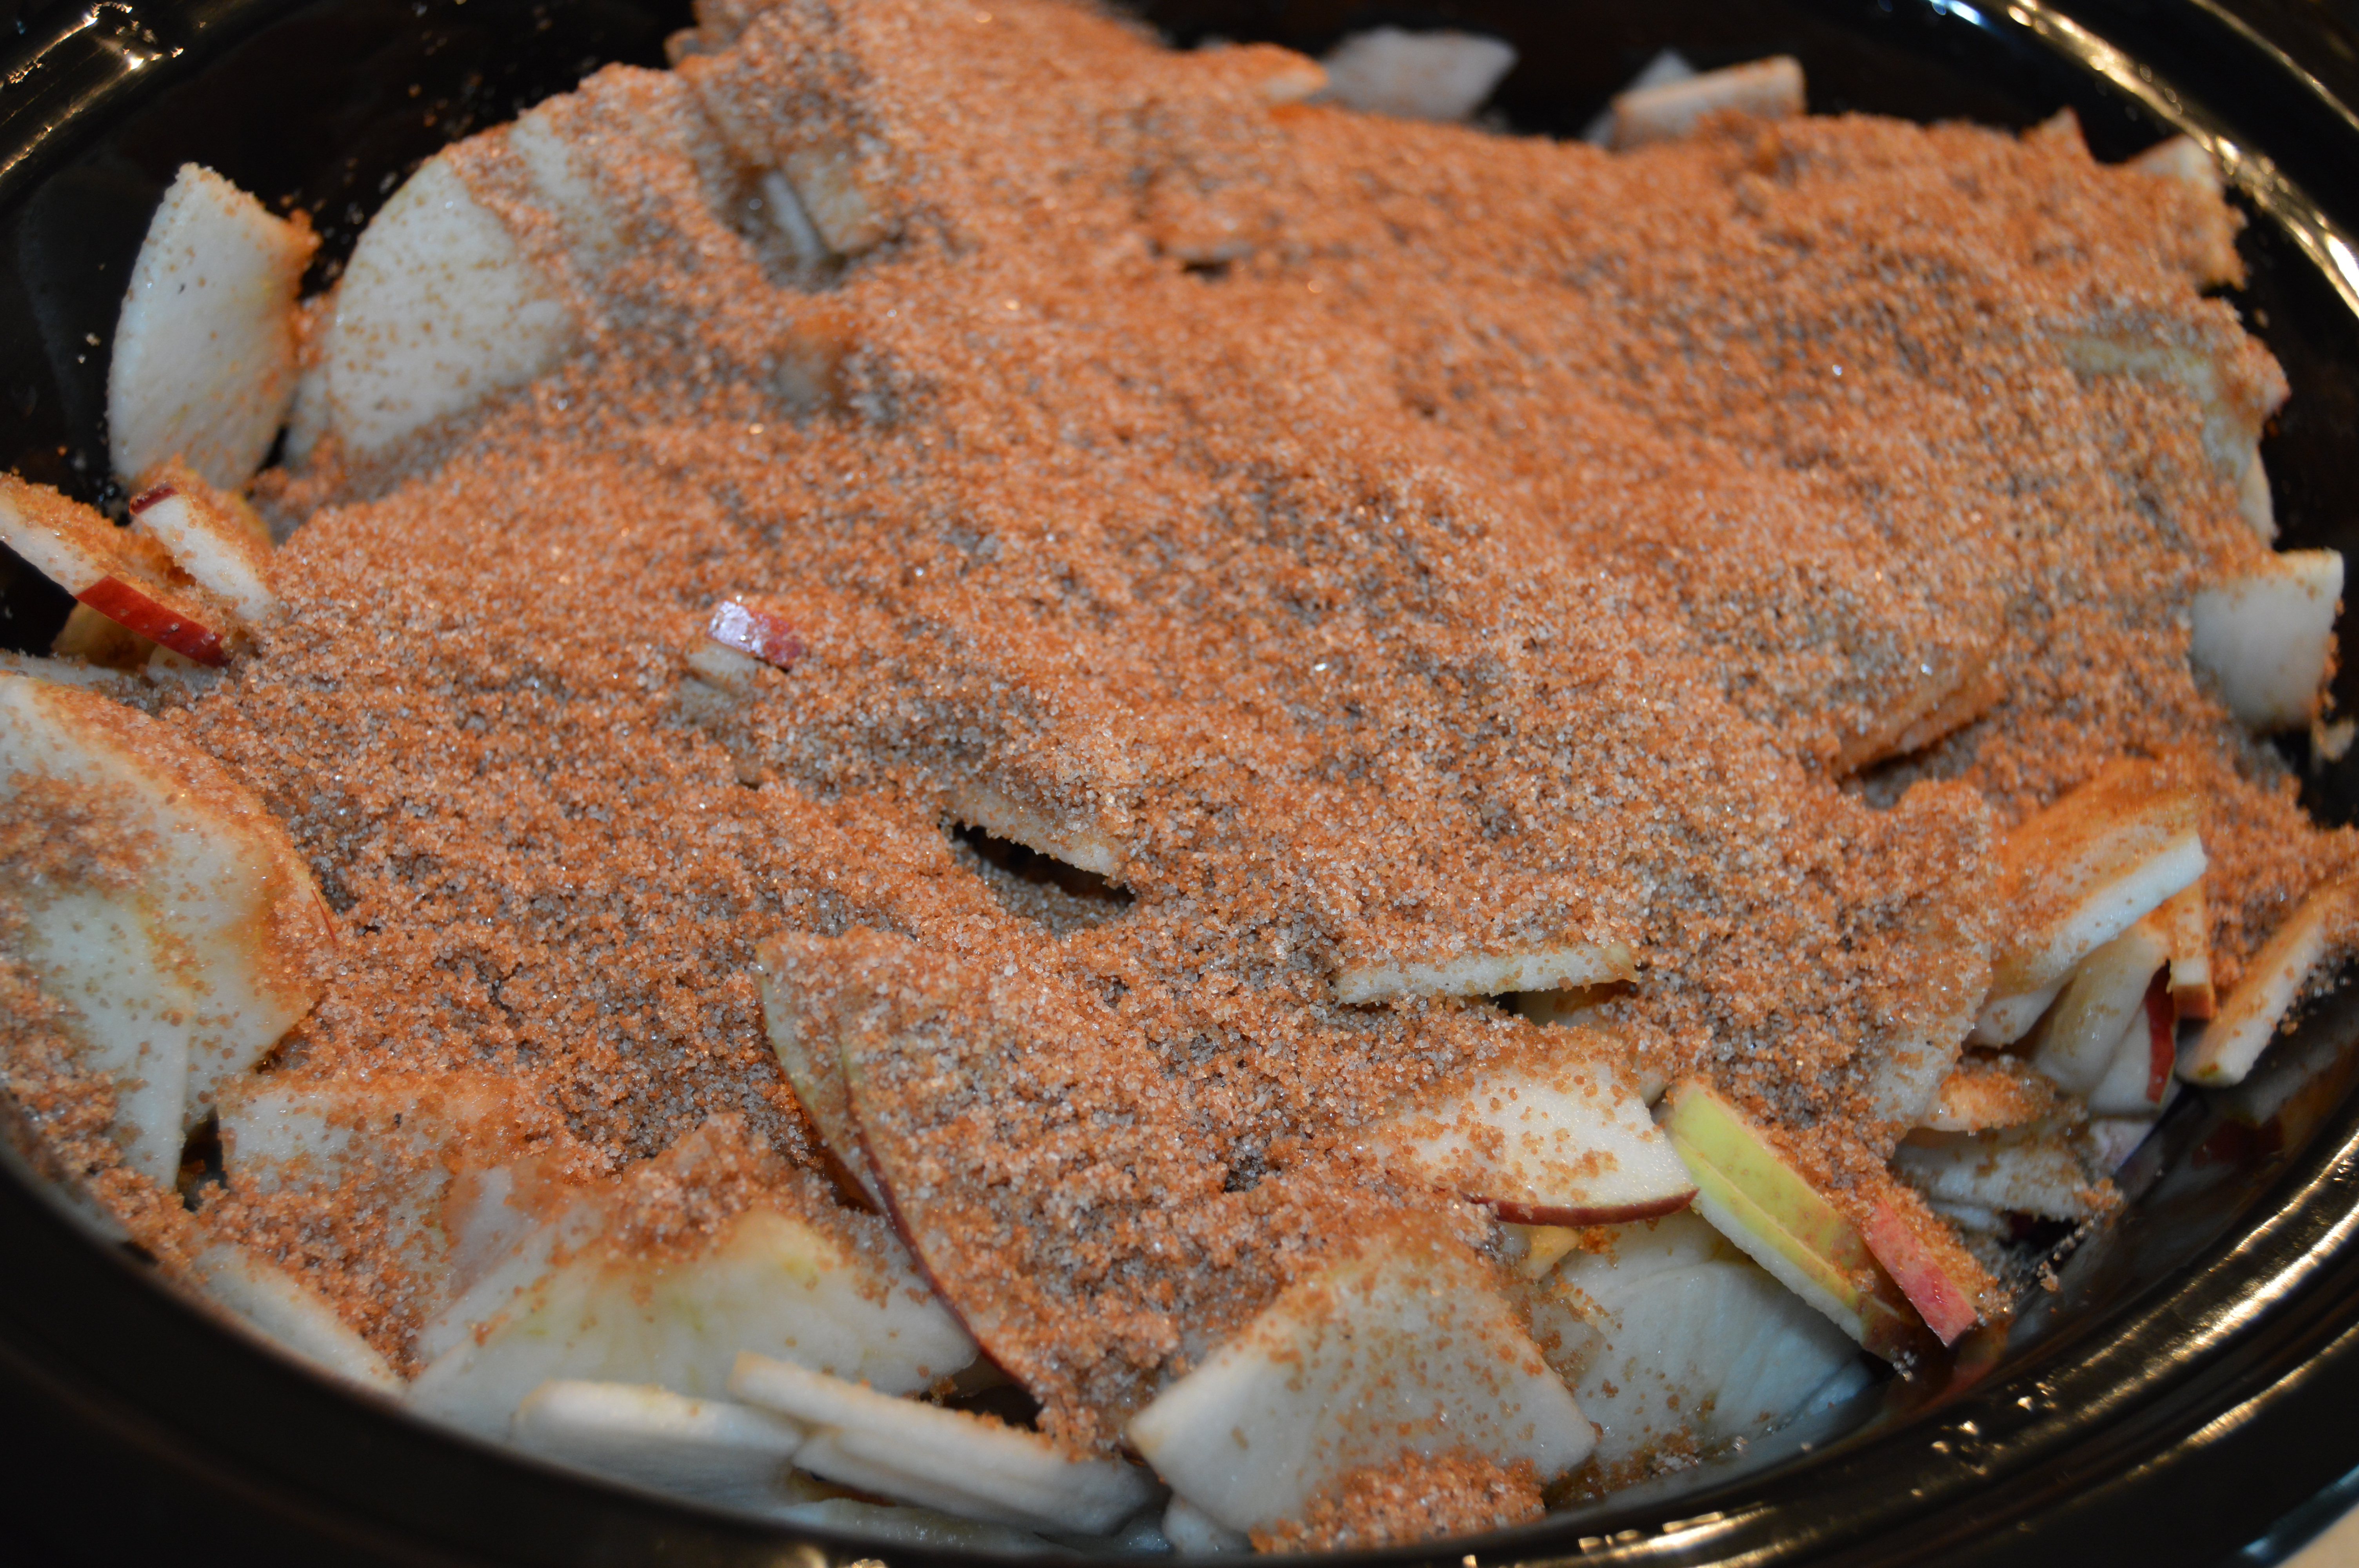
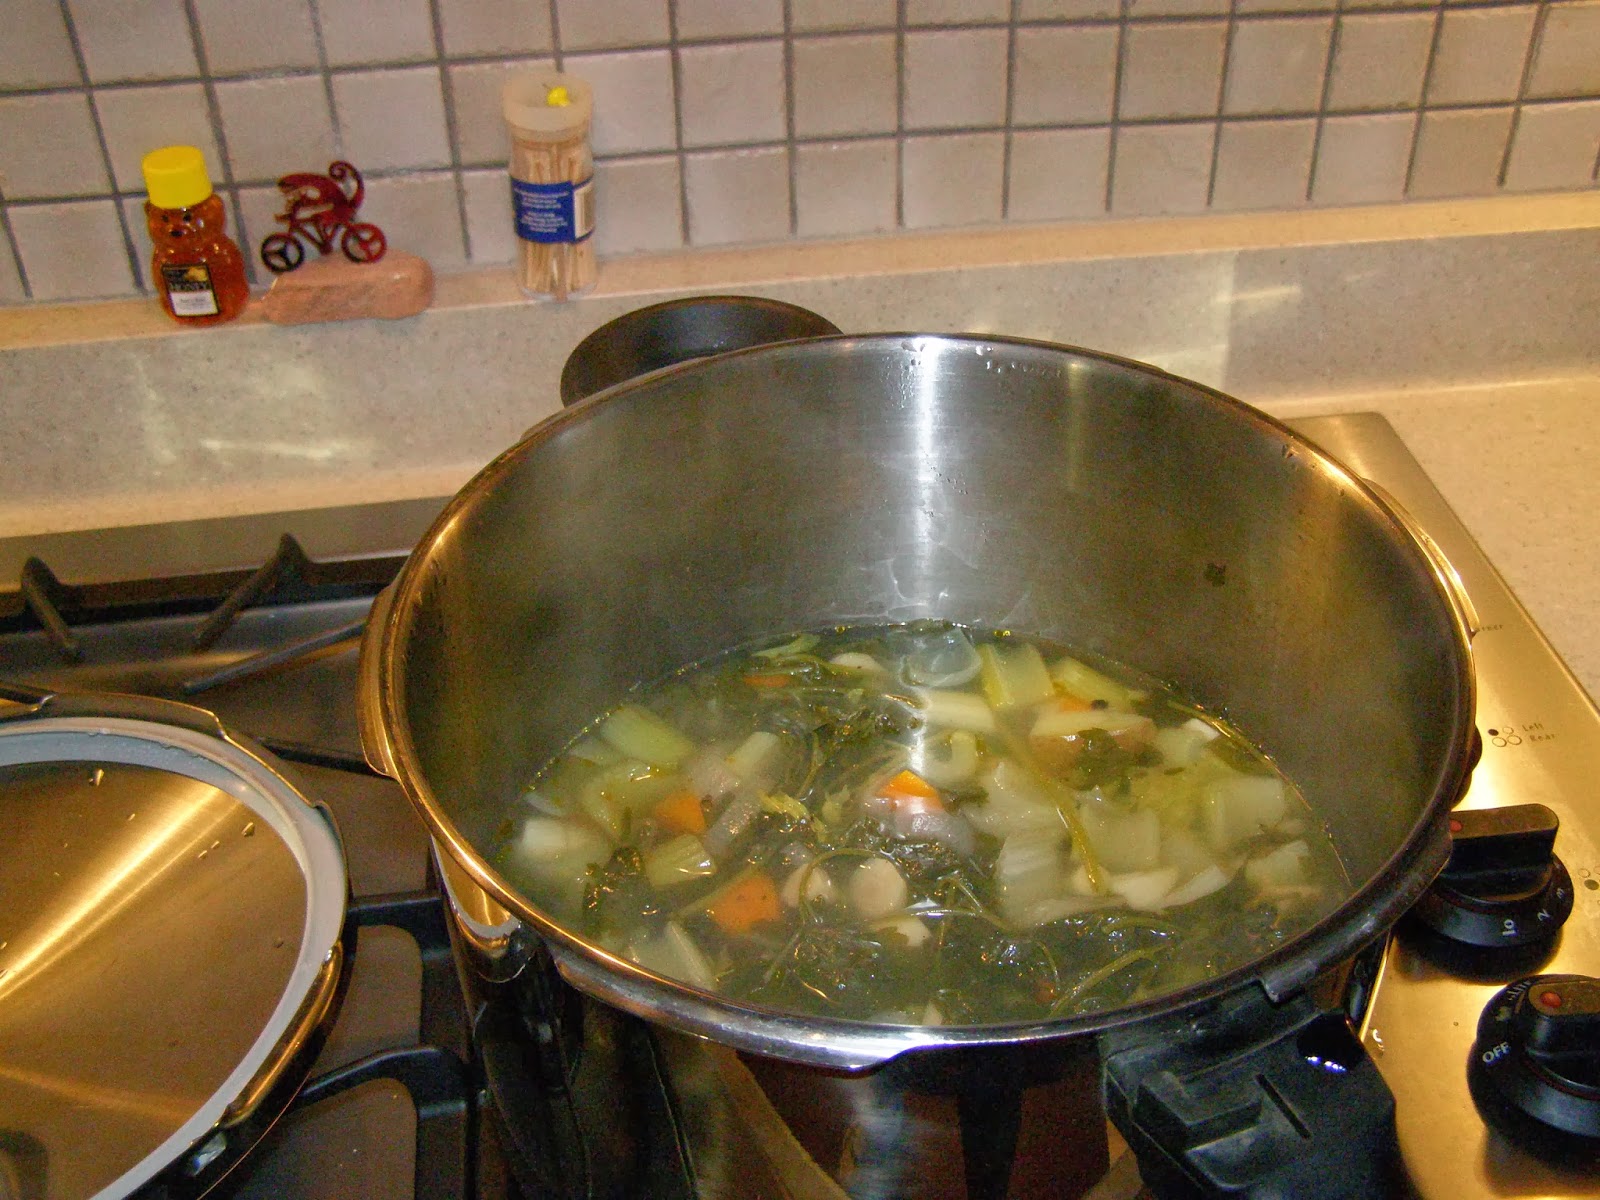
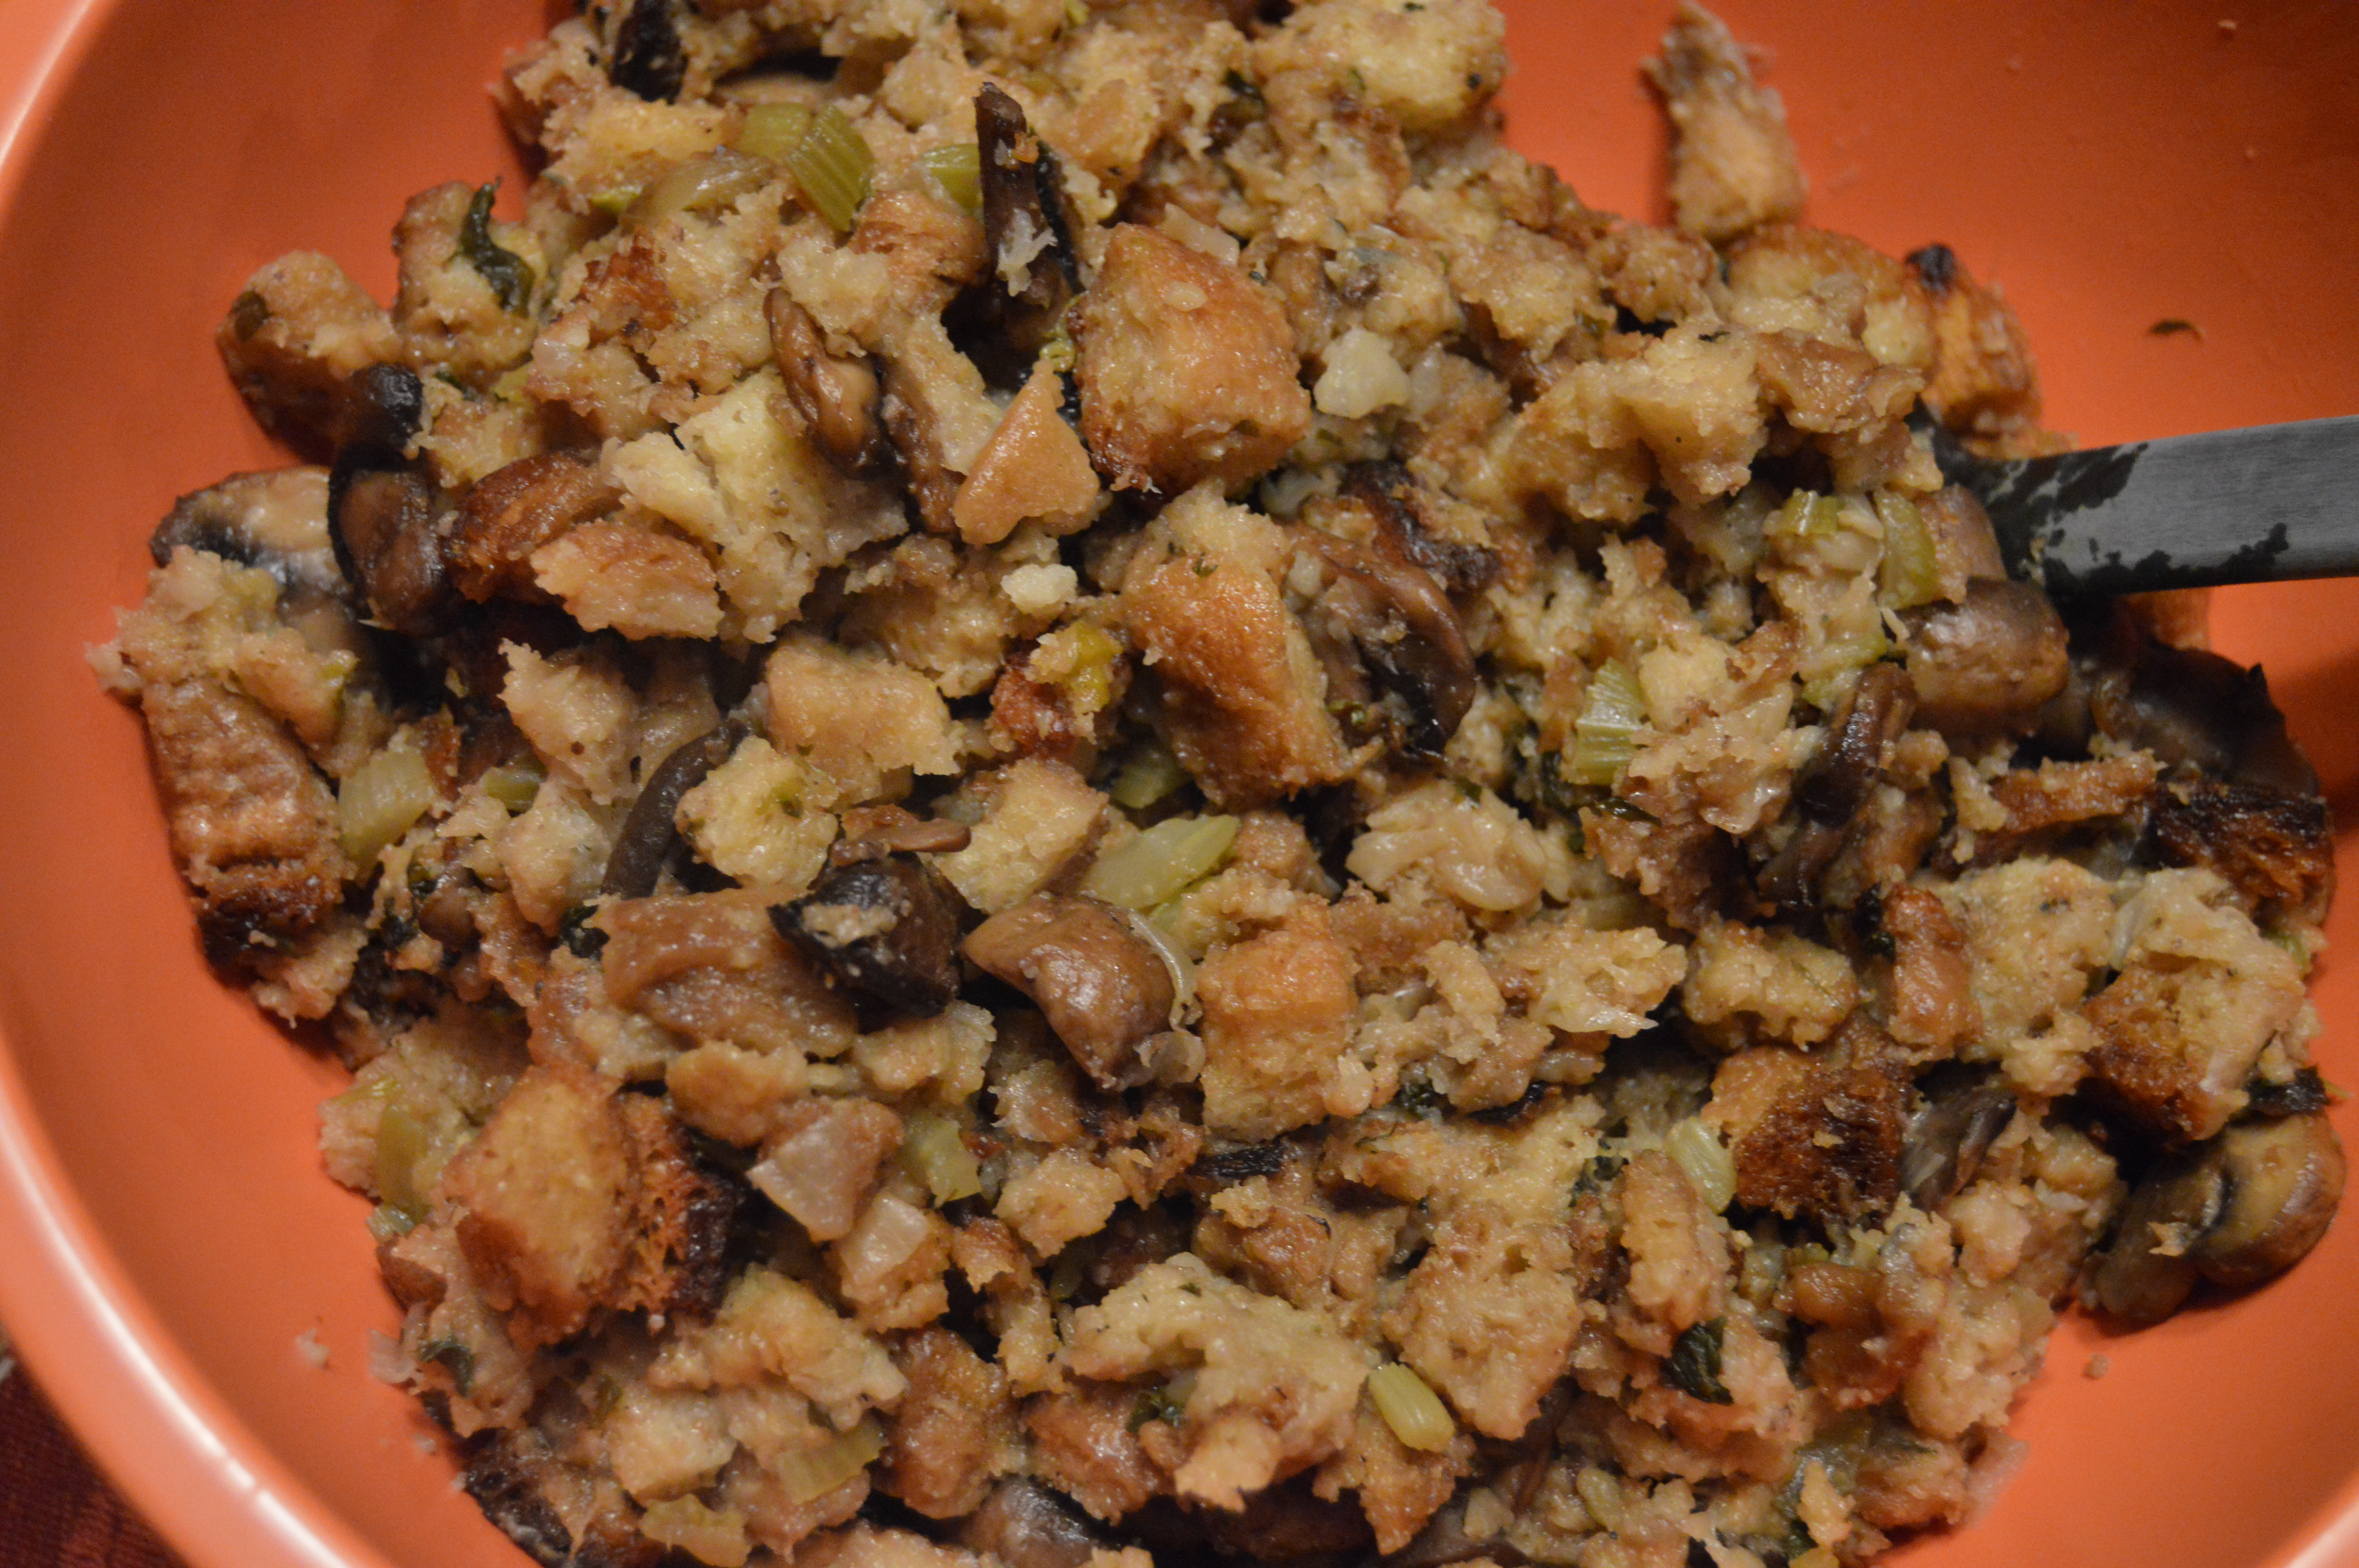
Bread cubes, sliced mushrooms, veggie broth, chopped parsley, butter, 1 egg,  onions, celery and poultry spice(the other spices not pictured).

DSC_0007 DSC_0011

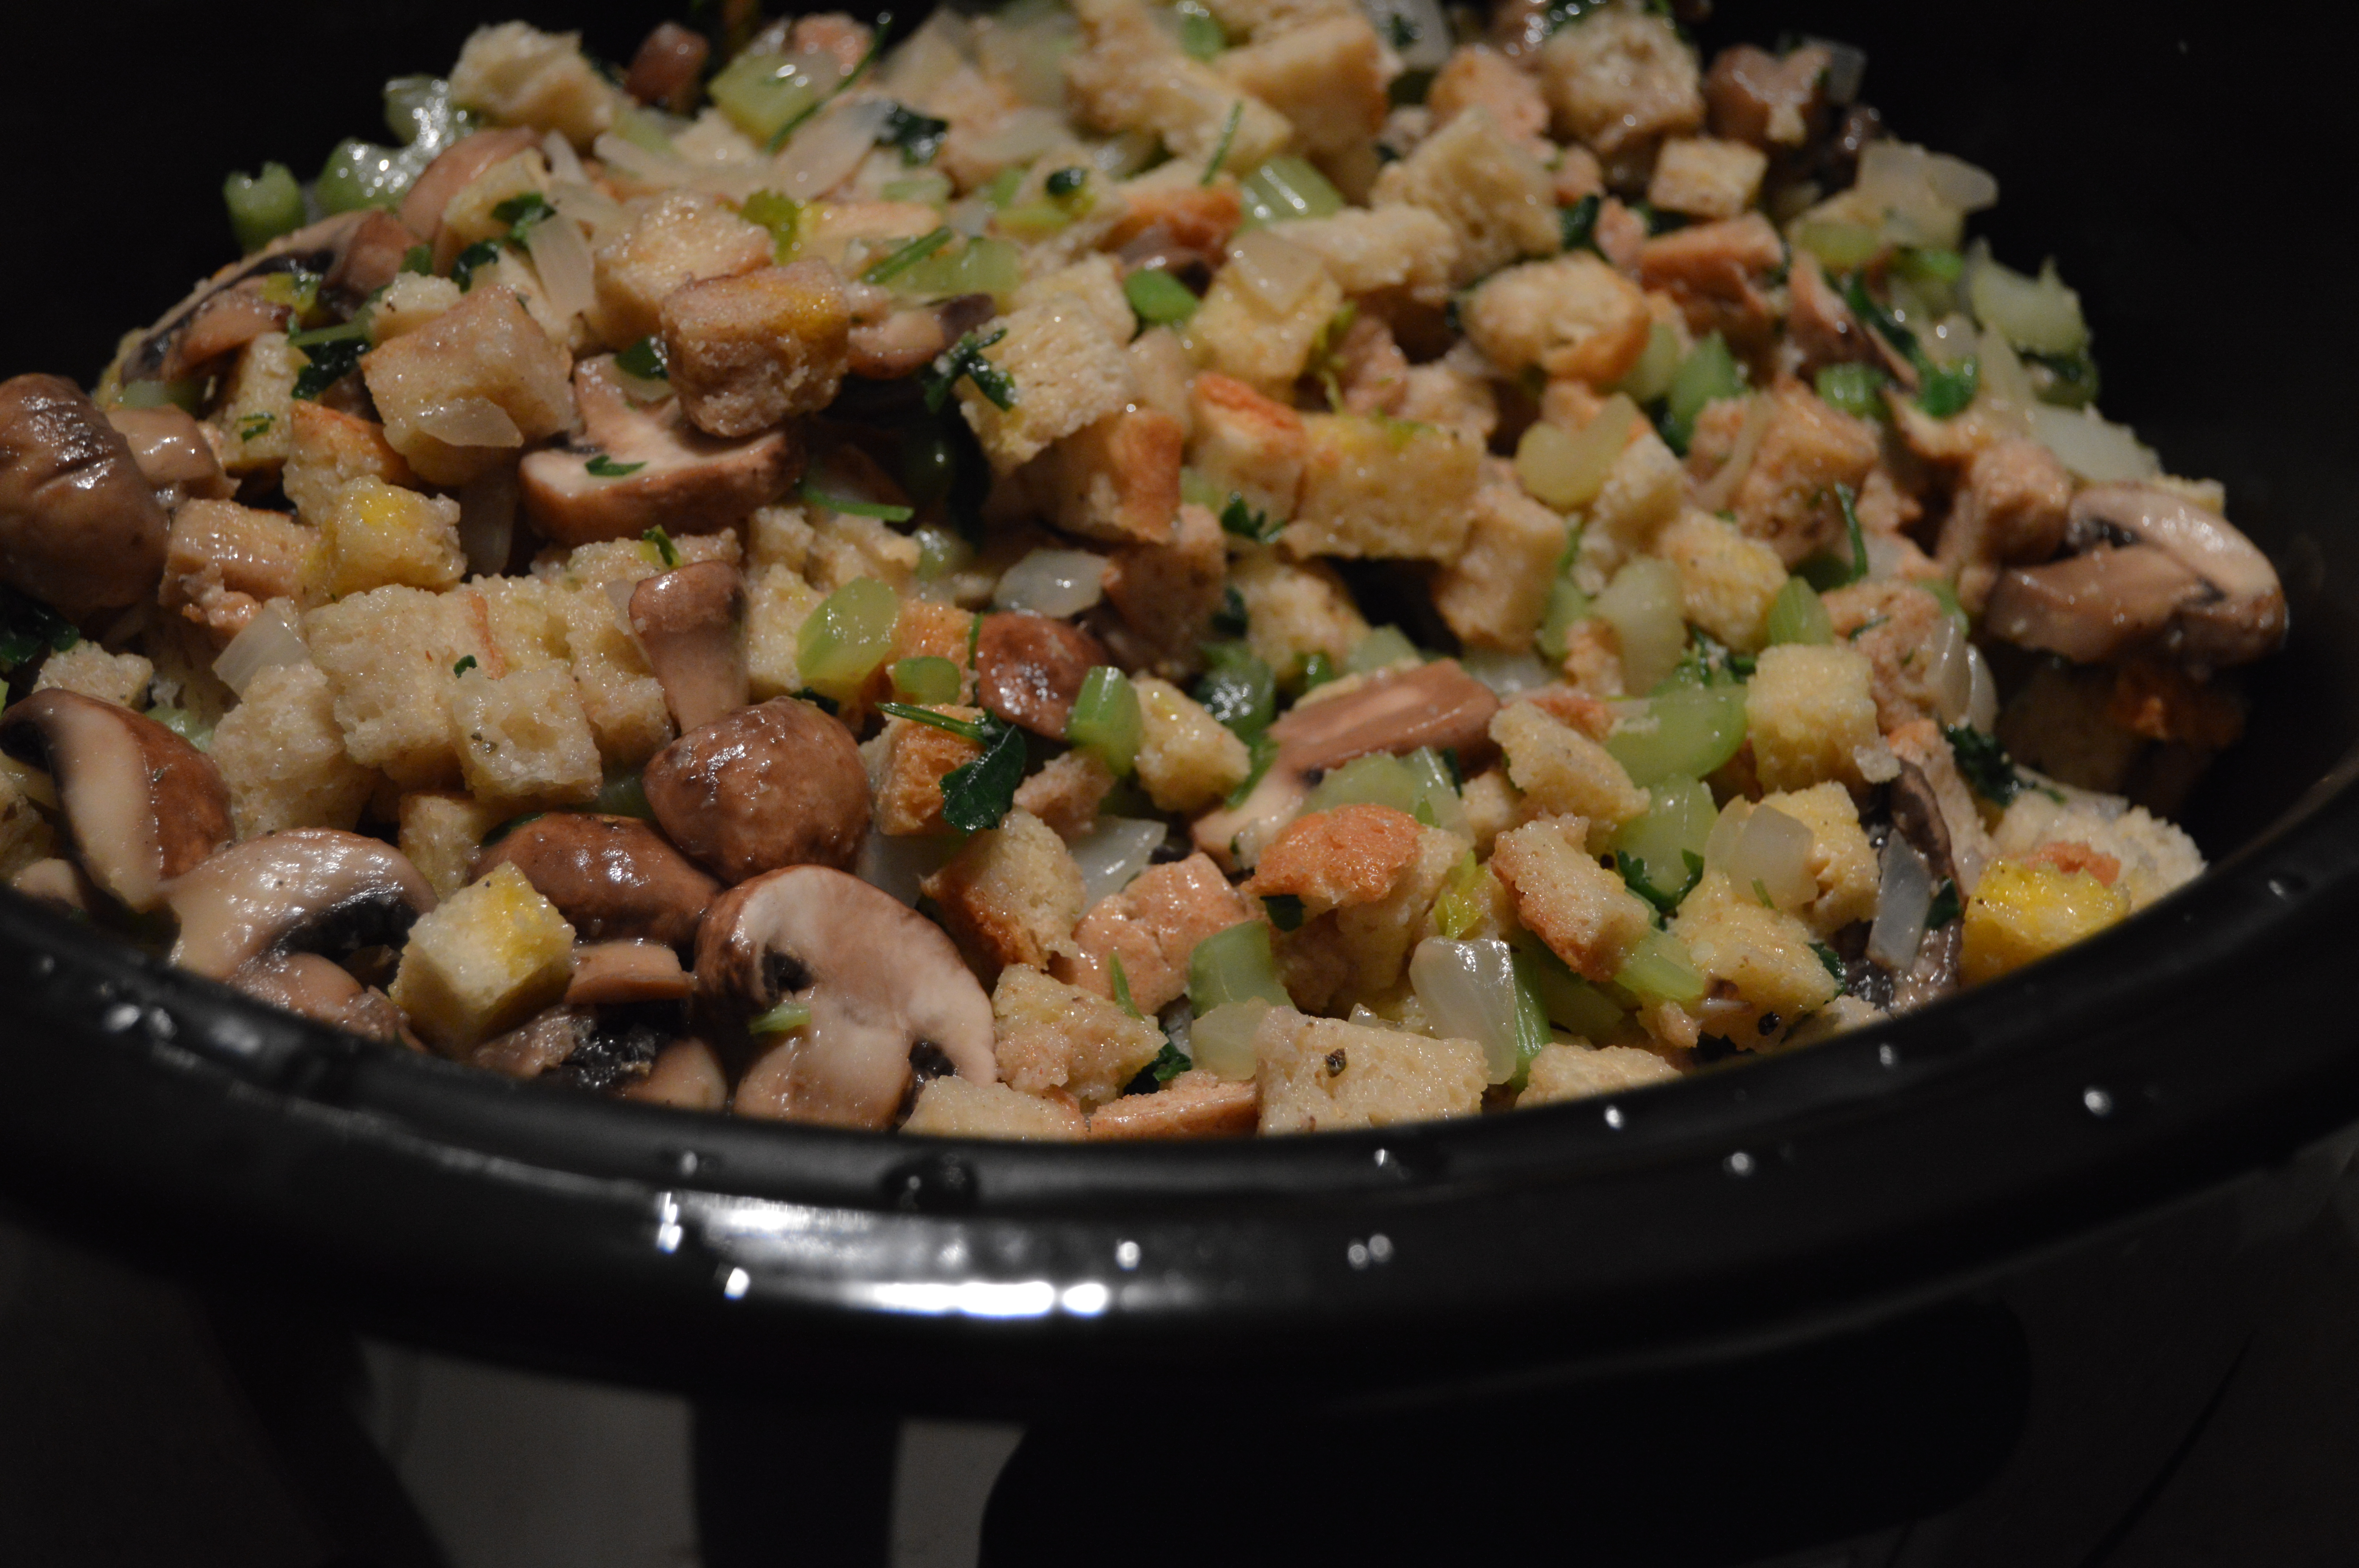
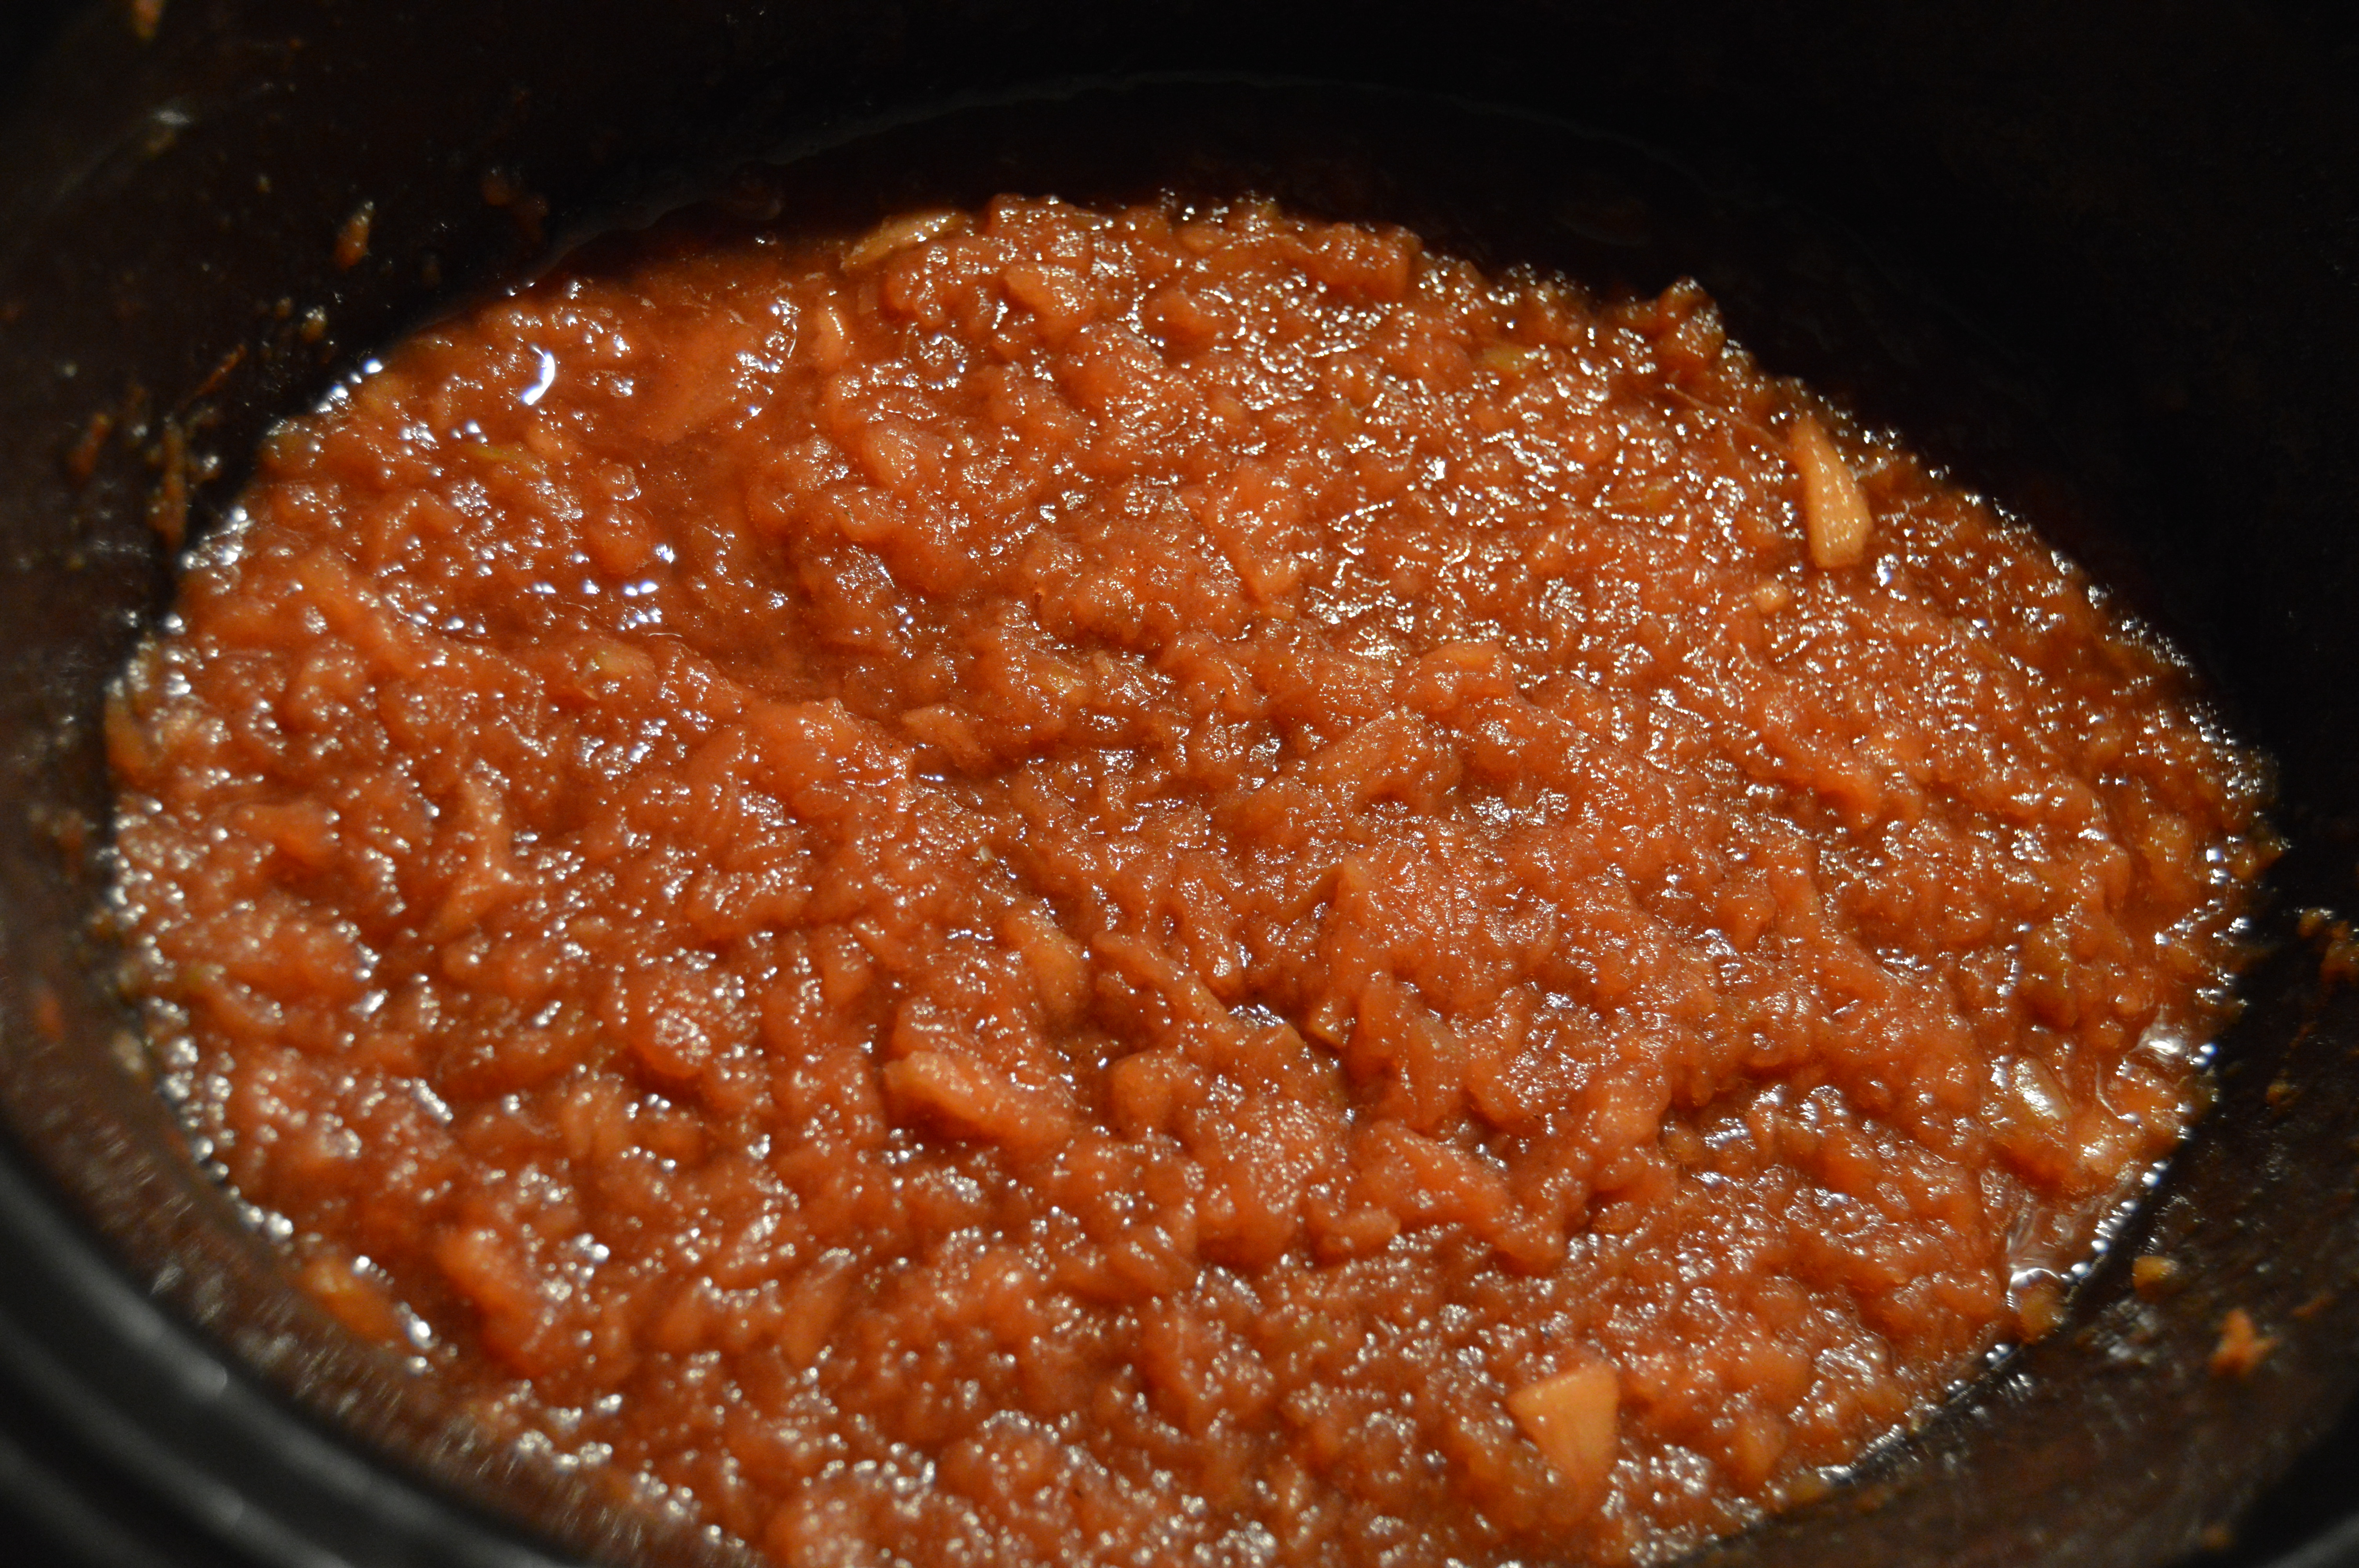
The sauteed veggies and then added to the crock pot.

DSC_0047

The stuffing

Crock Pot Stuffing

I pulled this off the internet in 1996 or 1997.  I still have the original print-out with doodles from my youngest on the back of it.  I usually halve this recipe because it comfortably feeds 6-7 folks.

Ingredients

-1 cup unsalted butter

-2 cups chopped onion

-2 cups chopped celery

-1/4 cup parsley spring(I chop up a handful)

-1 12 oz package of mushrooms, sliced

-12-13 cups slightly dry bread crumbs*

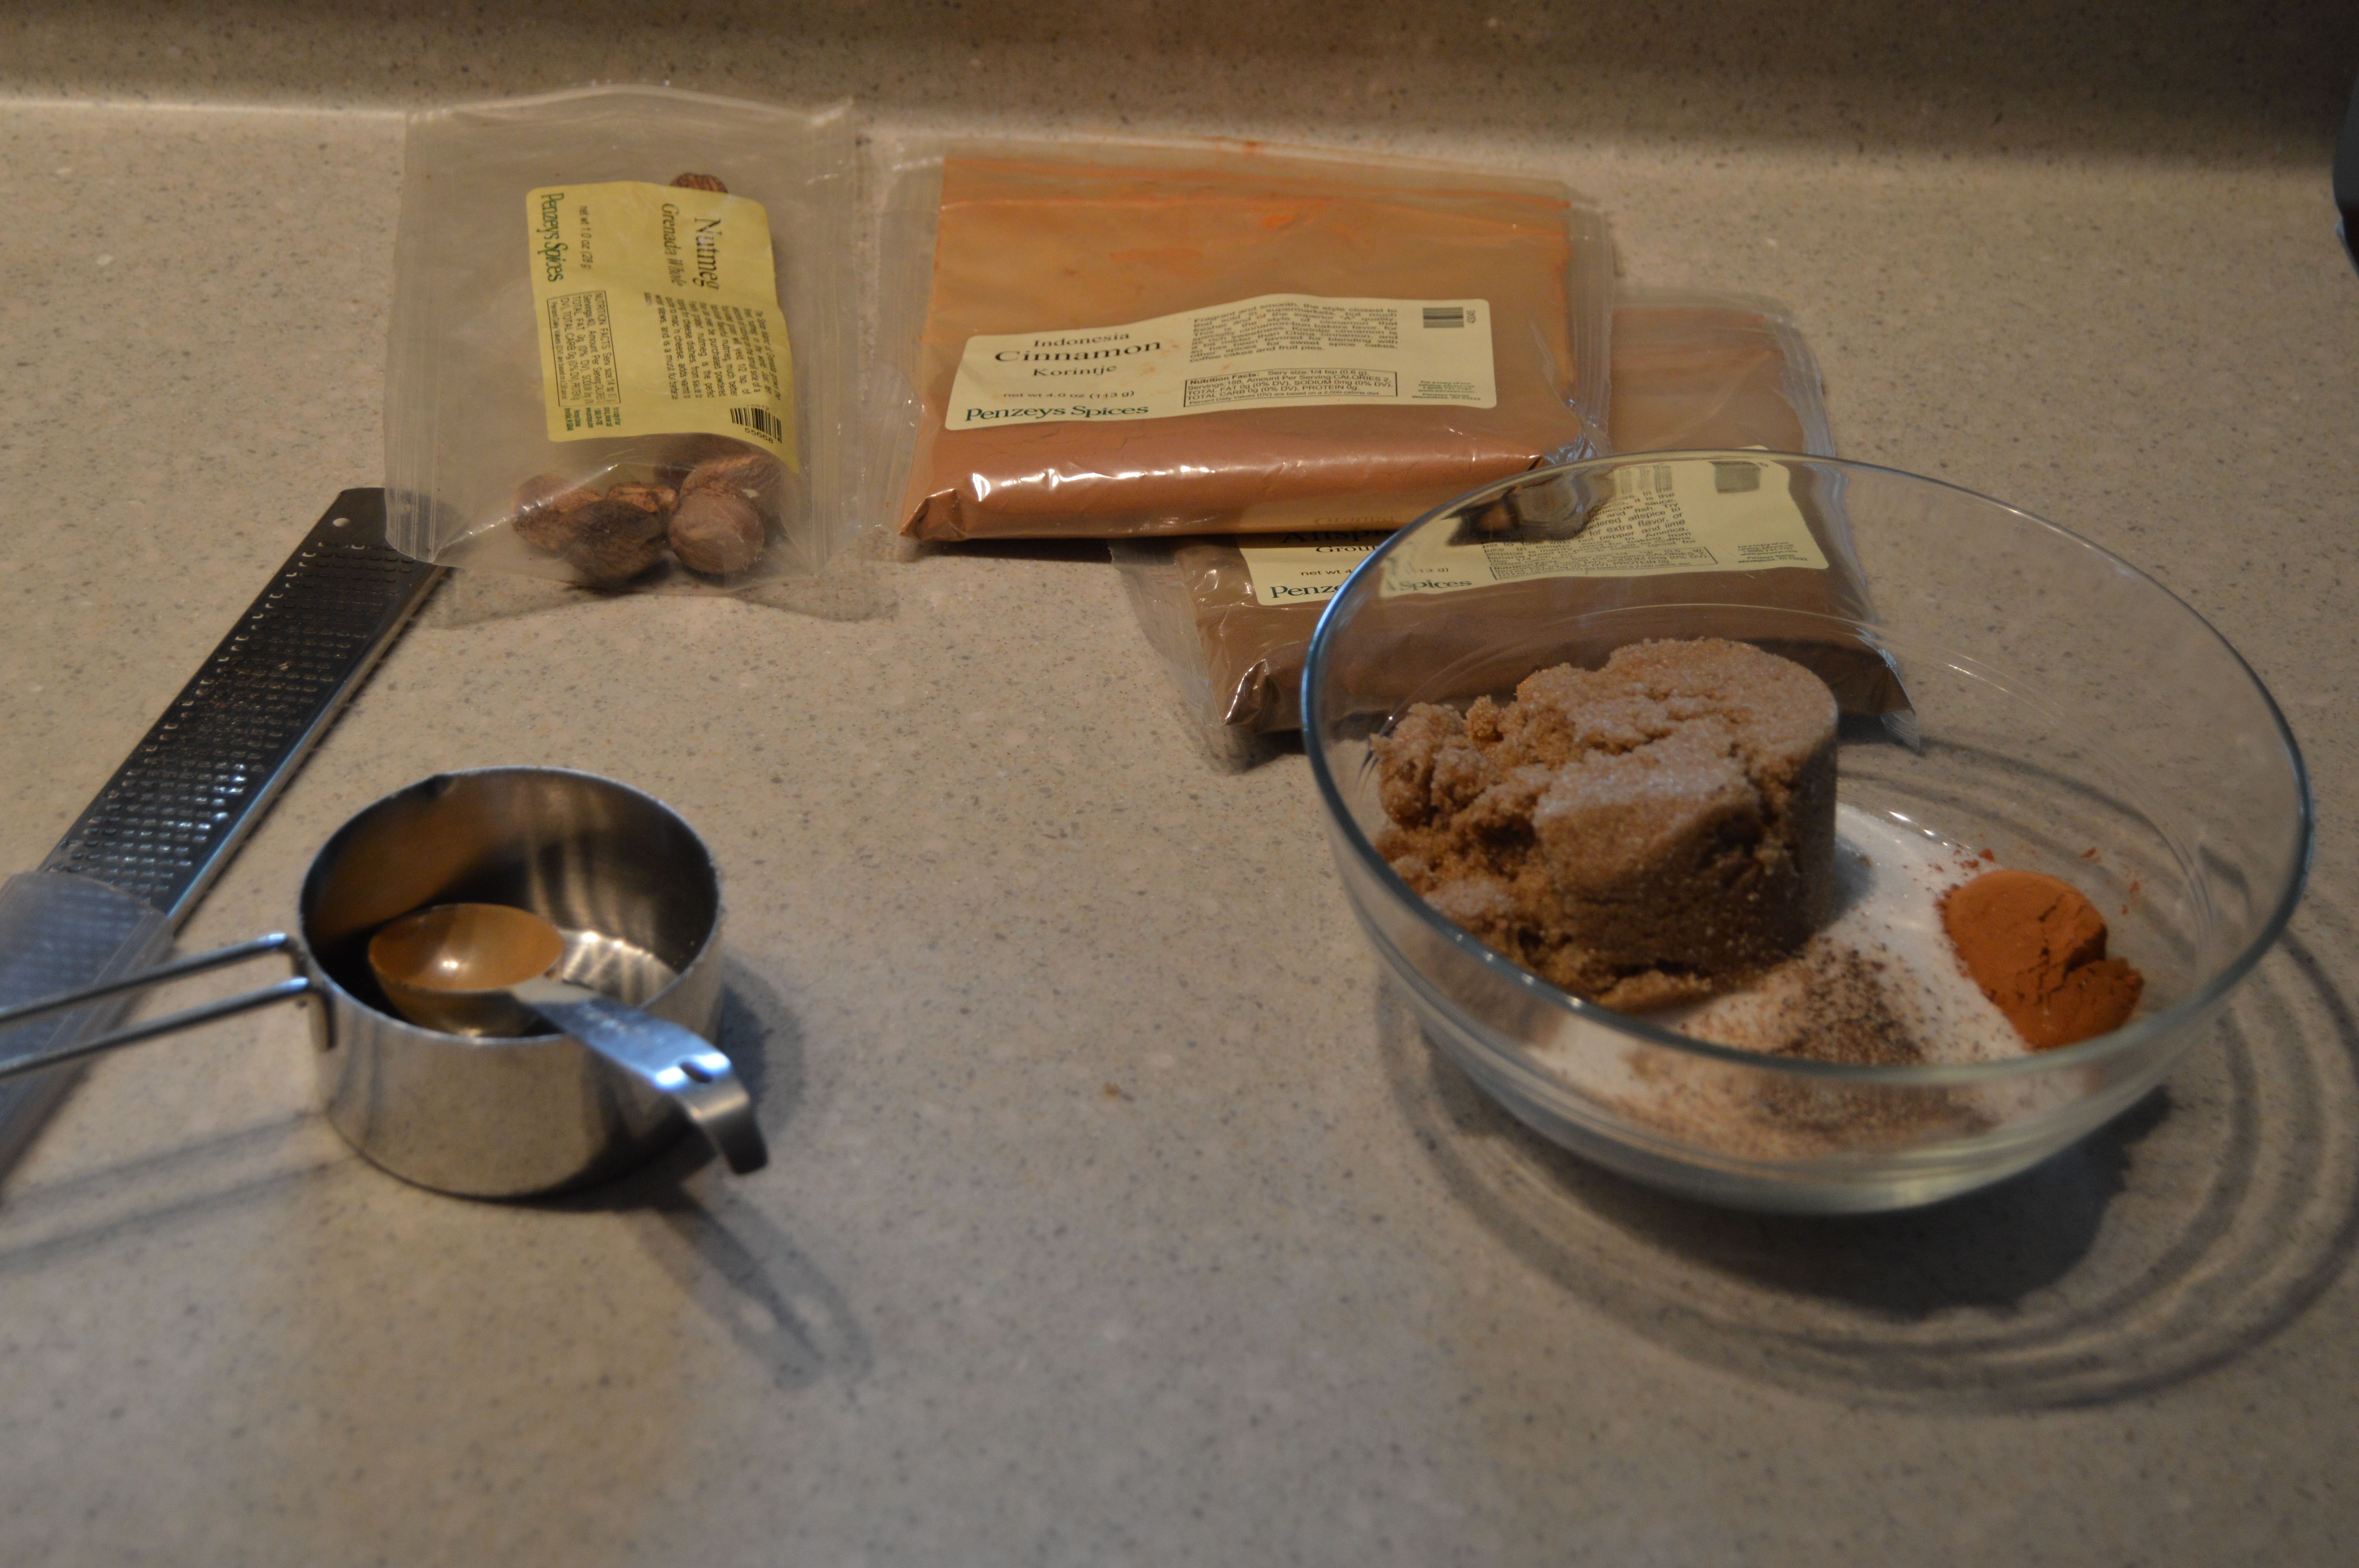
-1 teaspoon poultry seasoning

-1 1/2 teaspoon salt

-1 1/2 teaspoon sage

-1 teaspoon thyme

-1/2 teaspoon black pepper

-1/2 teaspoon marjoram

-3 1/2 to 4 1/2 Cups broth(I use veggie)

-2 eggs, well beaten


Directions

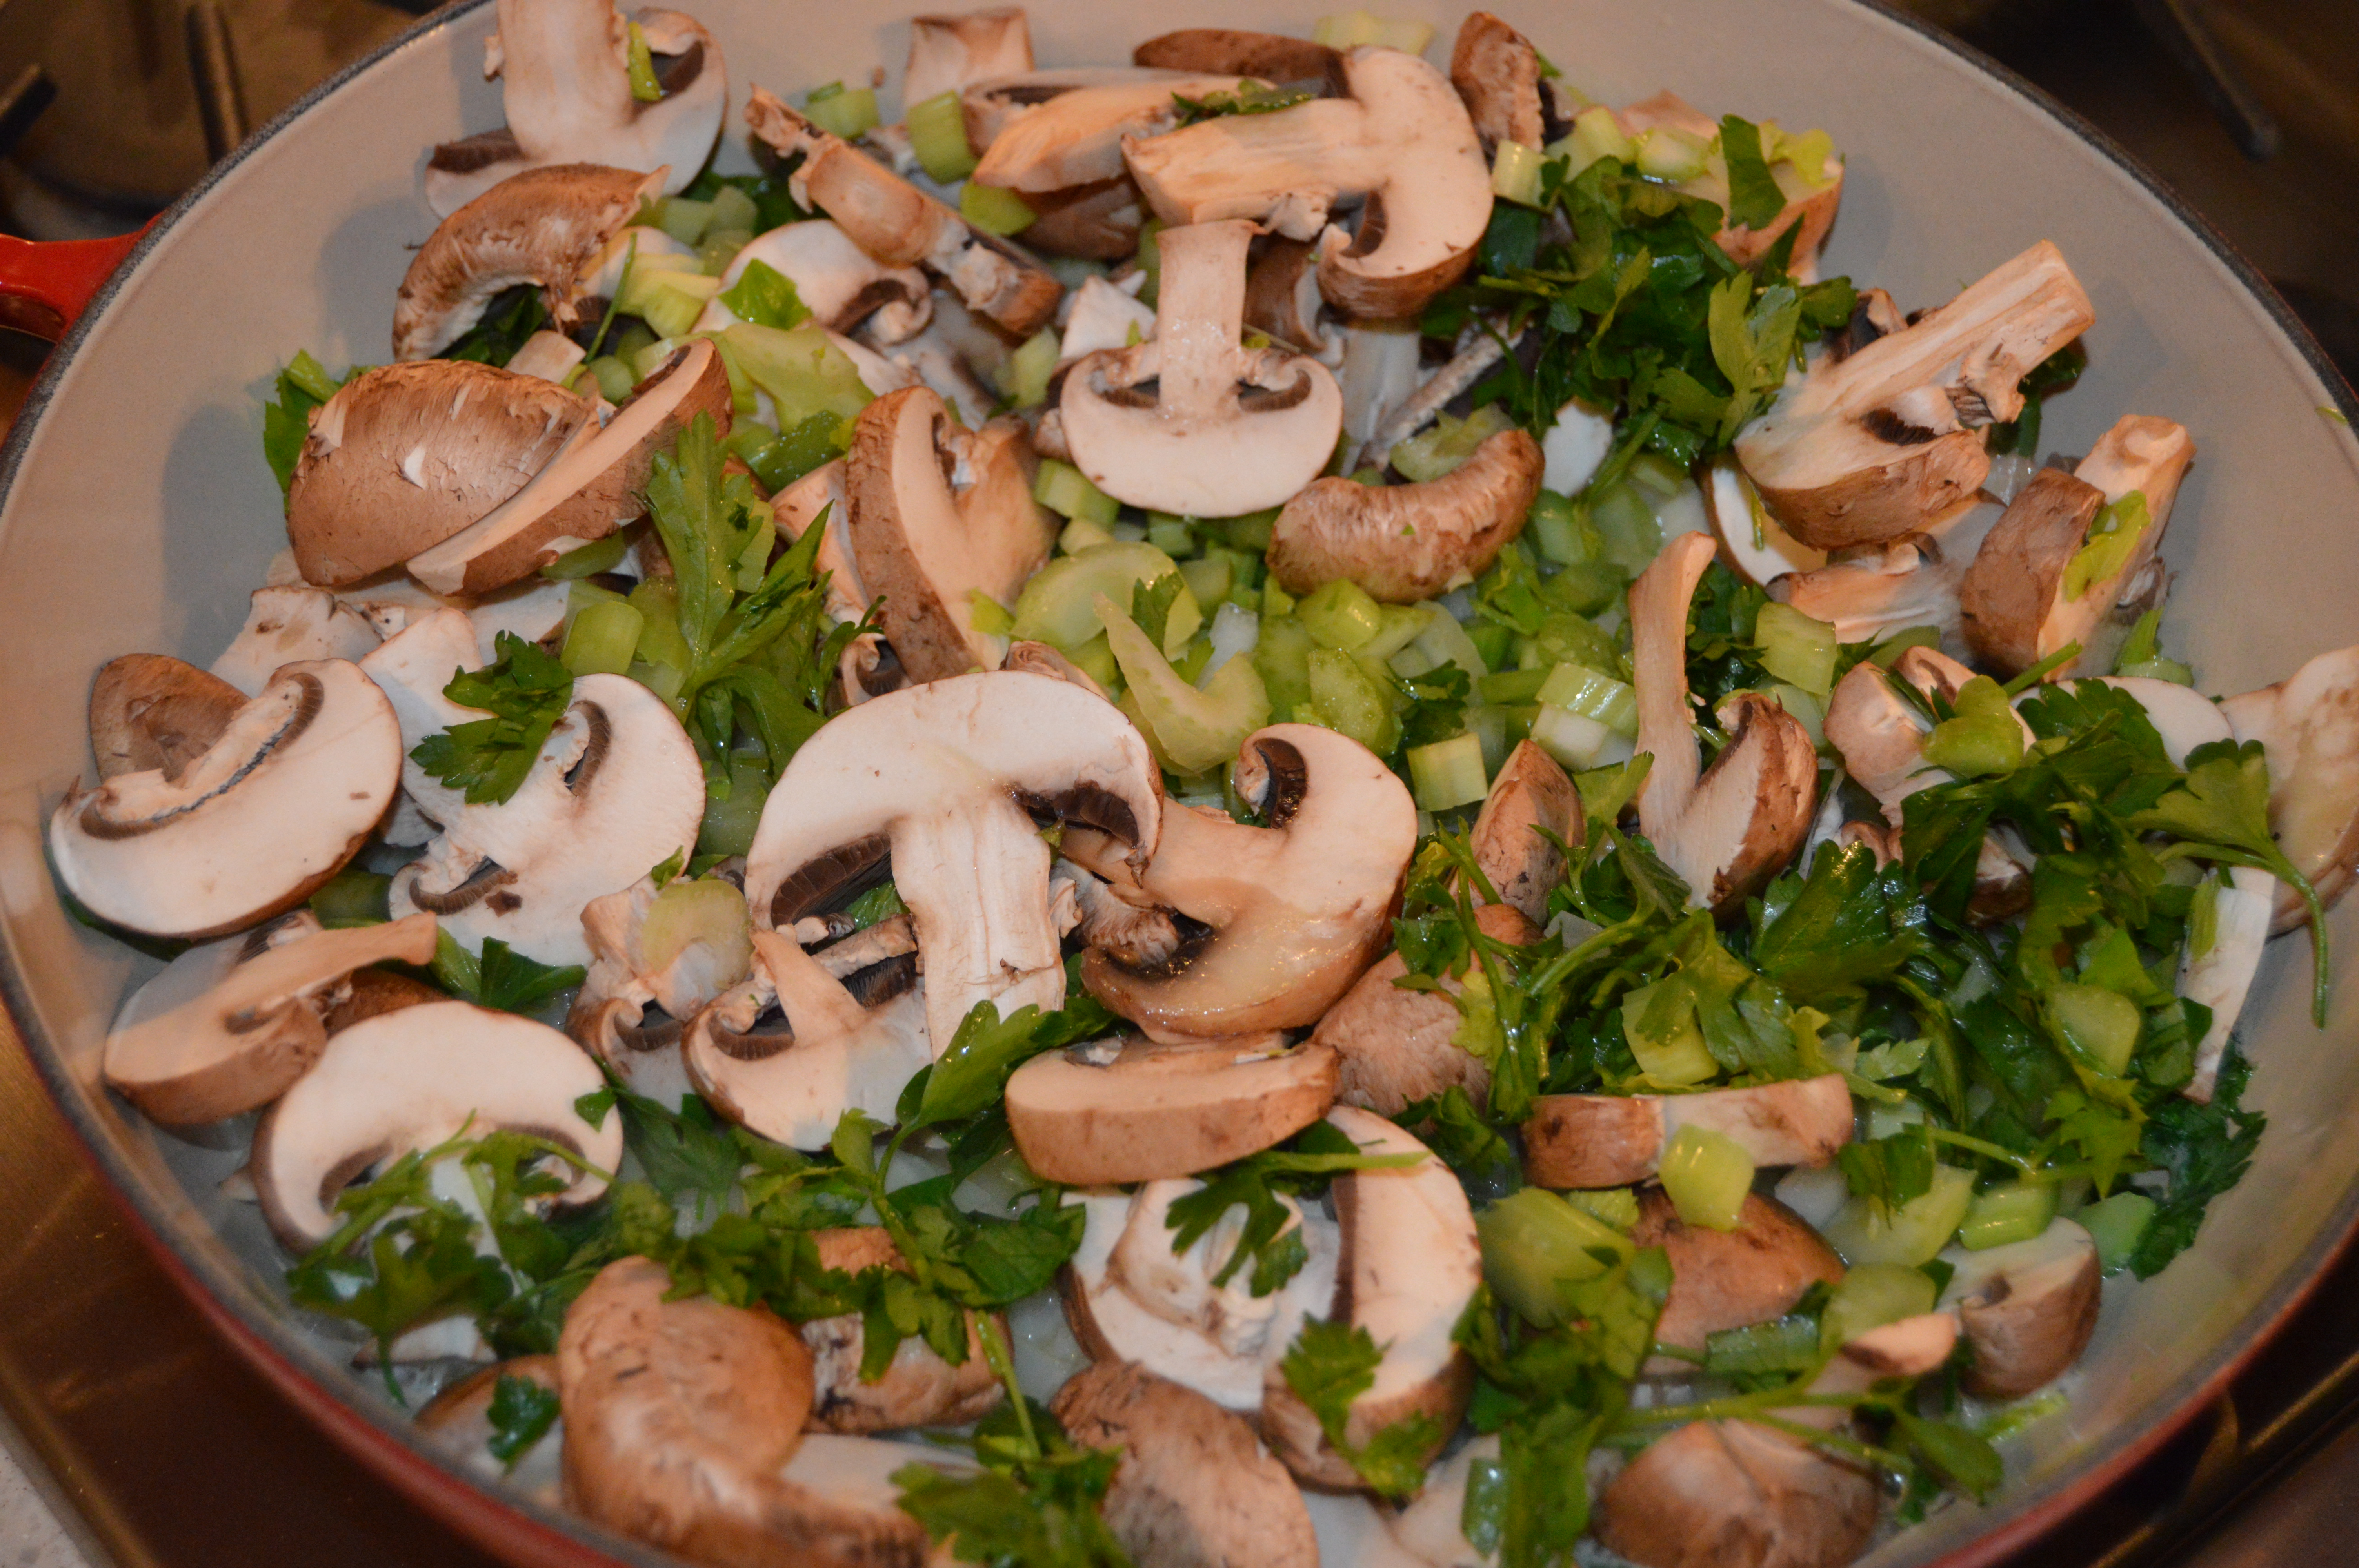
1. Melt butter in a skillet. Saute onion, celery, mushrooms, and parsley on medium high heat for 5-7 minutes.

2. Pour sauteed vegetables over bread cubes in a very large bowl. Add seasonings and toss together. Pour in enough broth to moisten., add beaten eggs and mix together well.

3. Pack stuffing lightly into crock pot and cook on high for 45 minutes. Reduce to low and cook for 4 to 8 hours more.


*I make my own bread cubes by making a a loaf of white and wheat, and if they are fresh loaves, slice them and leave the slices to sit overnight.  I then cubed them and put them in the dehydrator for 3-4 hours to get them good and crispy. Painstaking? You bet but it really makes a difference in the stuffing.  You can also do this weeks before the holiday and freeze the slices or cubes.


IMG_0387

Here’s the doodle.  Seeing she’s turning 25 in a few weeks,  this stuffing has been served at Thanksgiving for many years.  It always turns out and is always a big hit.

Easy Crock-Pot Apple Butter

This is a continuation of what I did with forty pounds of fresh, organic apples  hubby and I picked a few weeks ago.  He requested apple butter to be one of the results of the apple trip, and I couldn’t refuse.  But honestly, I never knew this was a “thing” until I met my hubby.  I am guessing his Missouri -born mom made it a time or two when he was a boy.  The stuff is good, but I look at it and wonder what to do with it.  The hubby uses it like a jam, but I see me pouring this over yogurt, ice cream or a bundt cake.  It has a lot of spice/flavor so whatever I add it to better be boring. Once you prep the apples, this recipe definitely goes in the “easy” category.  And another bonus is how good this makes the house smell for 10 hours.

DSC_0780DSC_0778Here I am slicing, coring and peeling. I quarter the slices and place them and a dash of lemon juice in the slow cooker.


DSC_0782


DSC_0783Nutmeg, cinnamon, all spice(I didn’t have cloves), brown sugar and granulated sugar.  I mixed these together and poured over the sliced apples in the crock-pot.

DSC_0790This is eight hours later: Spicy Applesauce

DSC_0793

After allowing the moisture to cook-out, I took the immersion blender and turned a spicy applesauce into apple butter.

DSC_0801

This is my homemade greek yogurt topped with apple butter, dark chocolate, and peanuts.  Trust me, this stuff won’t last in my freezer very long.

Easy Crock Pot Apple Butter

Excerpted mostly word for word from: http://www.deniseinbloom.com/crockpot-apple-butter-recipe/


Ingredients

  • Apples, peeled, cored, and cut into large sections. (enough to fill your Crockpot to the top). I used 6 pounds or 12  Cortland apples
  • 1 1/2 cups granulated sugar. I used just one cup
  • 1 1/2 cups packed brown sugar. I used just one cup
  • 1 tbsp cinnamon
  • 1/2 tsp ground nutmeg
  • 1/4 tsp ground cloves. Nope, none handy, so I switched with all spice
  • 1/4 tsp salt
  • 1 tbsp vanilla
  • 2 tsp lemon juice. I used the lemon juice in the beginning to keep the apples from turning, so I did not add more.

Directions

  • Fill crock-pot with prepared apples.
  • In separate bowl combine and stir, 1 cup of granulated sugar, 1 cup of brown sugar, cinnamon, nutmeg, cloves, and salt. (reserve the rest of the sugar for later)
  • Pour sugar and spice mixture over apples.
  • Turn crock-pot onto low and cook apples for 10 hours. After first 1-2 hours gently stir in the sugar mixture to coat the apples.
  • Leave it and forget it now.  At this point I let mine cook overnight
  • After 10 hours take lid off and stir. Your mixture will be very dark and cooked down by about half the capacity of your crock-pot.
  • Stir in lemon juice, and vanilla.
  • At this point taste your apple butter for sweetness. I had tart firm apples and they needed more sugar, so I then added the additional 1/2 cup of granulated and 1/2 cup of packed brown sugar. You can adjust accordingly to your taste and the apples you are using.
  • Let apple butter continue to cook for 1-2 hours with lid off to absorb more liquid and make apple butter thicken more.
  • At the end of the cooking time, smooth apple butter with an emulsion blender.
  • Spoon into clean pint jars, and cover tightly with jar lid and ring. Be sure to leave room at the top of the jar if freezing.

Homemade Whole-Grain Mustard

I’m German…Austrian or something.  I recently found out, after many years of labeling my heritage as German, my ancestors actually hailed from Austria and Luxembourg.  It makes sense since after visiting both Germany and Austria, I resemble more like the Austrian peoples performing at the Mai Fest in Salzburg.

Mai Fest celebration in Salzburg

A delicious meal enjoyed at the Augustiner keller in Salzburg

Ok, so I am indeed Austrian and Irish instead of German and Irish. Let’s just forget the fact that Hitler came from Austria…forgotten. Whatever I am, I love mustard.  I learned two(three)words in German while in Bavaria and they are: bretzeln, senf and spargel. Translated it is: pretzels, mustard and white asparagus. The pretzel and mustard was my go-to food in Bavaria.  Not a lot of choices sometimes for a vegetarian.  Trust me, I never went hungry; the food and the beer were always delicious. Oh, and I learned the German word word for asparagus because it was in season and all of the biergartens featured it.  

Making my own mustard never crossed my mind until I read Cook’s Illustrated DIY cookbook.  I was paging through it, and I stopped at the Stone Ground Mustard recipe.  It was so insanely simple; I wondered why I hadn’t done this years ago.  It has a bold taste and a texture required from my mustards.

Making Whole-Grain Mustard

Combine the apple cider vinegar, yellow mustard seeds, brown mustard seeds, and beer. Stir and cover with plastic wrap. Leave at room temperature for up to two days.

After leaving at room temperature for the desired amount of time, pour the seed mixture into a food processor. Add salt and brown sugar and process for one minute. Transfer mustard to jar and leave sit at room temperature for 1 to 2 days.  This is where the heat of the mustard is decided so do the 1 day if you like it mild.

Here is the finished mustard with some of my homemade pretzel bites(may be a future blog item after a little tweaking).

Recipe for Whole Grain Mustard

Ingredients
1/2 cup cider vinegar
1/4 cup yellow mustard seeds
1/4 cup brown mustard seeds
1/4 cup beer
2 teaspoons packed light brown sugar
3/4 teaspoon salt

Instructions
1) Combine vinegar, mustard seeds, and beer in medium bowl. Cover with plastic wrap and let stand at room temperature for at least 8 hours or up to 2 days.
2) Process soaked mustard seeds with sugar and salt in food processor until coarsely ground and thickened, about 1 minute, scraping down bowl as needed.
3) Transfer mustard to jar with tight-fitting lid and let stand at room temperature until it achieves desired spiciness, 1 to 2 days. Transfer to refrigerator. Mustard can be refrigerated for up to 3 months.

Ok, while this mustard is a breeze to make, dijon–not so much.  I have tried two different recipes and both turned out extremely bitter. If you know of a fail-proof dijon recipe, please share it. 

Me an’ my sprouts

So many health scares surrounding these healthful powerhouses. Don’t be afraid: every vegetable we consume raw always holds a risk of salmonella or E coli. Sprouts have a leg-up on this due to the seeds soaking in water.  I’ve been making my own sprouts on and off for the last ten years, and I can confidently say, the sprouts have never been a source of illness for me. I use organic seeds, filtered water, and I religiously water and drain two or three times a day.  Use your nose: If it doesn’t smell right, throw it away. Another level of safety I’ve adopted is, once the seeds have germinated and grown, I harvest the sprouts and soak them in filtered water for five minutes.  This cleans and eliminates the seed casing which can make the sprout bitter. This last step makes for tastier sprouts too.

Since I started off this entry with the bad let’s move on to the good.  Sprouts are nutritious vegetables packed with B, C, E and A vitamins(up to 15 times the original content).  They are easier to digest and offer natural enzymes we don’t often get with their mature cousins.  Don’t think of them just for salad–they add an extra layer of crunch to hot food as well as cold. Throw them in soups, smoothies, sandwiches or just munch on them.  You don’t need special equipment to grow them; a jar with a muslin or cheesecloth cover will do the trick.  You need need seeds and water and a little dedication-that’s it.  I prefer a sprout starter, and to prove it, I’m on my third one, the Victorio VKP1014 4-Tray Kitchen Seed Sprouter. You water the first tray and the water runs down holes to the outer perimeter of the first tray to all of the trays below. The only caveat is you have to tip the trays a little to remove excess water.  A great idea I read was to tip all of the trays like the leaning tower of pisa. They drain and receive a little air at the same time.  

How pretty are those green sprouts! I did here what I swear never to do; I didn’t space out the growing-time.  I recommend doing a tray every other day or so.  It takes about 5-7 days for the sprouts to get this mature so plan ahead.  If you alternate days for starting seeds, you won’t end up with a large harvest like this.  Good thing the chickens like sprouts.

I’m cleaning the sprouts and separating them from the seed.  Just throw them in the water and swish around a bit.  The casings will stay behind in the water.  Dry the sprouts the best you can before storage and clean the trays with soap and water before starting a new crop. 


I’ve harvested all four trays and now I’m starting over.  I have one tray of chick peas and another of a salad blend. The bigger seeds you will add 2-3 tablespoons and just a teaspoon or so of the small seeds. Don’t crowd the tray with seeds.  I’ve purchased organic seeds from Amazon and another good source is The Sprout House.  I found them just recently, and I was impressed with their sample packs and the quick shipping.

To start the growing process, just add water.  They recommend soaking the seeds for quicker germination, but I skip this step. I add water to the first tray and it leaks down to the rest until the water is deposited in the bottom tray.  The bottom is hole-free and is for collecting of water only–no growing sprouts in this.  Be sure and alternate the position of your trays. The next time I water, I will move the salad blend to the top and the chick peas to the bottom.  The bottom seed tray always seems to retain the most water so it’s important to alternate them.  Water them at least twice a day, and you will have sprouts in 5-7 days.  Pretty easy, wouldn’t you say?  Excuse me while I dig-in to my hefty sprout harvest and throw some on the black bean burger I am having for dinner tonight.

Getting to know a Pressure Cooker

My daughter asked me one day if I would help her friend out and tell her what a pressure cooker(PC) is and does.  Apparently she had received a PC as a wedding shower gift, and she was not familiar with it.  And to be honest, other women I have talked to are afraid of using them. Maybe it’s the horrible stories of the pressure cookers exploding and badly burning the poor cook who innocently put it on the burner just minutes ago, or maybe it just looks intimidating.  I just purchased my first PC around 5-6 years ago. I consulted the Test Kitchen’s recommendations, and they recommended a Fagor Duo-8 quart, stainless steel model, and while it may sound large, you definitely want a larger capacity.  You can only fill it 50% full.

So, how does this contraption work?  Let’s use chickpeas as an example: I soak the dried beans for 8-12 hours and then boil them for an hour. With a PC, it’s 9-14 minutes(this does not include bringing the water to boil or natural release).  It shaves an incredible amount of time off your cooking.  When I ate poultry, I would buy turkey breasts, throw them in the pressure cooker with tomato juice for ten minutes, and I had turkey breast lunch-meat for the week.  Simply put, the lid you lock into place with a PC, allows water to reach above the normal boiling point of 212°F and reach 250°F. Food cooked in a PC maintains it’s flavor and moistness. Your food tastes better, and it takes less time to make it, it’s a gotta-have kitchen gadget.


Vegetable Broth made in the PC

Here is the collection of vegetables I’m using for my broth. There’s carrots, red onion, celery, parsnips, potato, and parsley. Five cups of veggies or whatever is ready for broth.  Be sure to clean vegetables thoroughly and then put the vegetables in the PC with a Tbls. of olive oil.  Brown the veggies for 5-6 minutes at medium-high, stirring often.

 Pour in eight cups of filtered water, lock your lid, and turn the heat to high. You have to keep a watchful eye on the PC, watching for the little button, or the technical name, pressure indicator to pop-up.  That means max pressure achieved, so you turn down the heat to a simmer and cook for the recommended time.  In the case of this vegetable broth recipe, we are cooking it for ten minutes. Don’t be afraid of the steam escaping and sounding like a loud whistle, it means it’s cooking.

After the ten minutes of cooking, turn off the heat and let(the steam)release naturally. This may take a bit of time, but it’s my preferred method. Carefully strain the broth over cheese-cloth, squeezing the vegetables with tongs to try to release all of the liquid.

As you can see it yields eight cups of broth.

I let the broth cool completely, and divide the eight cups into four freezer-safe containers.

I gave a little lesson to my daughter’s friend about PC’s, but I thought I was being most helpful, when I gave her a PC cookbook.  My PC bibles are both by, Lorna Sass, Cooking Under Pressure and Great Vegetarian Cooking Under Pressure.

I hope I’ve assuaged any fears you have about this wonderful kitchen addition.  The toughest part of a PC is locking the lid.  Other than that challenge, I love it and use it often.

Tapenade: A taste of the Mediterranean in the Midwest

I don’t know when or where I discovered this delicious spread or what motivated me to make it, but I can’t seem to keep it around the house lately. I go through food stages, but I think this one is healthy enough to keep in the regular food-prep rotation. It has lots of good fats(mono-unsaturated)due to the olives, anchovies and olive oil, and it adds many layers of flavor to whatever I add it to. I use it in place of anything I spread mayonnaise on, or I top my eggs or pasta with it.

While olives, capers and anchovies(if using) are salty, and I don’t like salt, Cook’s Illustrated(no, I do not work for them, but I would like to) to the rescue again. A recipe, in the November and December issue, had a method for reducing the saltiness with the surprising addition of pine nuts.  The recipe calls for un-roasted pine nuts but guess what I had in the freezer?  And let me warn you about the price of organic pine nuts; gulp, expect to pay $20.00/lb. Thankfully we only need a 1/3 of a Cup. Traditionally the tapenade has high-quality olives, capers and anchovies.  I adjusted the Cook’s recipe and left out the anchovies in order to make it vegetarian but feel free to add them back in–it’s good with them in. I also either leave the olive oil out completely or just add in a tablespoon.  Experiment and tweak to taste

I recently made olive tapenade for a food day at work.  I topped some of my Lavash Crackers(check earlier blog)with the tapenade and some with my homemade mozzarella(future blog entry), and I was surprised by how many people were not familiar with this flavorful, French spread.  Well, I am here to introduce this Mediterranean taste-bud treat to you. This is a very bold flavor and you better like olives, but promise me, you’ll try it.  We all need a taste of  Southern France at various times in our lives, and I need it now to get through this bone-chillin’ Midwest deep-freeze. And who knows, maybe this will become your new comfort food too.

Take a 1/3 Cup pine nuts, un-roasted and grind to a paste.

Add the rest of  the ingredients to the food processor: kalamata olives, salt-cured black olives, capers, 2 anchovy fillets(not pictured), Dijon mustard and garlic.

Pulse 15 times until finely chopped.

After resting in the fridge for 18 hours, I can barely wait the full 18 hours, but here it is spread on bagel chips. It tastes better than it looks–really.

Black Olive Tapenade

Makes about 1 1/2 cups

The tapenade must be refrigerated for at least 18 hours before serving. It’s important to use untoasted pine nuts in this recipe so that they provide creaminess but little flavor of their own. We prefer the rich flavor of kalamata olives, but any high-quality brine-cured black olive, such as niçoise, Sicilian, or Greek, can be substituted. Do not substitute brine-cured olives for the salt-cured olives. Serve the tapenade as a spread with sliced crusty bread or as a dip with raw vegetables.

Ingredients

Instructions:

In food processor fitted with metal blade, process pine nuts until reduced to paste that clings to walls and avoids blade, about 20 seconds. Scrape down bowl to redistribute paste and process until paste again clings to walls and avoids blade, about 5 seconds. Repeat scraping and processing once more (pine nuts should form mostly smooth, tahini-like paste).

2. Scrape down bowl to redistribute paste and add olives, capers, anchovies, mustard, and garlic. Pulse until finely chopped, about 15 pulses, scraping down bowl halfway through pulsing. Transfer mixture to medium bowl and stir in oil until well combined.

3. Transfer to container, cover, and refrigerate for at least 18 hours or up to 2 weeks. Bring to room temperature and stir thoroughly before serving.

*Recipe copied from the Cook’s Illustrated website: https://www.cooksillustrated.com/recipes/7413-black-olive-tapenade

Fresh Tofu?

I had read about barrels of fresh tofu in a deli…somewhere.  I hadn’t been lucky enough to stumble over one in any deli I had happened upon.  Lamenting I did not have access to the delicious blocks of fresh tofu, which this was only imagined since I had never had anything but store-bought, I was determined to end this dilemma. If this fictional deli with the unknown name was not opening in a neighborhood near me, I will make my own!! The motivation to do this DIY project was once again, influenced by, America’s Test Kitchen. I must have read the directions a dozen times while I waited for the dried soybeans and nigari to arrive. This was definitely a new frontier for me. I did not grow up in a house where my Mother made tofu on the weekends, nor had I worked in an Asian restaurant and had witnessed it being made. No, no, I had nothing to compare it to and no history to draw from.  I was excited to think I could do this at home and have fresh blocks of tofu.  This is where I confess:  It isn’t easy or quick but the results are pretty tasty.

Tools and ingredients: Molds, nigari(a type of salt) and soy beans.  Not pictured but also needed: Cheese-cloth or food- grade muslin. The mold on the left is the plastic container with holes punched out of the bottom and other is a mold I recently purchased.

Start out by soaking 8 ozs beans for 12-18 hours. The beans here have been soaked for 18 hours.

Take 1 cup beans, 3 cups water and process in blender.  Repeat this twice and pour into Dutch oven.

Bring beans and water to a boil over medium-high heat, stirring often.  Once boiling, reduce heat and cook 10 more minutes until slightly thickened.

Prepare a colander with triple layer of food-grade muslin or cheesecloth and place the colander over a bowl or pot. Pour the soy liquid into the muslin.  The cloth will catch the soy curds and the bowl beneath the colander should be smooth, soy milk. Gather up the ends of the muslin and squeeze out the excess liquid.  Put the curds aside for another use(I feed it to chickens, but I am guessing there are other uses). Pour the liquid back into a clean dutch oven and bring back to a boil on medium-high heat. Remove from heat and add a 1/4 Cup of the diluted nigari while stirring. Let rest for two minutes, covered.  Uncover dutch oven and add remaining nigari. Wait 20 minutes, undisturbed.

Gently scoop out the curd and place in a cheese-cloth lined mold.

Cover curds with extra cheese-cloth and weight it with a two-lb anything. Keep the weight on until desired firmness.

The finished product.  It ended up in a curry stew.

Taken from America’s Test Kitchen DIY

Tofu
8 ounces(1 1/4 cups)dried soybeans, picked over and rinsed
9 1/2 cups water, plus extra for soaking beans
2 teaspoons liquid nigari

1. Place beans in large bowl or container and add enough water to cover by 2 inches. Soak until beans are pale yellow and split apart when rubbed between fingertips, 12 to 18 hours.

2. Drain and rinse beans(you should have about 3 cups beans). Working in batches, process 1 cup soaked soybeans and 3 cups water in blender until mostly smooth, about 3 minutes. Transfer mixture to Dutch oven and repeat twice more with remaining 2 cups soybeans and 6 cups water.

3. Line colander with butter muslin or triple layer of cheesecloth and set over large bowl. Bring soy milk mixture to boil over medium-high heat, stirring frequently with rubber spatula to prevent scorching and boiling over. Reduce heat to medium-low and simmer, stirring frequently, until slightly thickened, about 10 minutes.

4. Pour soybean mixture into prepared colander to strain. Being careful of hot soy milk, pull edges of muslin together to form pouch, and twist edges of muslin together. Using tongs, firmly squeeze soybean pulp to extract as much liquid as possible. You should have about 8 cups of soy milk; discard soybean pulp or reserve for other use. Transfer soy milk back to clean Dutch oven and bring to boil over medium-high heat, stirring occasionally to prevent scorching. Remove pot from heat. Combine remaining 1/2 cup water and nigari in measuring cup.

5. Begin stirring soy milk in fast, figure-eight motion with rubber spatula. fast, about 6 stirs. While still stirring, add 1/4 cup prepared nigari mixture. Stop stirring and wait until soy milk stops moving. Cover pot and let sit undisturbed for 2 minutes. Uncover, sprinkle remaining 1/4 cup nigari mixture on surface of milk, and gently stir using figure-eight motion, about 6 stirs. Cover pot and let sit undisturbed until curds form and why is pooling on top and around sides of pot, about 20 minutes.

6. Line tofu mold with butter muslin or triple layer of cheesecloth and place in colander set over large bowl or sink. Using skimmer or large slotted spoon, gently transfer soy milk curds to prepared mold, trying not to break up too much of their natural structure. Cover top of curds with excess muslin and place top of press in place. Weight with 2-pound weight. Press tofu until desired firmness is reached: 20 minutes for soft; 30 minutes for medium; 40 to 50 minutes for firm. Gently remove tofu from mold and place in pie plate or baking dish. Fill with cold water to cover and let sit until tofu is slightly firmer, about 10 minutes. Tofu can be refrigerated in airtight container filled with water for up to 1 week; change water daily.

Notes:  I had a tough time finding liquid nigari, so I bought flakes. Here is a link to Nigari. I add two teaspoons flakes to the 1/2 cup of water and stir until dissolved..

These are the beans I ordered, Bob’s Red Mill Organic Soy Beans; one bag will make 3 squares of tofu.

Don’t worry if you don’t have a mold, I fashioned one a plastic container with holes punched out of the bottom.

Let’s get crackin’

I remember reading about these crackers from one of the books my husband blames my DIY bug(obsession) on. We were taking an extended weekend for our annual fill of Shakespeare and staying in a small, rustic cabin in the southwestern part of WI. Did I mention it was small?  The “loft” ceiling was very low and we must have averaged 6-8 knocks on the head in just the first hour we were there.  I think I muttered something about being concussed before the weekend even started. To combat a sore noggin, I dug into my newly purchased ebook, America’s Test Kitchen-DIY

Make crackers?  The thought never occurred to me until I opened the Test Kitchen’s wonderful book.  The recipe was for Lavash crackers, and when I cracked a piece off coming out of the oven, I was hooked. When I make a foundation item like mustard, bread, or cheese, I weigh the labor against the final product. Was the hassle worth the end-result?  My husband, who turns every situation into a mathematical word- problem, measures it by price.  I don’t think price tells the whole picture, so I tend not to use that as a measurement. Making crackers is a bit more labor intensive for something I can buy for a couple of bucks in the store, but after making them, I am not sure I can buy something this good.

Add semolina, whole wheat, all purpose flour and salt to a stand mixer.

Add warm water and evoo and knead for 7 to 9 minutes

Knead dough by hand and divide into four balls. I weighed the ball after kneading and made sure I divided the dough into four equal pieces.
Spray evoo on the dough and wrap in plastic wrap. Let rest for one hour.
Invert a jelly roll pan, put something underneath to keep it from sliding, and roll out the dough.  Using a fork, indent every two inches.
Brush the egg, and spread the sesame seeds, sea salt and pepper. Gently press into the dough. 
Ummm, delicious crackers I couldn’t keep my fingers from out of. 
This recipe is taken from, America’s Test Kitchen-DIY:
Lavash Crackers(Makes about 1 pound)
11/2 cups semolina flour
3/4 cups whole wheat flour
3/4 cups all-purpose flour
3/4 teaspoon salt
1 cup warm water
1/3 cup extra-virgin olive oil, plus extra for brushing
1 large egg
2 tablespoons sesame seeds
2 tablespoons flake sea salt
1 teaspoon coarsely ground pepper
1. Using stand mixer fitted with dough hook, mix flours and salt on low speed. Gradually add water and oil and knead until smooth and elastic, 7-9 minutes. Turn dough out onto lightly floured counter and knead by hand to form smooth, round ball. Divide dough into 4-equal pieces, brush with oil, and cover with plastic wrap. Let rest at room temperature for 1 hour.
2. Adjust oven rack to upper-middle and lower-middle positions and heat oven to 425 degrees. Lightly coat two 18 by 13-inch inverted(or rimless) baking sheets with vegetable oil spray.
3. Press 1 piece of dough(keep remaining dough covered with plastic), into small rectangle, then transfer to one of prepared sheets. Using rolling pin and hands, roll and stretch dough evenly to edges of sheet. Using fork, poke holes in dough at 2-inch intervals. Repeat with second piece of dough on second prepared sheet.
4. Brush rolled-out dough with beaten egg, sprinkle with sesame seeds, sea salt and pepper, then gently press seasonings into dough. Bake crackers until deeply golden brown, 15 to 18 minutes, switching and rotating sheets halfway through baking. Transfer crackers to wire rack and let cool completely. Repeat rolling, seasoning, and baking with remaining 2 pieces of dough, making sure baking sheets are completely cool before rolling out dough.
5. Break cooled lavash crackers into large pieces. Lavash can be stored at room temperature in airtight container for up to 2 weeks. 
Make these for your next party and you won’t need dip. 

Cold and dry equals Homemade Granola

As the temperature drops into single digits here in the Midwest, some folks crave a big bowl of chili while others dream of a plate of cheese dripping, mac and cheese. Well, not me.  As the thermometer drops and the moisture sucking air moves in, I gleefully announce, “I’m making granola.”

So, I happily made granola last night until I realized, I had not bought any dates. Too darn lazy(and cold)to go to my local co-op, I continued-on with figs, apricots, raisins, and cherries.  Still, it’s just not the same granola without medjool dates.

I’ve been making this granola off and on since the late 90’s.  I pulled it out of the Milwaukee Journal Sentinel, and I said, “I can do this.”  It isn’t a cheap endeavor but neither is buying granola of this quality.  Besides, it tastes great over my often soupy, and tart, raw-milk yogurt.

These are the dry ingredients: A mix of chopped, raw pecans and cashews, coconut flakes, raw sunflower seeds, a mix of chopped figs and apricots, old fashioned oats, cherries and raisins, and golden flax seeds.

After preparing the dry, I move on to heating up on low: Vanilla, maple syrup-Grade B, coconut oil, honey(buy local if you can), and cinnamon. Whisk until fully combined.

After the wet ingredients are warmed, stir into dry ingredients except the dried fruit. Add the dried fruit last.

Prepare two jelly-roll pans and line with foil(or not–I like easy clean-up). I do not add non-stick spray even though the recipe recommends it.

Heat in a 350 degree oven for five minutes, pull out, stir and return back to oven, switching the rack placement. To keep it straight, the pan I pull from the top rack always goes on the right and the bottom goes on the left.  I then know the right goes on the bottom rack while the left goes on the top. You do this three times. I do not stir the granola after the final five minutes–I just leave it.  I leave it be for at least a couple of hours or even overnight. Dry air keeps the granola crunchy and downright delicious.

Cranberry Raisin Granola
3 C old-fashioned rolled oats
1/3 C sliced almonds 
1/3 C sunflower seeds
2 Tbls flax seed
1/4 C maple syrup
1/4 C mild flavored honey
2 tsp. canola oil
1 tsp. ground cinnamon
1 tsp. vanilla extract
1/2 C dried cranberries
1/2 C raisins
1/2 C chopped pitted dates

Preheat oven to 350 degrees

In bowl, combine oats, almonds, sunflower seeds, and flax seeds.

In small saucepan, heat maple syrup, honey, oil, cinnamon and vanilla until mixture is warm, 2 to 3 minutes. Stir, then pour warm liquid over oat mixture. Stir with rubber spatula until oats are moist and coated evenly. Mix in dried fruits.

Cover jellyroll pan with foil. Coat lightly with vegetable oil spray. Spread granola to cover pan in even layer.

Bake 5 minutes. Remove from oven. Stir and turn granola, to let it dry and color evenly. Repeat, stirring every 5 minutes, until oats are lightly browned, about 15 minutes.  They will still feel slightly soft and moist. Cool granola in pan; it will get crisp. Stored in airtight container, granola keeps 1-2 weeks.

As you can see, I changed up the ingredients a little bit.  I’m all about the pizazz, and I have it with pecans, cashews, cherries and coconut.

Granola, yogurt and dark chocolate chips=YUM!

I always double the recipe and refrigerate–it stays fresh and crisp longer. I used all organic ingredients except the honey. This is a healthier granola recipe but pay attention to the serving size of a half a cup.

Stay warm and be sure to make your kitchen smell delicious soon with this recipe.