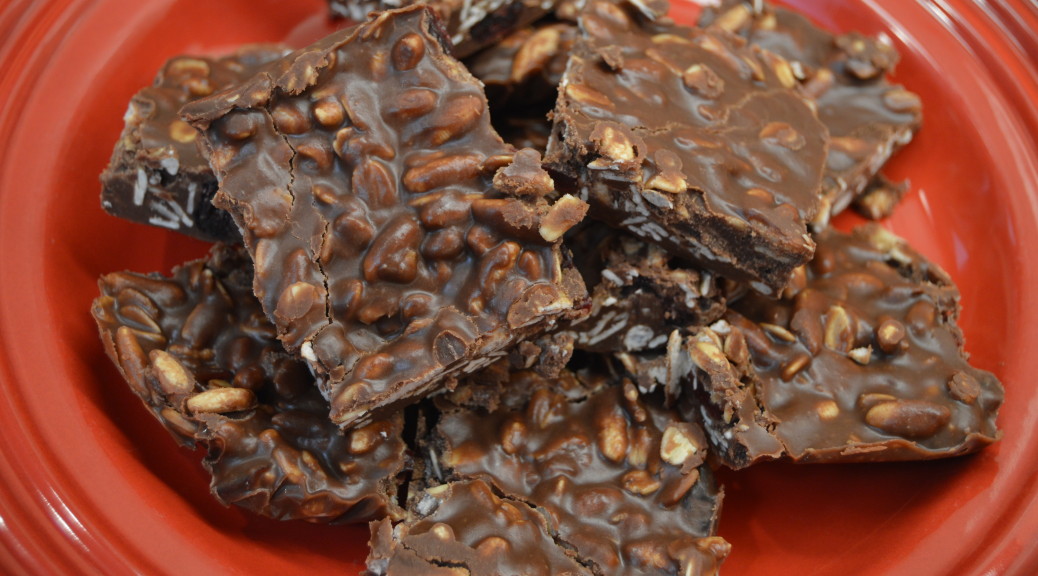
No-Bake Peanut Butter and Oat Bars

I spotted this recipe on both Facebook and Pinterest.  I rarely see a recipe I must make immediately, but this one I did.  It doesn’t hurt I had all of the ingredients on hand, and I love it is touted as “Clean Eating.” Yeah, maybe to some, but I think limiting your portions to one or two a day is a very good idea for the waistline.  And I definitely feel, anything you make yourself is better than something you had to peel the plastic off of.

There are many versions of this on Pinterest, so I’m going to give you my version.  I switched up a couple of the key ingredients, and  I split the oats with puffed rice.  I use 1/2 C maple syrup and half honey.  And since anything not considered dark chocolate is too sugary, I replaced the mini-chocolate chips with Ghirardelli Bittersweet chips.


IMG_0717

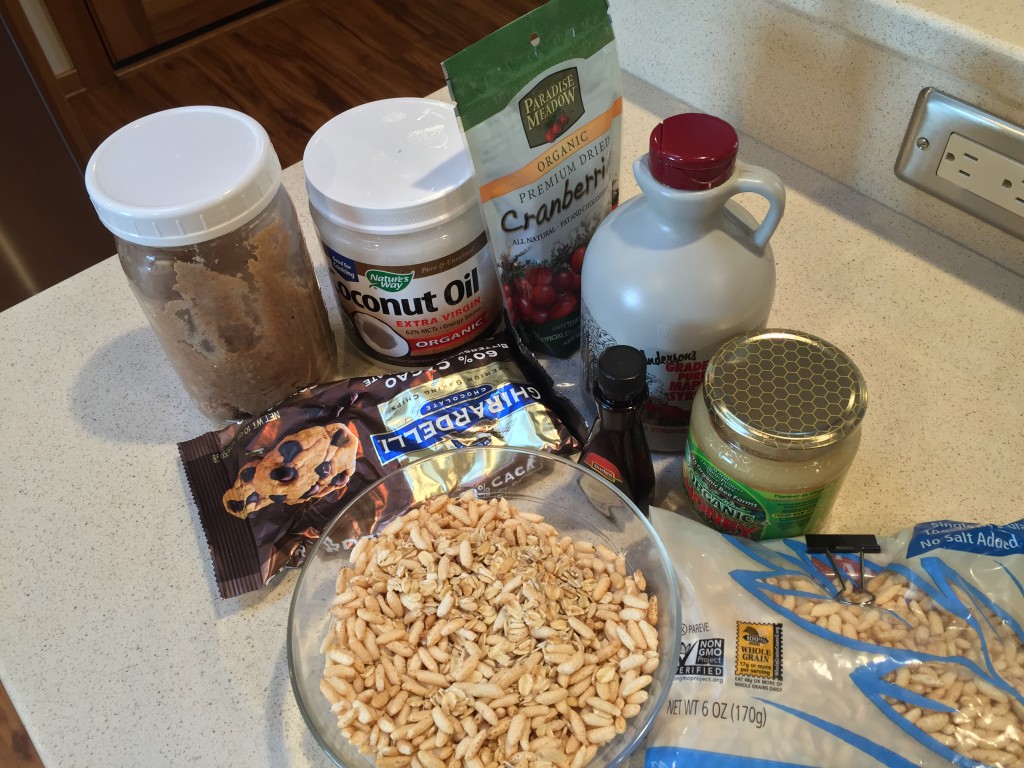
Here are all of the ingredients: Peanut butter(I make my own), coconut oil, cranberries, maple syrup, honey, puffed rice, oats, vanilla and chocolate.

DSC_0003

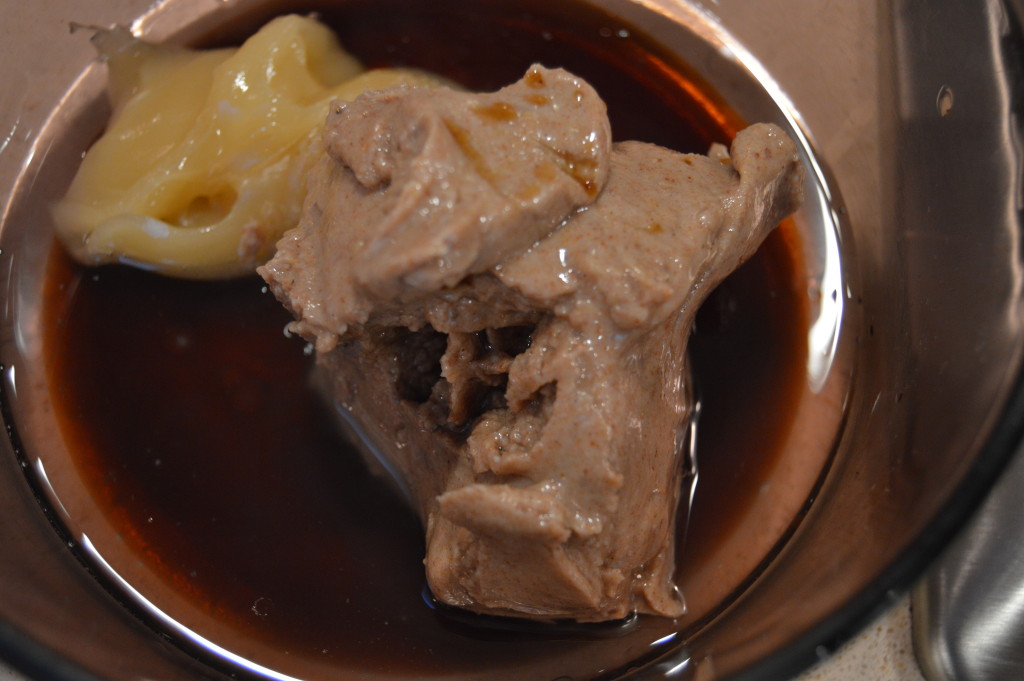
Place the honey, peanut butter, maple syrup, and coconut oil into a microwave safe bowl.  Microwave for a minute or two but watch carefully. Remove from microwave and stir vigorously.

DSC_0007

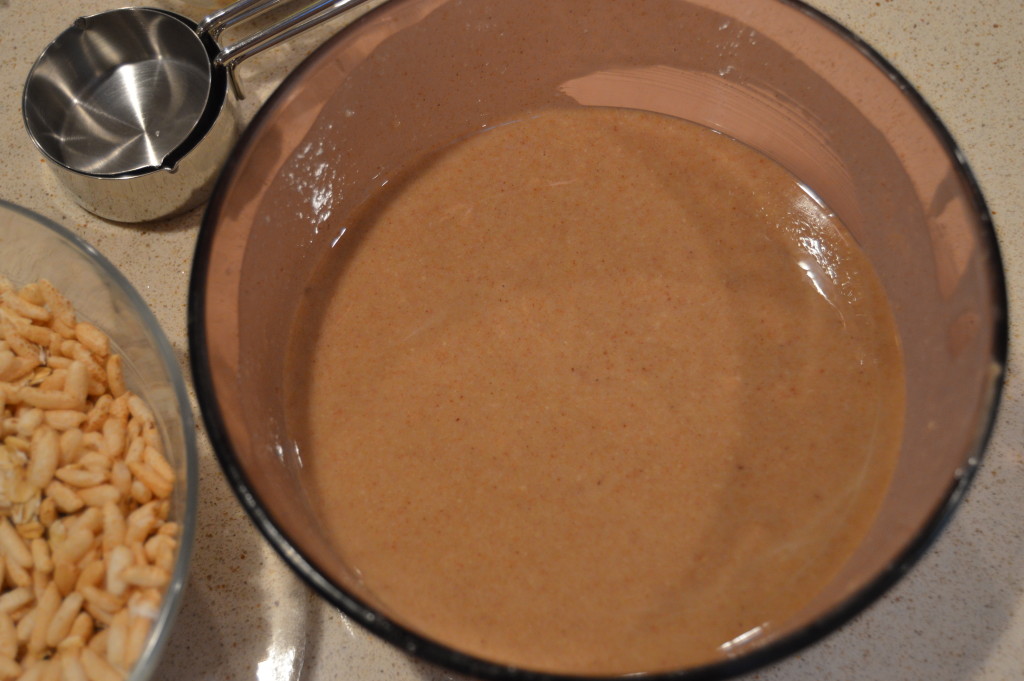
This is post-microwave and a vigorous stir.

DSC_0008

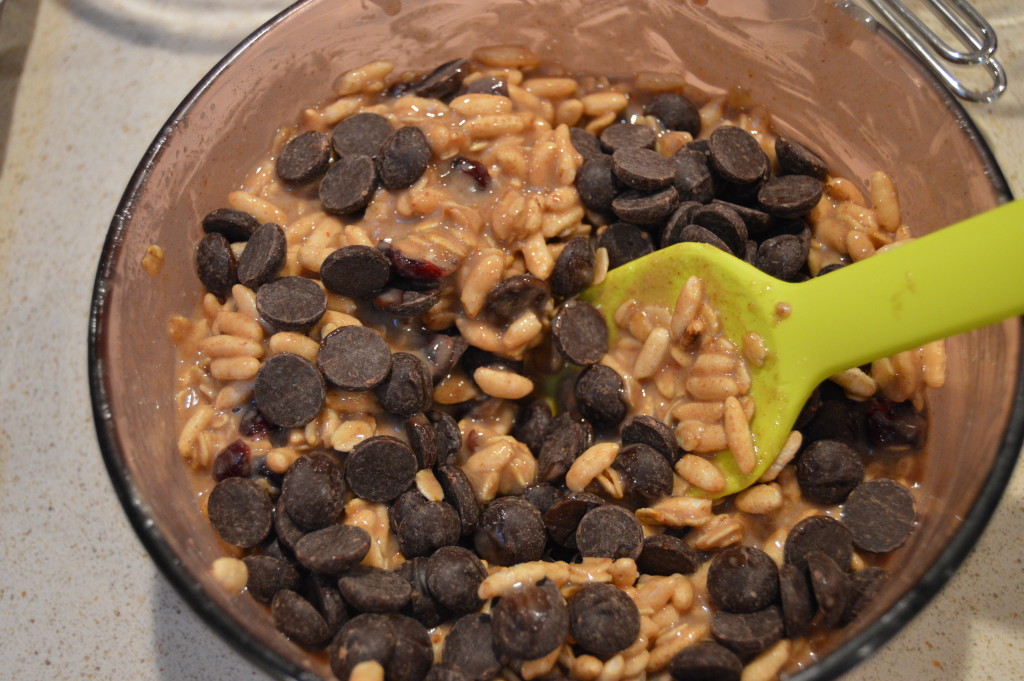
Stir in the oats, puffed rice, cranberries, chocolate and vanilla. The chips should melt from the heat of the peanut butter mixture.

DSC_0010

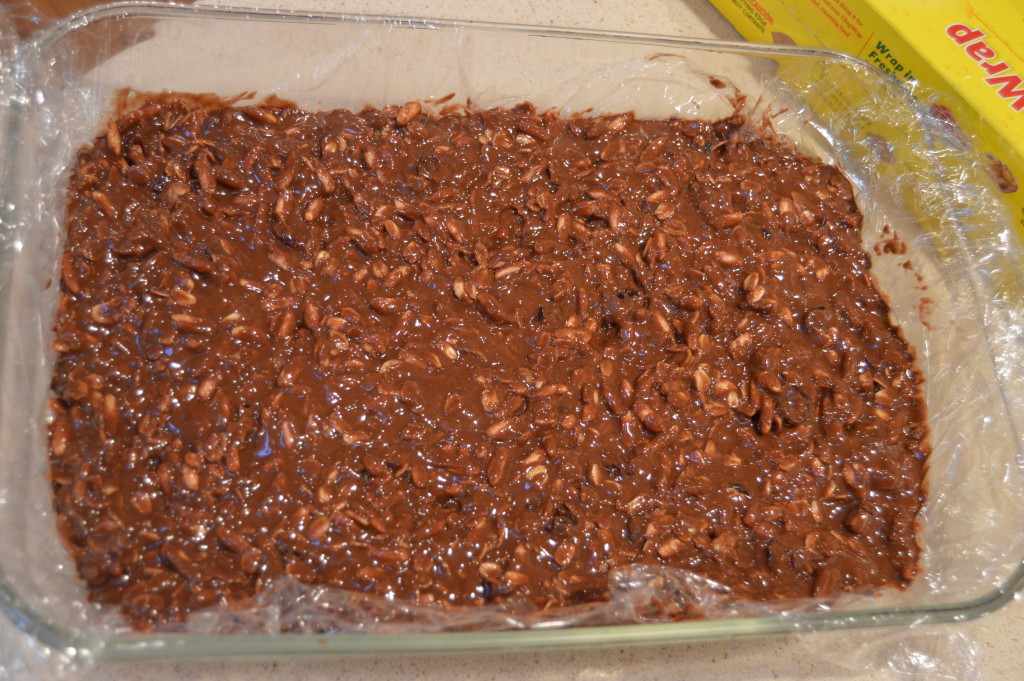
You can either use a 13×9 or 8×8 cake pan; the 8×8 will produce Chunky like bars and the 13×9 will be thinner. Lay plastic wrap in the dish, so you can easily pull them out to cut.  Evenly distribute the chocolate-oat mixture.

DSC_0015


No Bake Peanut Butter and Oat Bars

Ingredients

1 C Peanut Butter

1/4 C Maple Syrup

1/4 C Honey

1/2 C Coconut Oil

1 C Old-Fashioned Oats

1 C Puffed Rice

1/2 C Dried Cranberries or Cherries

1 1/4 C Dark Chocolate Chips

1 Tsp Vanilla Extract

Directions

Combine the peanut butter, maple syrup,  honey and coconut oil into a microwave safe bowl. Microwave on high for 1-2 minutes; monitoring very closely.  Stir chunks out until smooth consistency.

Add the oats, puffed rice, cranberries, chocolate chips and vanilla to the peanut butter mixture and stir until combined.

Spread evenly into a 13×9 or 8×8 pan lined with plastic wrap.

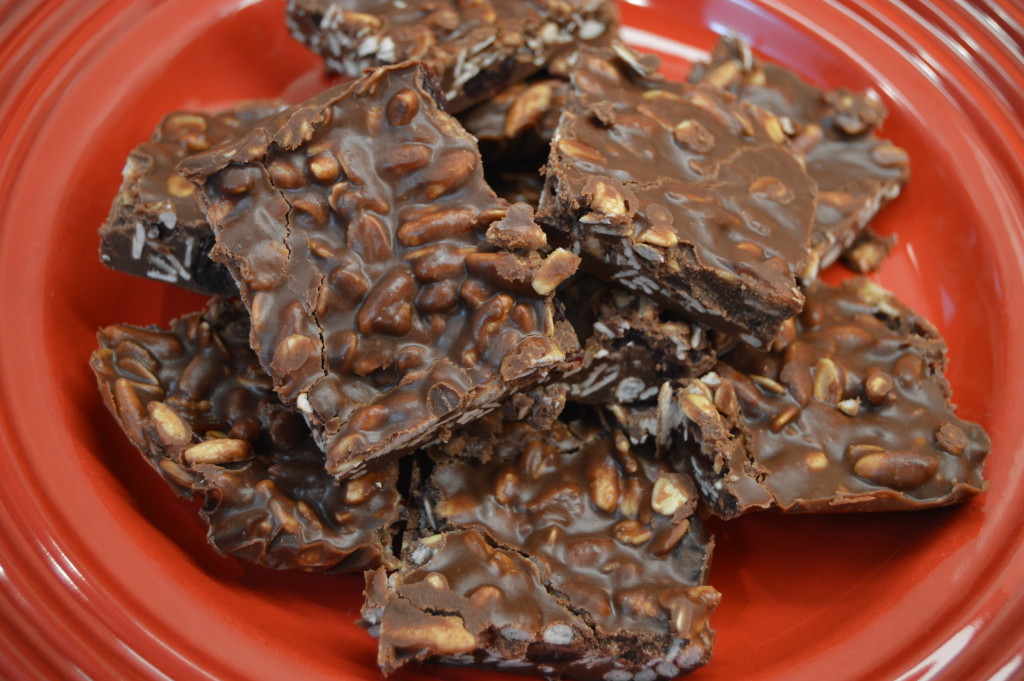
Refrigerate or freeze until hardened. Cut into squares and enjoy this somewhat healthy snack when that sweet tooth just won’t leave you alone.
The Move to the Country

It’s been a long year, but I think I’m back.  But I’m back as a country gal; no longer a city gal.

Rewind to December 2014. I opened the real estate tax bill that usually arrives the first week in December, and I proceeded to contact a real estate agent I knew through having chickens in the city.  Hubby and I scoured houses with larger parcels of land within thirty miles of work. It wasn’t easy looking for houses in winter but we didn’t want to waste a minute. Just about every weekend in December and the first half of January were spent seeing houses. It was a bit frustrating when we kept running into nice house, bad land or bad house, great land.  By bad land, I mean not suitable for livestock or inadequate out-buildings.  The house had to be big enough for our girls to visit and spend the night with their significant others, and it had to be habitable for immediate move-in.  Ok, to be honest, we didn’t look at a house in which the kitchen didn’t need an overhaul, but there had to be space for us to do the overhaul with. I am a bit demanding of my kitchen space since I spend A LOT of time in it.

The other obstacle we ran into, and definitely weren’t expecting, was the livestock rule.  It was a bit shocking how limiting the rural areas were regarding livestock in non-agricultural zoning.  We came from the city which allowed four hens, but we ran into a few areas which had 5 acre minimum before even allowing one chicken. The cities and  towns had  a measurement called units and what was included in the unit varied.  One unit could be ten chickens, two pigs, and one horse or cow. And it was usually a unit for every acre. When our realtor forwarded us the house that would turn out to be the one, we were a little excited about the age of the house and the amount of the land.  But the short time we had been searching taught us it may look great on paper, but it may not be the same house in reality.  ‘Wow,’ was all I could mutter when we pulled into the property.  It was a long, steep driveway, with a ranch-style house built on a hill and surrounded by woods. It was love at first sight! The only negative was the lack of out-buildings.  We  had the pasture but no building to go with it.  But that was it; we were ready and willing  to sign the dotted lines.

Not so fast.  After asking a few questions, we found  out local laws limited the land to only horses and cattle. I wanted poultry and goats; neither were allowed. When I thought we were possibly buying a PUD, I was posed to shut-down any mention of a sales contract. So we involved the seller and the realtor and found out the HOA of a long, long, time ago, wrote up the laws but never recorded them. That was official enough for me. We signed the dotted line January 24th, 2015, with a closing date set for 03/31.

Ummm, we hadn’t put our current primary residence on the market yet and nor were we close to putting on the market.  On your mark, get set and proceed to panic.  I took off some time from work, and I sorted and boxed what was wanted and carted off the rest to Goodwill.  The majority of “stuff” was moved from the second floor and basement to an indoor storage unit.  Our realtor stressed reduction and reduce I did.  I left the main level mostly untouched for the necessity of living day to day until we sold the home. While I reduced, hubby painted and re-caulked every corner.  The first open house was scheduled 02/08, and we were cleaning and organizing minutes before it.  It was a great showing, but there were a few negative comments; one we could rectify quickly and the other was too lofty to do before selling.  So we replaced the vanity and shelving unit in the first floor bathroom(the problem we could rectify quickly). Preparing our house for sale was done in the coldest, and most miserable months of the Midwest. I fretted and worried about the weather discouraging folks to attend our open house or to view the house by appointment.  I work in the mortgage industry and everyone I spoke to assured me selling our house in the winter will be more of an advantage than a disadvantage. Regardless, hubby and I stressed over every aspect of selling our home, but the way we went about it, added greatly to our stress. Whatever we did was successful, because we received an offer on the house mid-February. Oh, and the buyers agreed to a 03/31 closing. I don’t recommend anybody doing it this way.  Putting an offer on another house was a great motivator, but the stress it brings with it just isn’t healthy.

Next entry will be about what happened once we moved.  No time to waste when we had 23 chicks in tow and a garden to plant.


Sneaky Pete’s Vodka Slush

Some very wise employees of a company I previously worked for compiled slush recipes for the holidays. There were seven different recipes posted, but I honed in on Pete’s.  Since the post year is 2004, I can feel confident stating I have been making this slush for Christmas Eve for ten years.  I’m not 100% positive, but I suspect some folks who continue to come to my Christmas Eve Open House continue to come only for Sneaky Pete’s Slush.  It’s just a hunch.
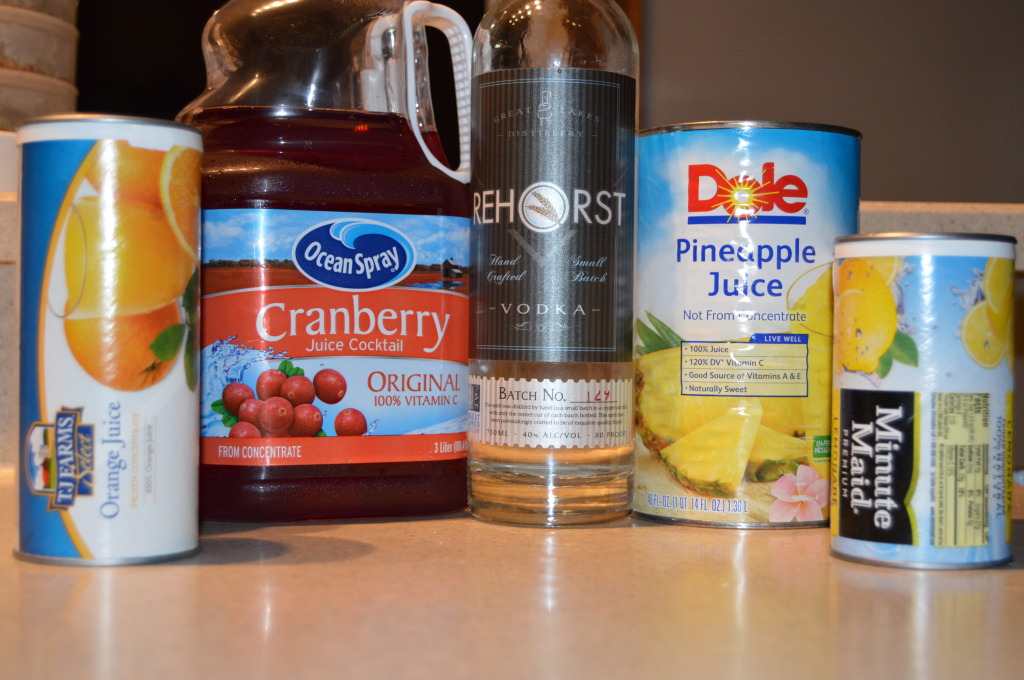
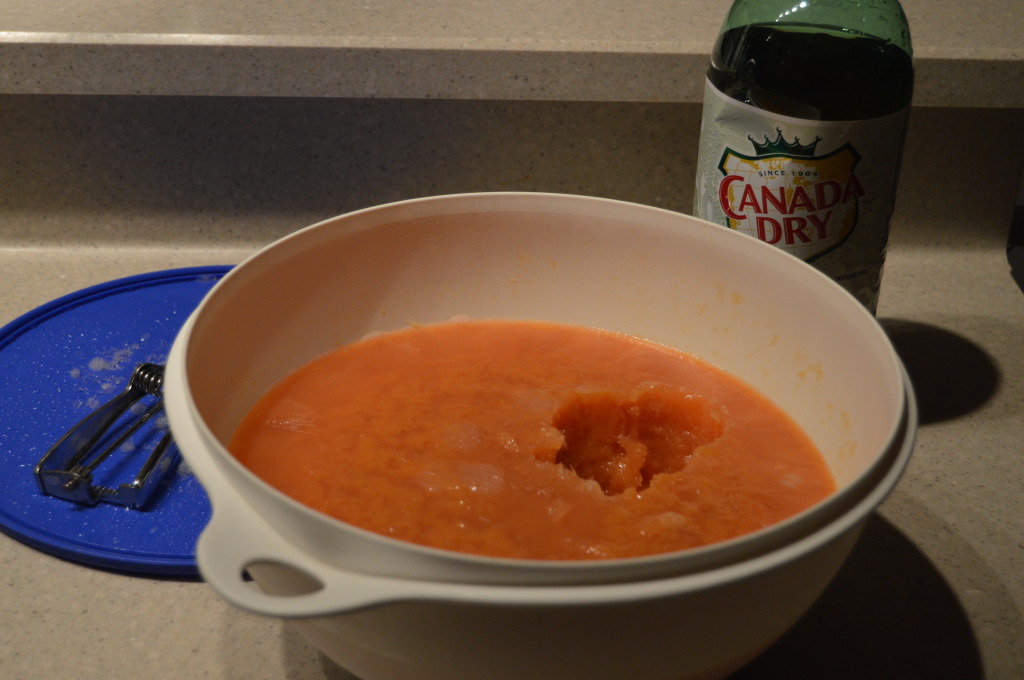
DSC_0048Add the OJ, Cranberry, Vodka, Pineapple juice, and lemonade to a lidded, large bowl .

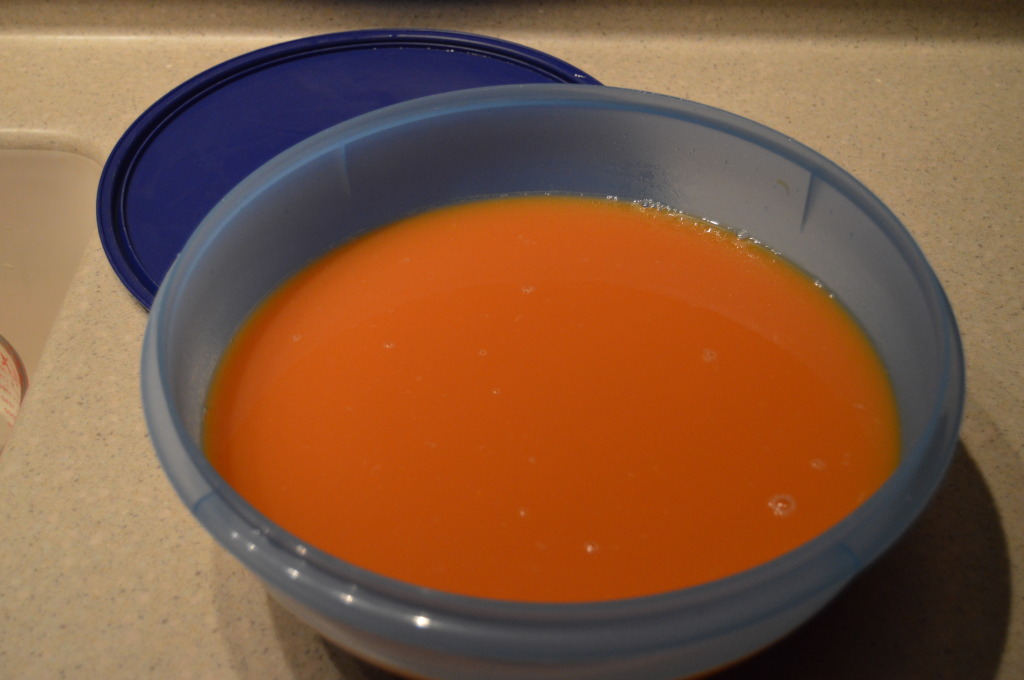
DSC_0051

All mixed together and ready for a couple of days/weeks in the freezer.

DSC_0055

This is the batch I made last week.  I put three scoops of slush in a glass and then filled with soda.   And another requirement(ask my eldest daughter), you have to drink it with a straw.

DSC_0057

This is a glass of Christmas Eve slush.  You still have time to make some but hurry!!


Sneaky Pete’s Slush


-2  16- ounce cans Orange Juice concentrate

-2 Cups cranberry juice cocktail

-2  12-ounce cans lemonade concentrate

-2 Cups pineapple juice

-1 fifth vodka(or 25 ozs)

-Soda/pop for mixer(50/50, 7-up, or Ginger Ale)

Mix all ingredients except soda and freeze.  Make this several days ahead for the best slush but make sure to freeze for at least 48 hours.  Scoop the slush into a glass and top with the soda.

Oh, hello holidays!!

Let’s Talk Turkey-Post Holiday and My Stuffing Recipe

Now that roasting pans have been put back into storage and the pie plates nestled where light rarely hits, it’s time to review what we could have done to the make the process less hectic and a more “thankful” affair.  Every year I strive to not over-cook the only dish I will not sample, produce  potatoes that are thoroughly cooked, and supply a  veggie dish worthy of coming out of a vegetarian’s kitchen.  Combined with rolls and pies I make myself, and a more newer tradition, making my own bread cubes for stuffing, is there any wonder I am a stressed out cook every Turkey Day?  Ease up, you say? Well, that’s just not how I’m wired.  One year, I will find a way to do it all and do it all well.  And it’s going to be next year.

-One trick I found this year was to prepare the pumpkin pie crusts ahead of time.  I rolled out the crusts, pre-baked them and then froze the pie dish and in a jumbo sized Hefty bag.  That really alleviated a lot of mess stress closer to T-Day.

-Of course I made the rolls ahead of time and froze them.  It was a new recipe and they  were a huge success(recipe link below).  I also made polenta corn-bread the night before T-day.

http://www.mycatholickitchen.com/2014/11/cast-iron-parker-rolls-for-breadbakers.html

-I didn’t do it this year, but I am going to investigate doing mashed potatoes in the slow cooker.  I made scalloped potatoes this year.

-This last one is not new for me but one I think you will want to know more about.  I do the stuffing in the slow cooker.  It goes on first thing T-Day morning, and it makes the house smell like…well…Thanksgiving.


This recipe is the halved version

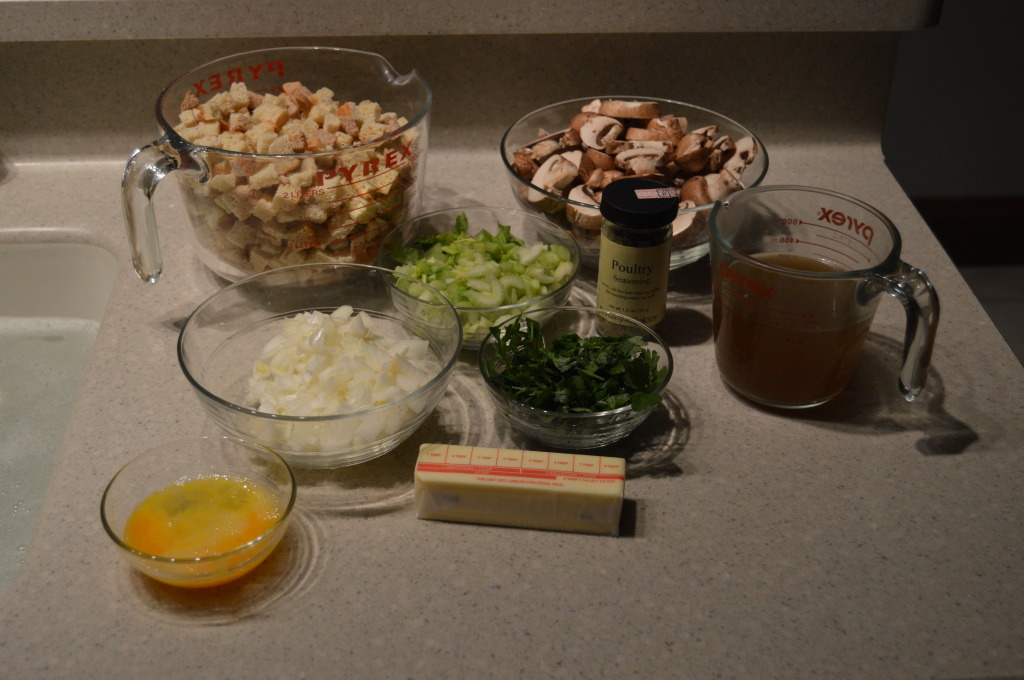
DSC_0001

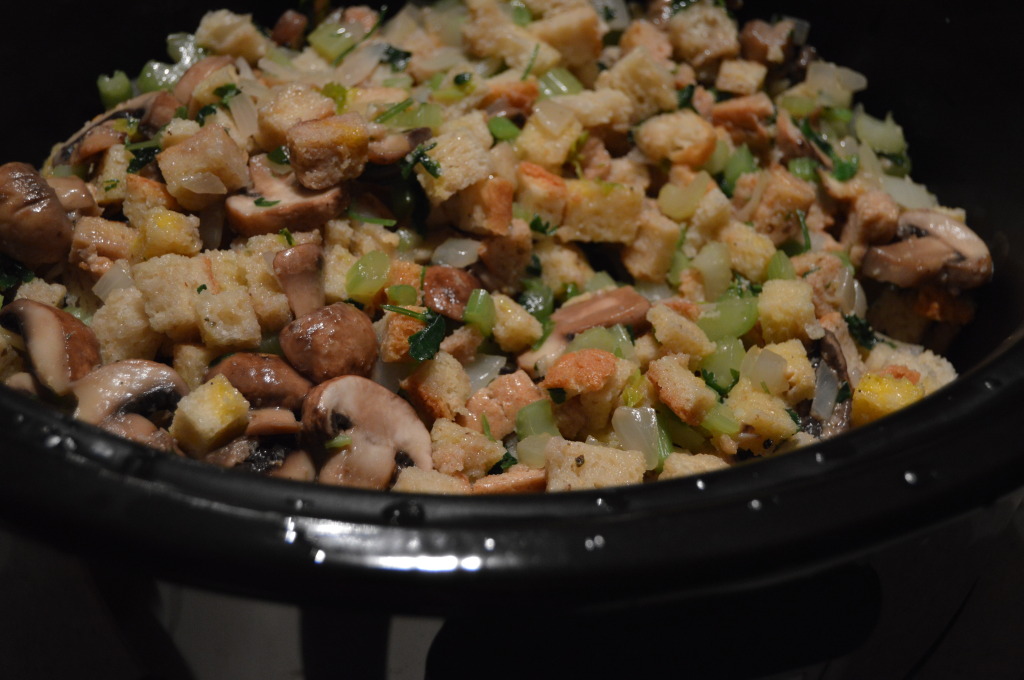
Bread cubes, sliced mushrooms, veggie broth, chopped parsley, butter, 1 egg,  onions, celery and poultry spice(the other spices not pictured).

DSC_0007 DSC_0011

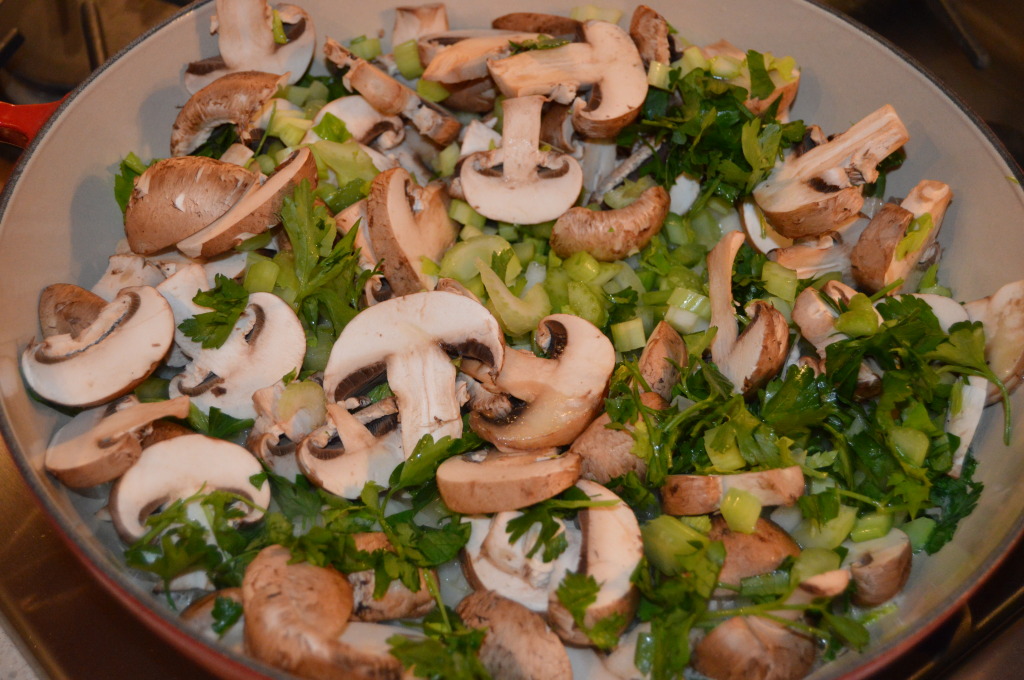
The sauteed veggies and then added to the crock pot.

DSC_0047

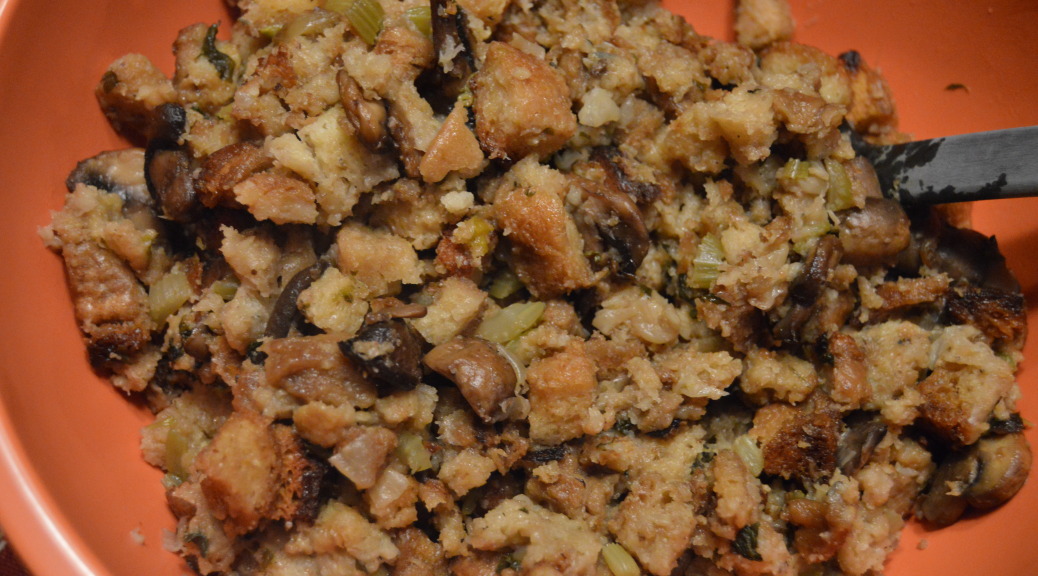
The stuffing

Crock Pot Stuffing

I pulled this off the internet in 1996 or 1997.  I still have the original print-out with doodles from my youngest on the back of it.  I usually halve this recipe because it comfortably feeds 6-7 folks.

Ingredients

-1 cup unsalted butter

-2 cups chopped onion

-2 cups chopped celery

-1/4 cup parsley spring(I chop up a handful)

-1 12 oz package of mushrooms, sliced

-12-13 cups slightly dry bread crumbs*

-1 teaspoon poultry seasoning

-1 1/2 teaspoon salt

-1 1/2 teaspoon sage

-1 teaspoon thyme

-1/2 teaspoon black pepper

-1/2 teaspoon marjoram

-3 1/2 to 4 1/2 Cups broth(I use veggie)

-2 eggs, well beaten


Directions

1. Melt butter in a skillet. Saute onion, celery, mushrooms, and parsley on medium high heat for 5-7 minutes.

2. Pour sauteed vegetables over bread cubes in a very large bowl. Add seasonings and toss together. Pour in enough broth to moisten., add beaten eggs and mix together well.

3. Pack stuffing lightly into crock pot and cook on high for 45 minutes. Reduce to low and cook for 4 to 8 hours more.


*I make my own bread cubes by making a a loaf of white and wheat, and if they are fresh loaves, slice them and leave the slices to sit overnight.  I then cubed them and put them in the dehydrator for 3-4 hours to get them good and crispy. Painstaking? You bet but it really makes a difference in the stuffing.  You can also do this weeks before the holiday and freeze the slices or cubes.


IMG_0387

Here’s the doodle.  Seeing she’s turning 25 in a few weeks,  this stuffing has been served at Thanksgiving for many years.  It always turns out and is always a big hit.

The Perfect Cookie

Just whip up a batch and you will agree. I have been making these for 8-9 years and the reaction is usually the same for folks trying them for the first time: “Hmmmm, may I have another?” Cook’s Illustrated named these cookies, “Chocolate-Chunk Oatmeal Cookies with Pecans and Dried Cherries,” but I call them, “The Perfect Cookie.” So perfect, I have purchased kitchen gadgets specific to making these cookies. And when a bag of tart cherries falls into my lap, I mentally start inventorying if I have the other ingredients. The outside is crisp and the middle is chewy and flavorful. The tart cherries or cranberries in these monster cookies really do well complementing the dark brown sugar and chocolate.

I always chuckle when I remember what a good friend said to me as we were walking to a local chocolatier to pick-up some bitter-sweet chocolate, ” I have never known anybody to go to such great lengths for a cookie.” Oh yeah, it’s all worth it for the, “perfect cookie.”

DSC_0018 (3)

DSC_0013

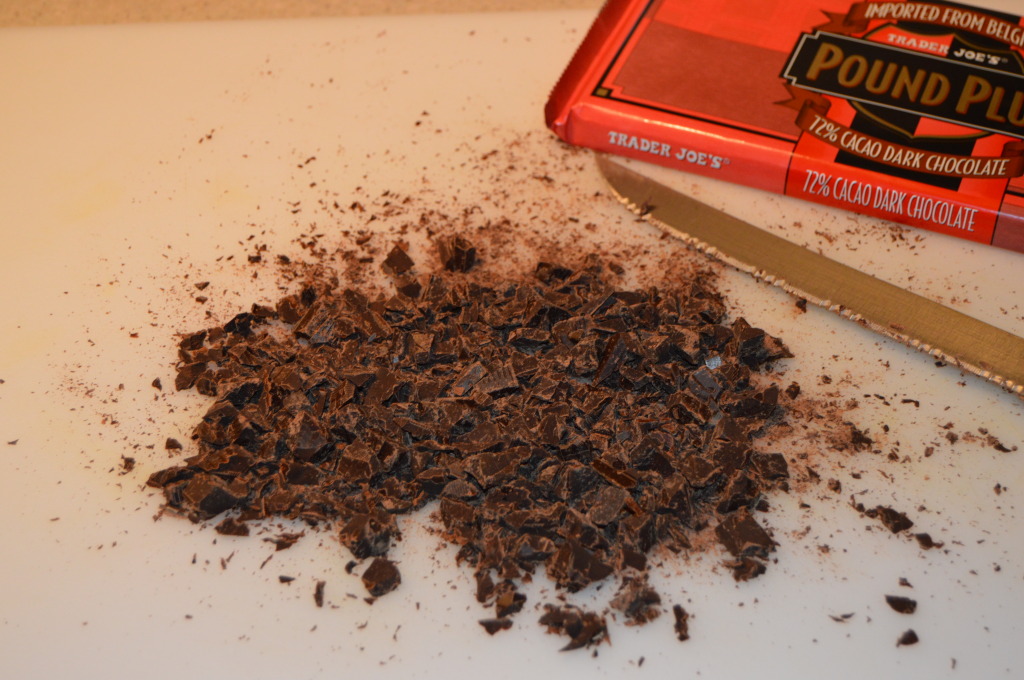
I used Trader Joe’s dark chocolate, Pounder Plus bar. Use a serrated knife to chop the chocolate or just just use a good quality chocolate chip.

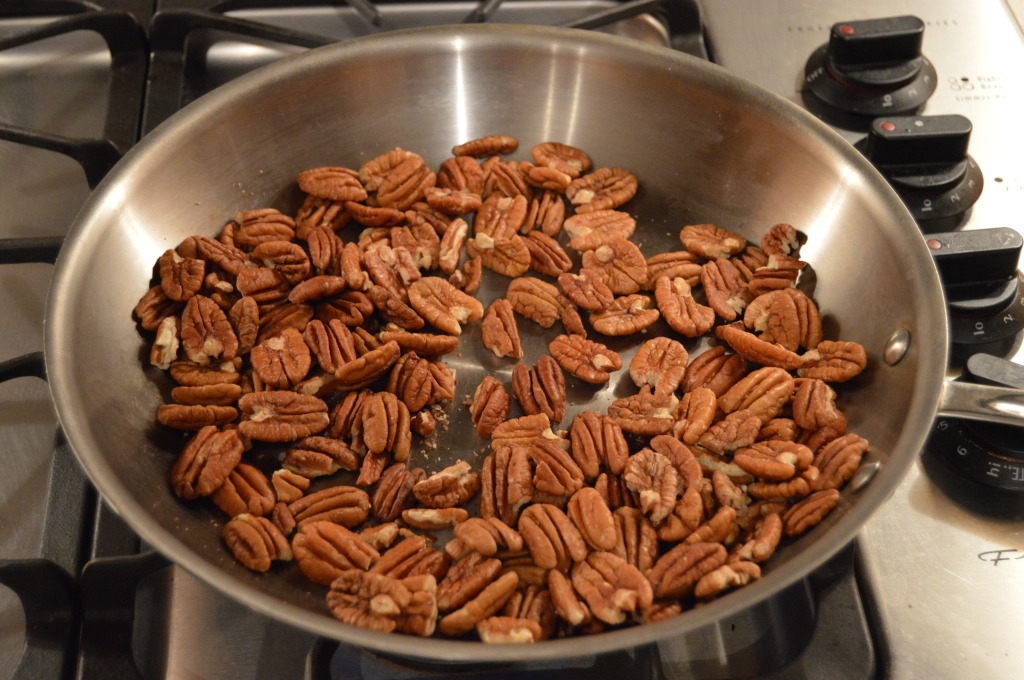
Roast the raw pecans for 5-7 minutes on medium-high heat, stirring often and keeping a very close watch. Once you start smelling the oils, they are roasted.

Set aside nuts, chocolate and chopped cherries/cranberries. I put the chocolate in the fridge so it doesn’t soften from the hot kitchen.

DSC_0022

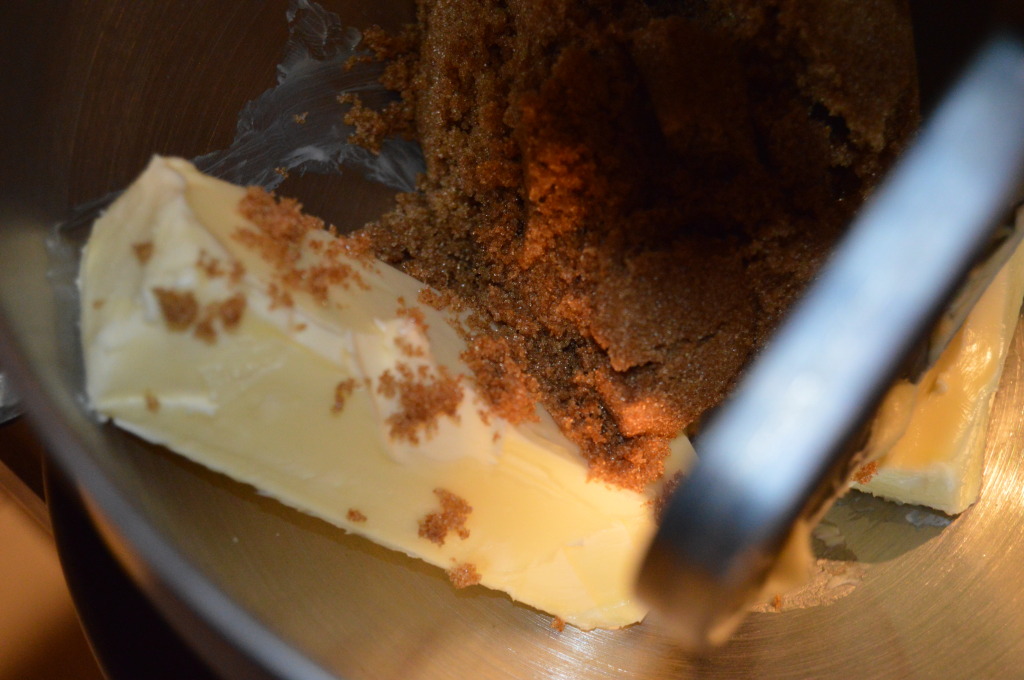
Add 3/4 of a cup of butter and 1 1/2 Cups of dark brown sugar to a stand mixer. Don’t even think about switching out the dark brown sugar for the lighter–not the same.

DSC_0024

DSC_0027

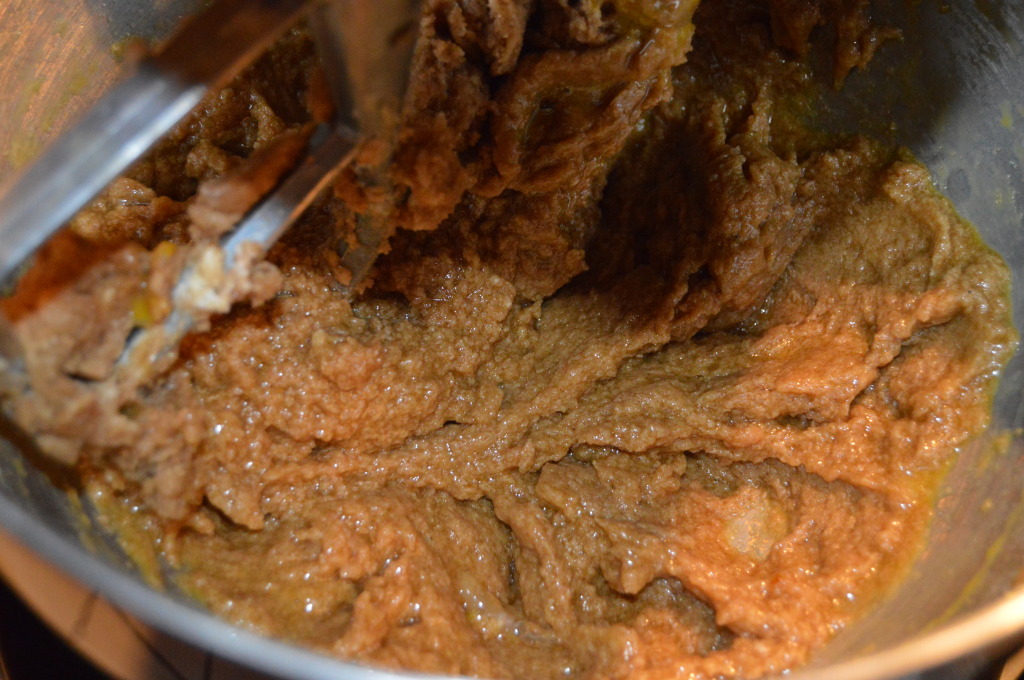
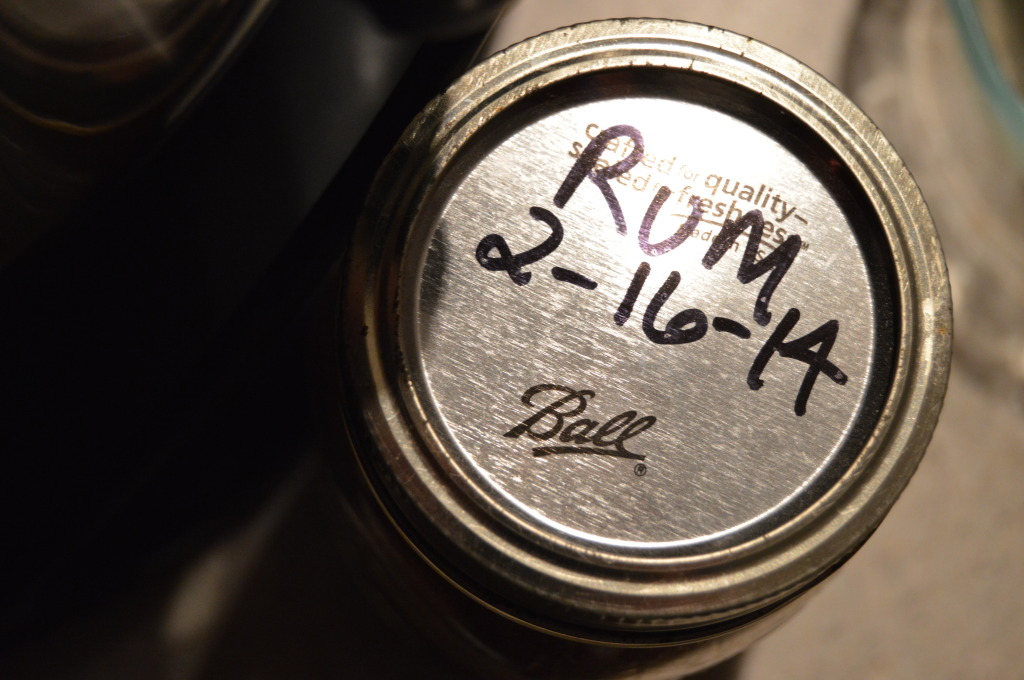
Add the egg and the teaspoon of vanilla. The label here is the vanilla I made this past February. I made some with rum and others with vodka. A future blog…you bet.

DSC_0028

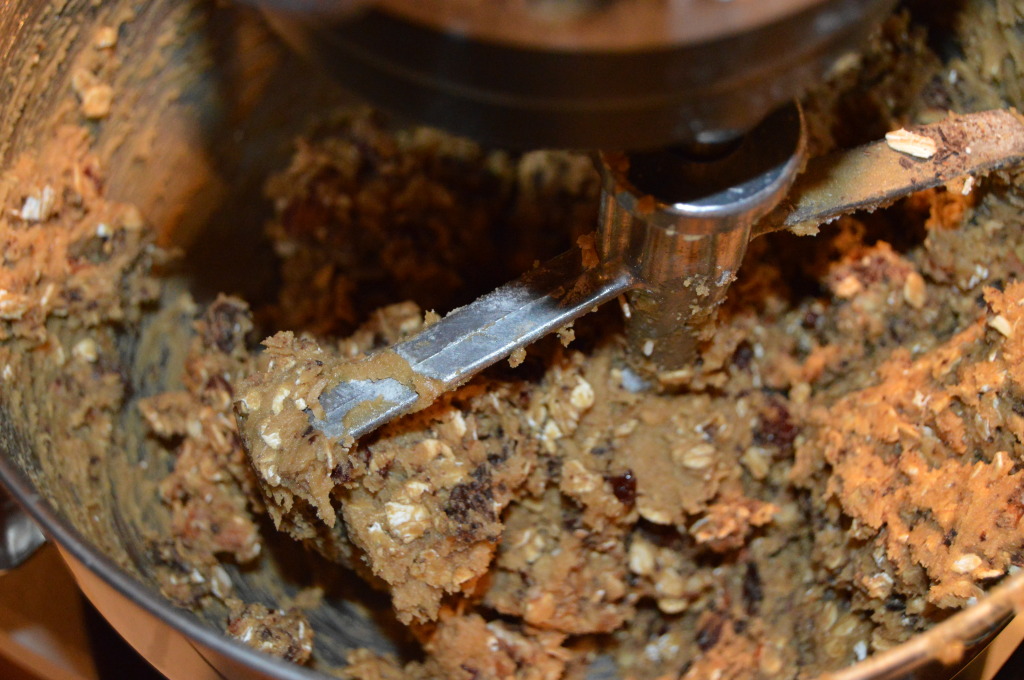
Here I have added the dry ingredients and the bowl of deliciousness(cherries, chocolate, pecans and oats).

DSC_0034

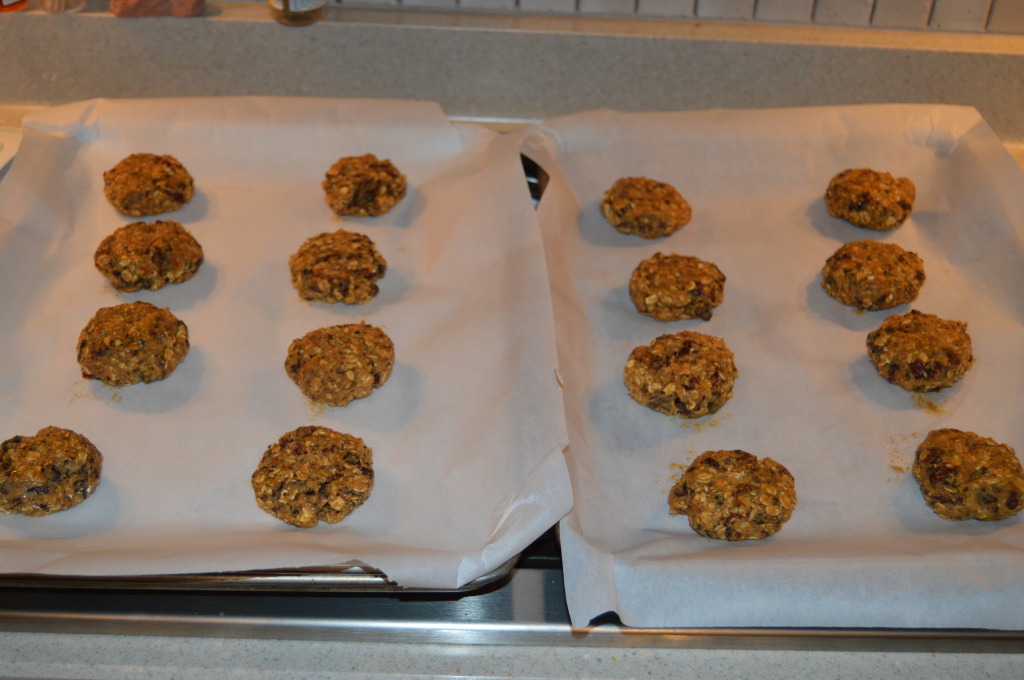
I’ve scooped out 16 equal balls of dough and pressed them slightly.

DSC_0037

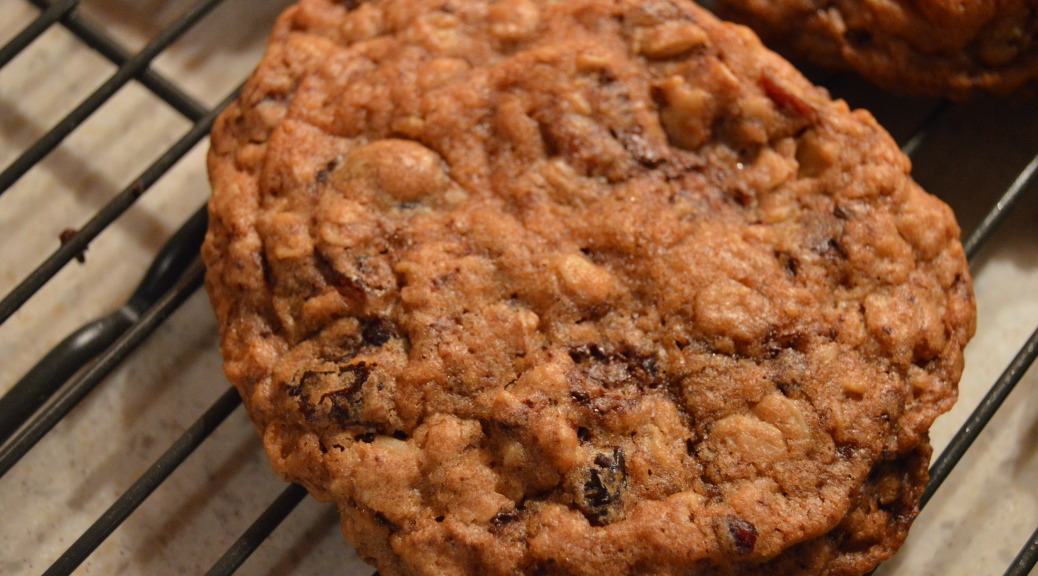
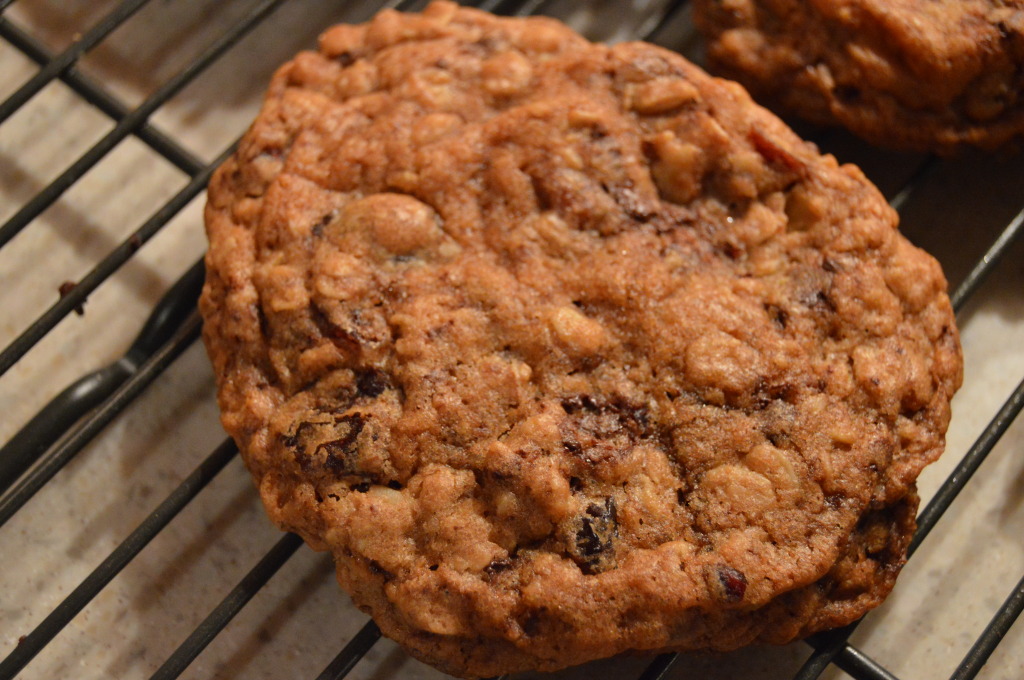
Nineteen minutes later(I have the time down to a science) I have the “perfect cookie.” Now, doesn’t that look delicious?

CHOCOLATE-CHUNK OATMEAL COOKIES WITH PECANS AND DRIED CHERRIES

Recipe excerpted word for word from: http://www.cooksillustrated.com/recipes/1996-chocolate-chunk-oatmeal-cookies-with-pecans-and-dried-cherries?

INGREDIENTS

  • 1 1/4cups unbleached all-purpose flour (6 1/4 ounces)
  • 3/4teaspoon baking powder
  • 1/2teaspoon baking soda
  • 1/2teaspoon table salt
  • 1 1/4cups rolled oats, old-fashioned, (3 1/2 ounces)
  • 1cup toasted pecans (4 ounces), chopped
  • 1cup dried tart cherries (5 ounces), chopped coarse
  • 4ounces bittersweet chocolate, chopped into chunks about size of chocolate chips (about 3/4 cup)
  • 12tablespoons unsalted butter (1 1/2 sticks), softened but still cool
  • 1 1/2cups packed brown sugar (10 1/2 ounces), preferably dark
  • 1large egg
  • 1teaspoon vanilla extract

INSTRUCTIONS

  1. 1. Adjust oven racks to upper- and lower-middle positions; heat oven to 350 degrees. Line 2 large (18 by 12-inch) baking sheets with parchment paper.
    2. Whisk flour, baking powder, baking soda, and salt in medium bowl. In second medium bowl, stir together oats, pecans, cherries, and chocolate.
    3. In standing mixer fitted with flat beater, beat butter and sugar at medium speed until no sugar lumps remain, about 1 minute. Scrape down sides of bowl with rubber spatula; add egg and vanilla and beat on medium-low speed until fully incorporated, about 30 seconds. Scrape down bowl; with mixer running at low speed, add flour mixture; mix until just combined, about 30 seconds. With mixer still running on low, gradually add oat/nut mixture; mix until just incorporated. Give dough final stir with rubber spatula to ensure that no flour pockets remain and ingredients are evenly distributed.
    4. Divide dough evenly into 16 portions, each about 1/4 cup, then roll between palms into balls about 2 inches in diameter; stagger 8 balls on each baking sheet, spacing them about 2 1/2 inches apart. Using hands, gently press each dough ball to 1 inch thickness. Bake both baking sheets 12 minutes, rotate them front to back and top to bottom, then continue to bake until cookies are medium brown and edges have begun to set but centers are still soft (cookies will seem underdone and will appear raw, wet, and shiny in cracks), 8 to 10 minutes longer. Do not overbake.
    5. Cool cookies on baking sheets on wire rack 5 minutes; using wide metal spatula, transfer cookies to wire rack and cool to room temperature.

Easy Crock-Pot Apple Butter

This is a continuation of what I did with forty pounds of fresh, organic apples  hubby and I picked a few weeks ago.  He requested apple butter to be one of the results of the apple trip, and I couldn’t refuse.  But honestly, I never knew this was a “thing” until I met my hubby.  I am guessing his Missouri -born mom made it a time or two when he was a boy.  The stuff is good, but I look at it and wonder what to do with it.  The hubby uses it like a jam, but I see me pouring this over yogurt, ice cream or a bundt cake.  It has a lot of spice/flavor so whatever I add it to better be boring. Once you prep the apples, this recipe definitely goes in the “easy” category.  And another bonus is how good this makes the house smell for 10 hours.

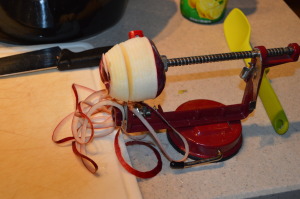
DSC_0780DSC_0778Here I am slicing, coring and peeling. I quarter the slices and place them and a dash of lemon juice in the slow cooker.


DSC_0782


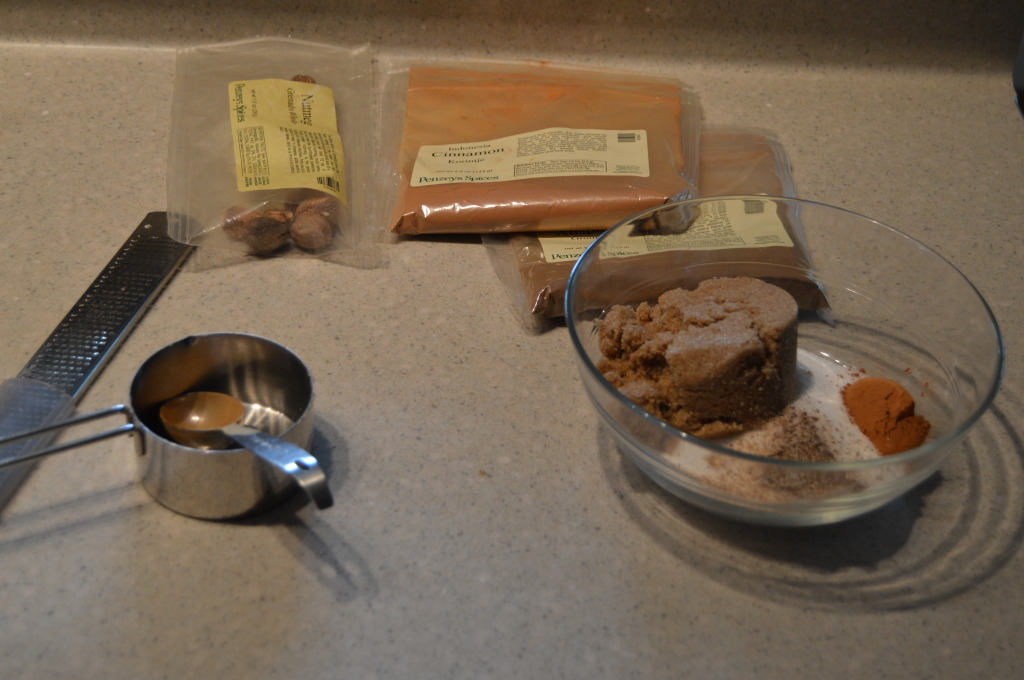
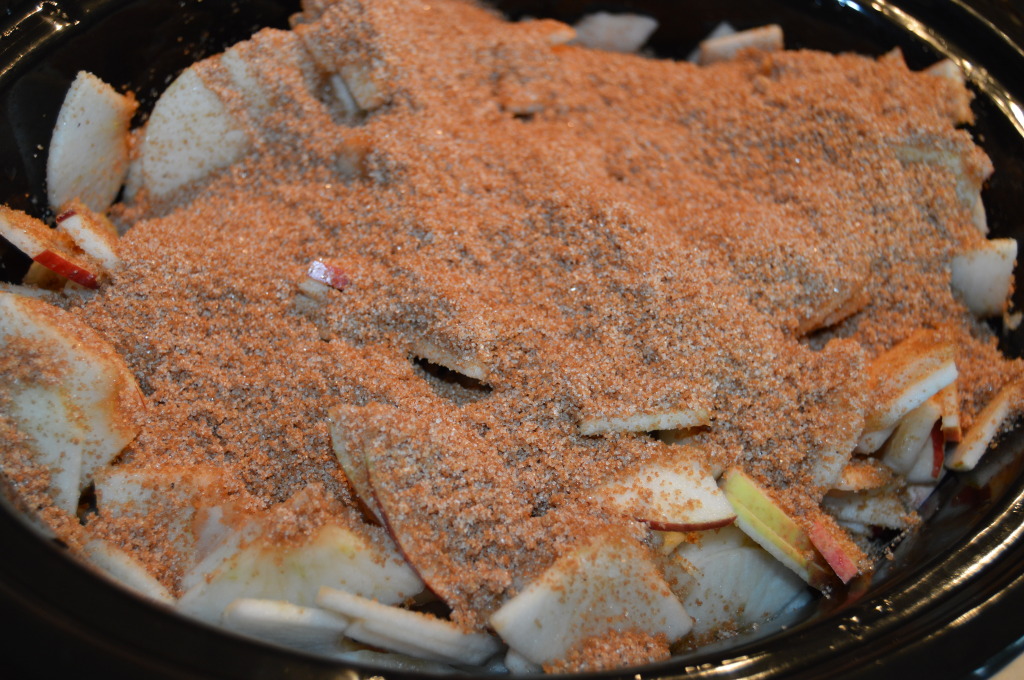
DSC_0783Nutmeg, cinnamon, all spice(I didn’t have cloves), brown sugar and granulated sugar.  I mixed these together and poured over the sliced apples in the crock-pot.

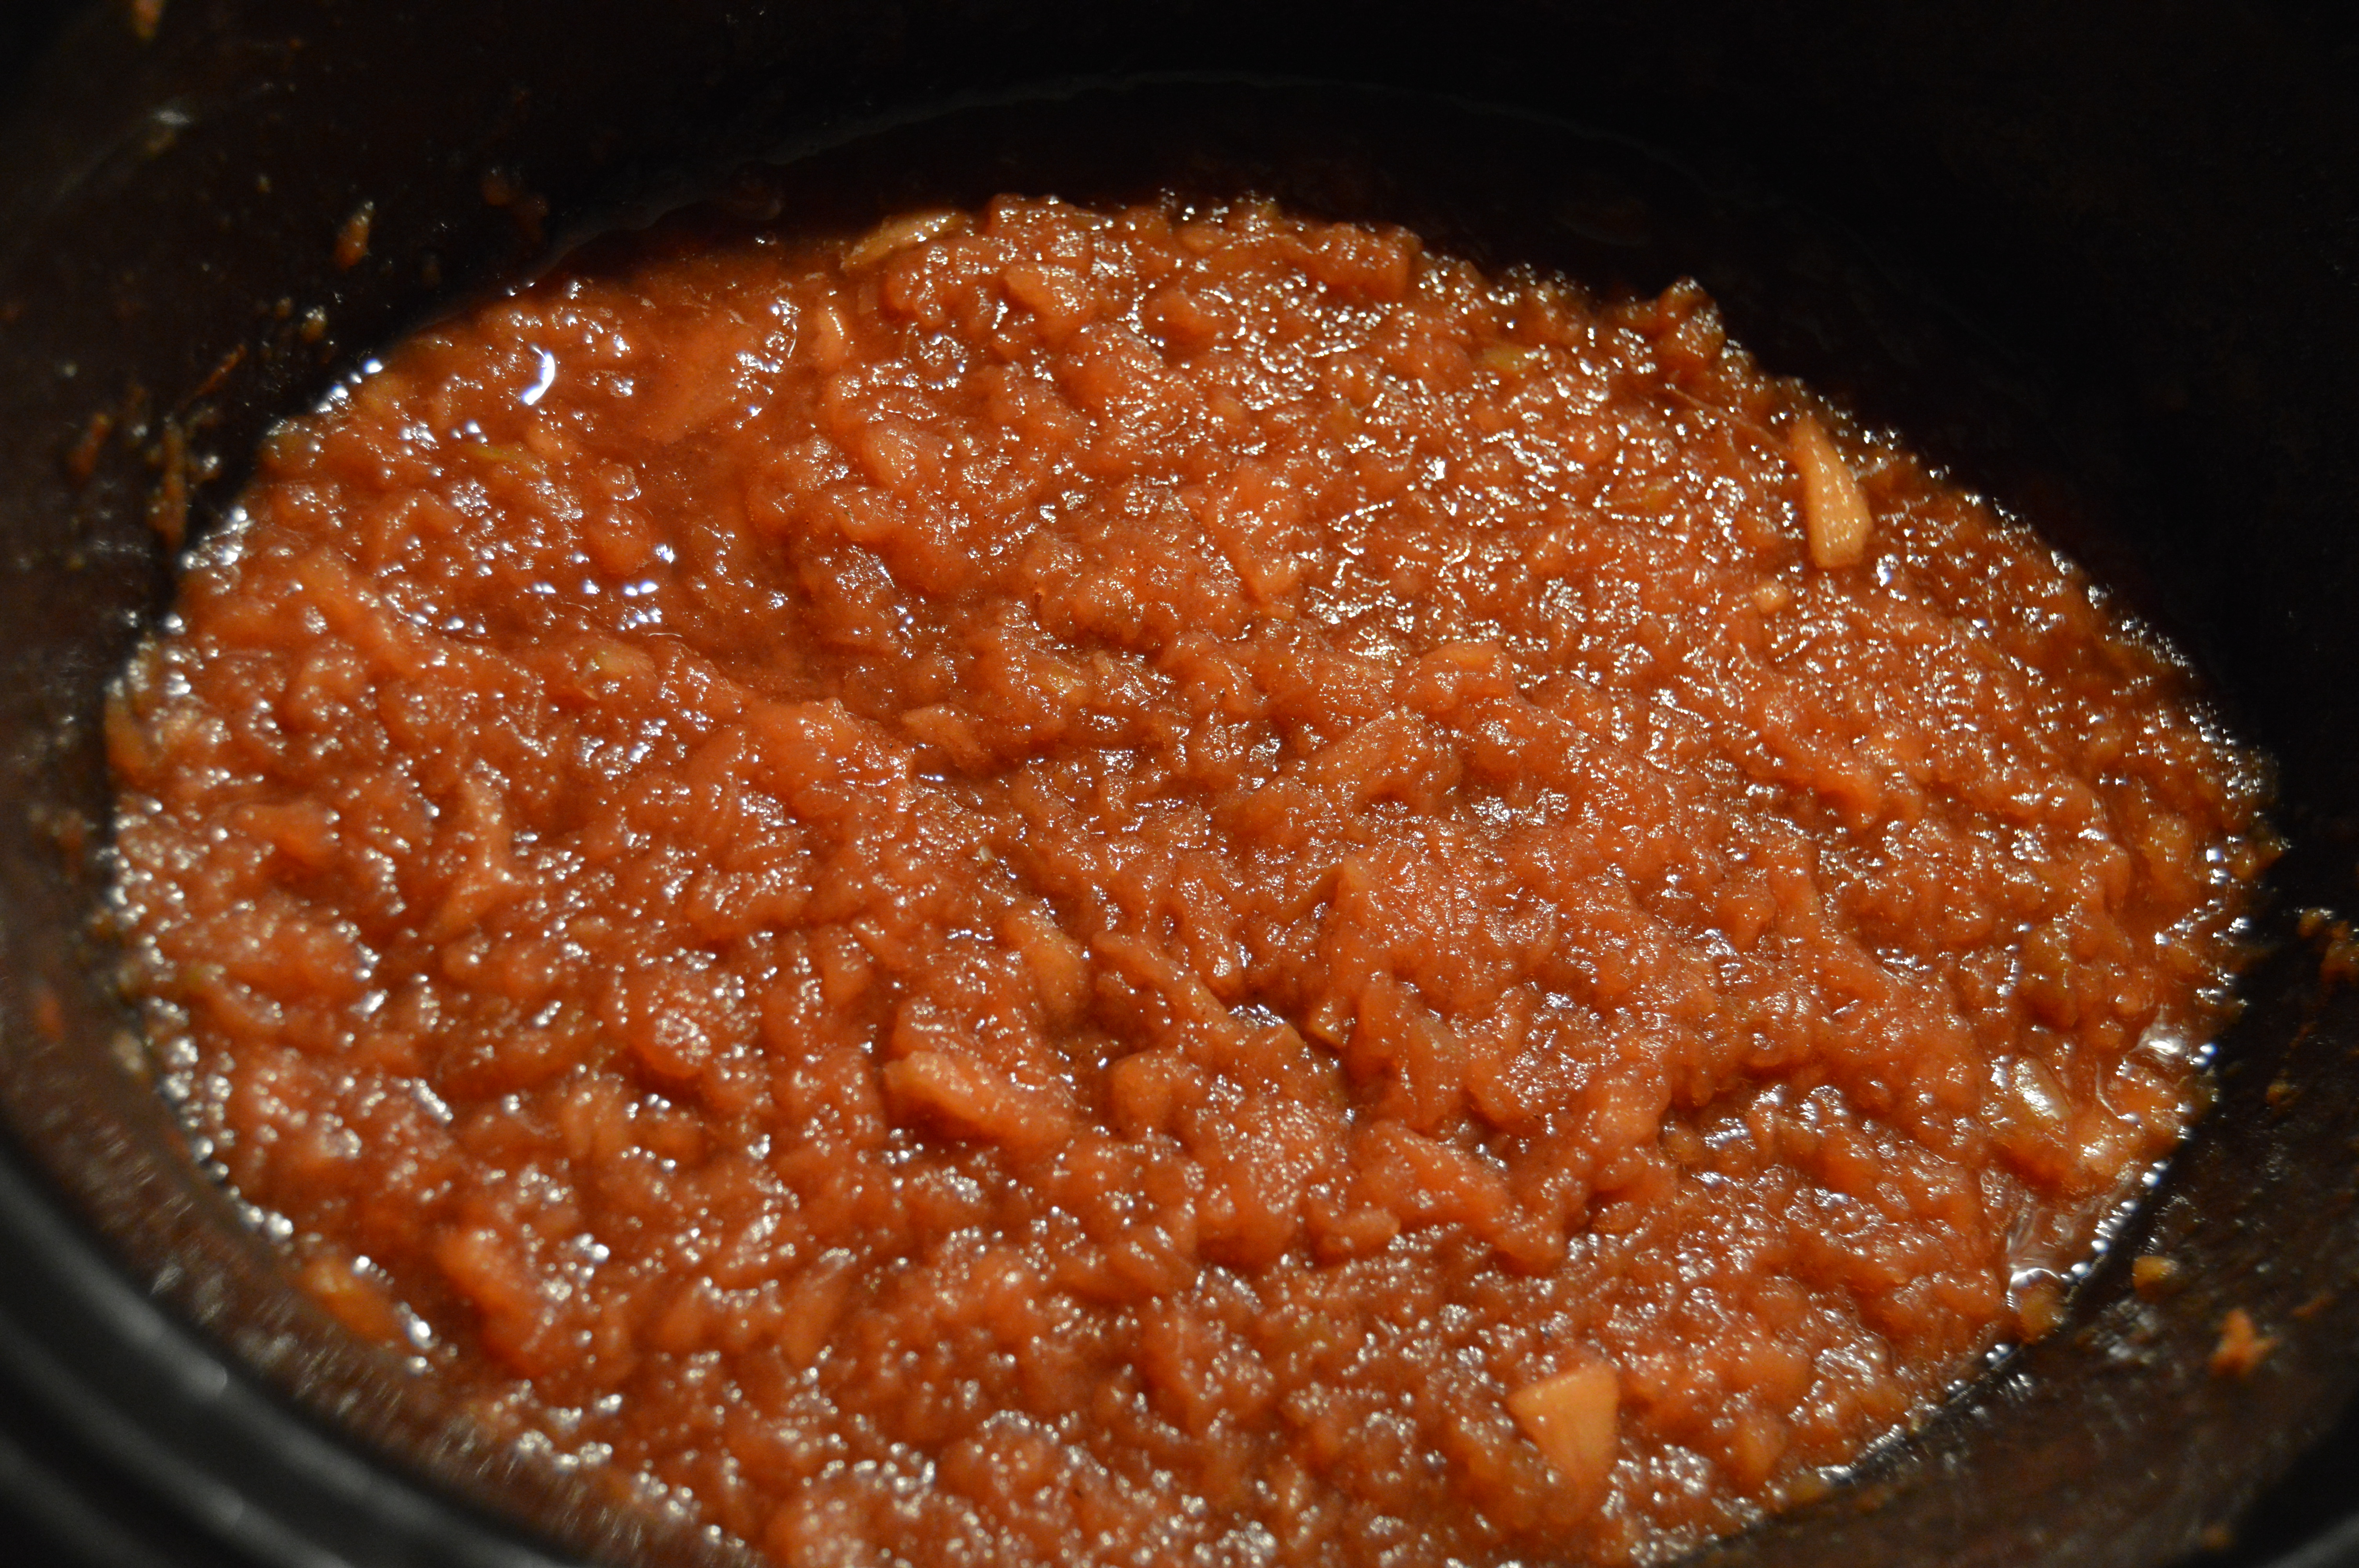
DSC_0790This is eight hours later: Spicy Applesauce

DSC_0793

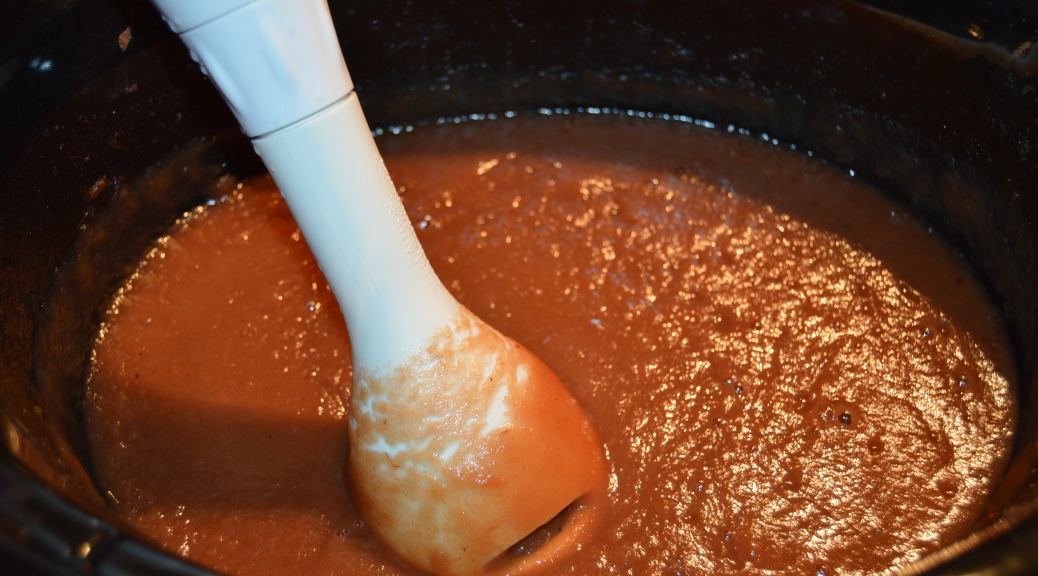
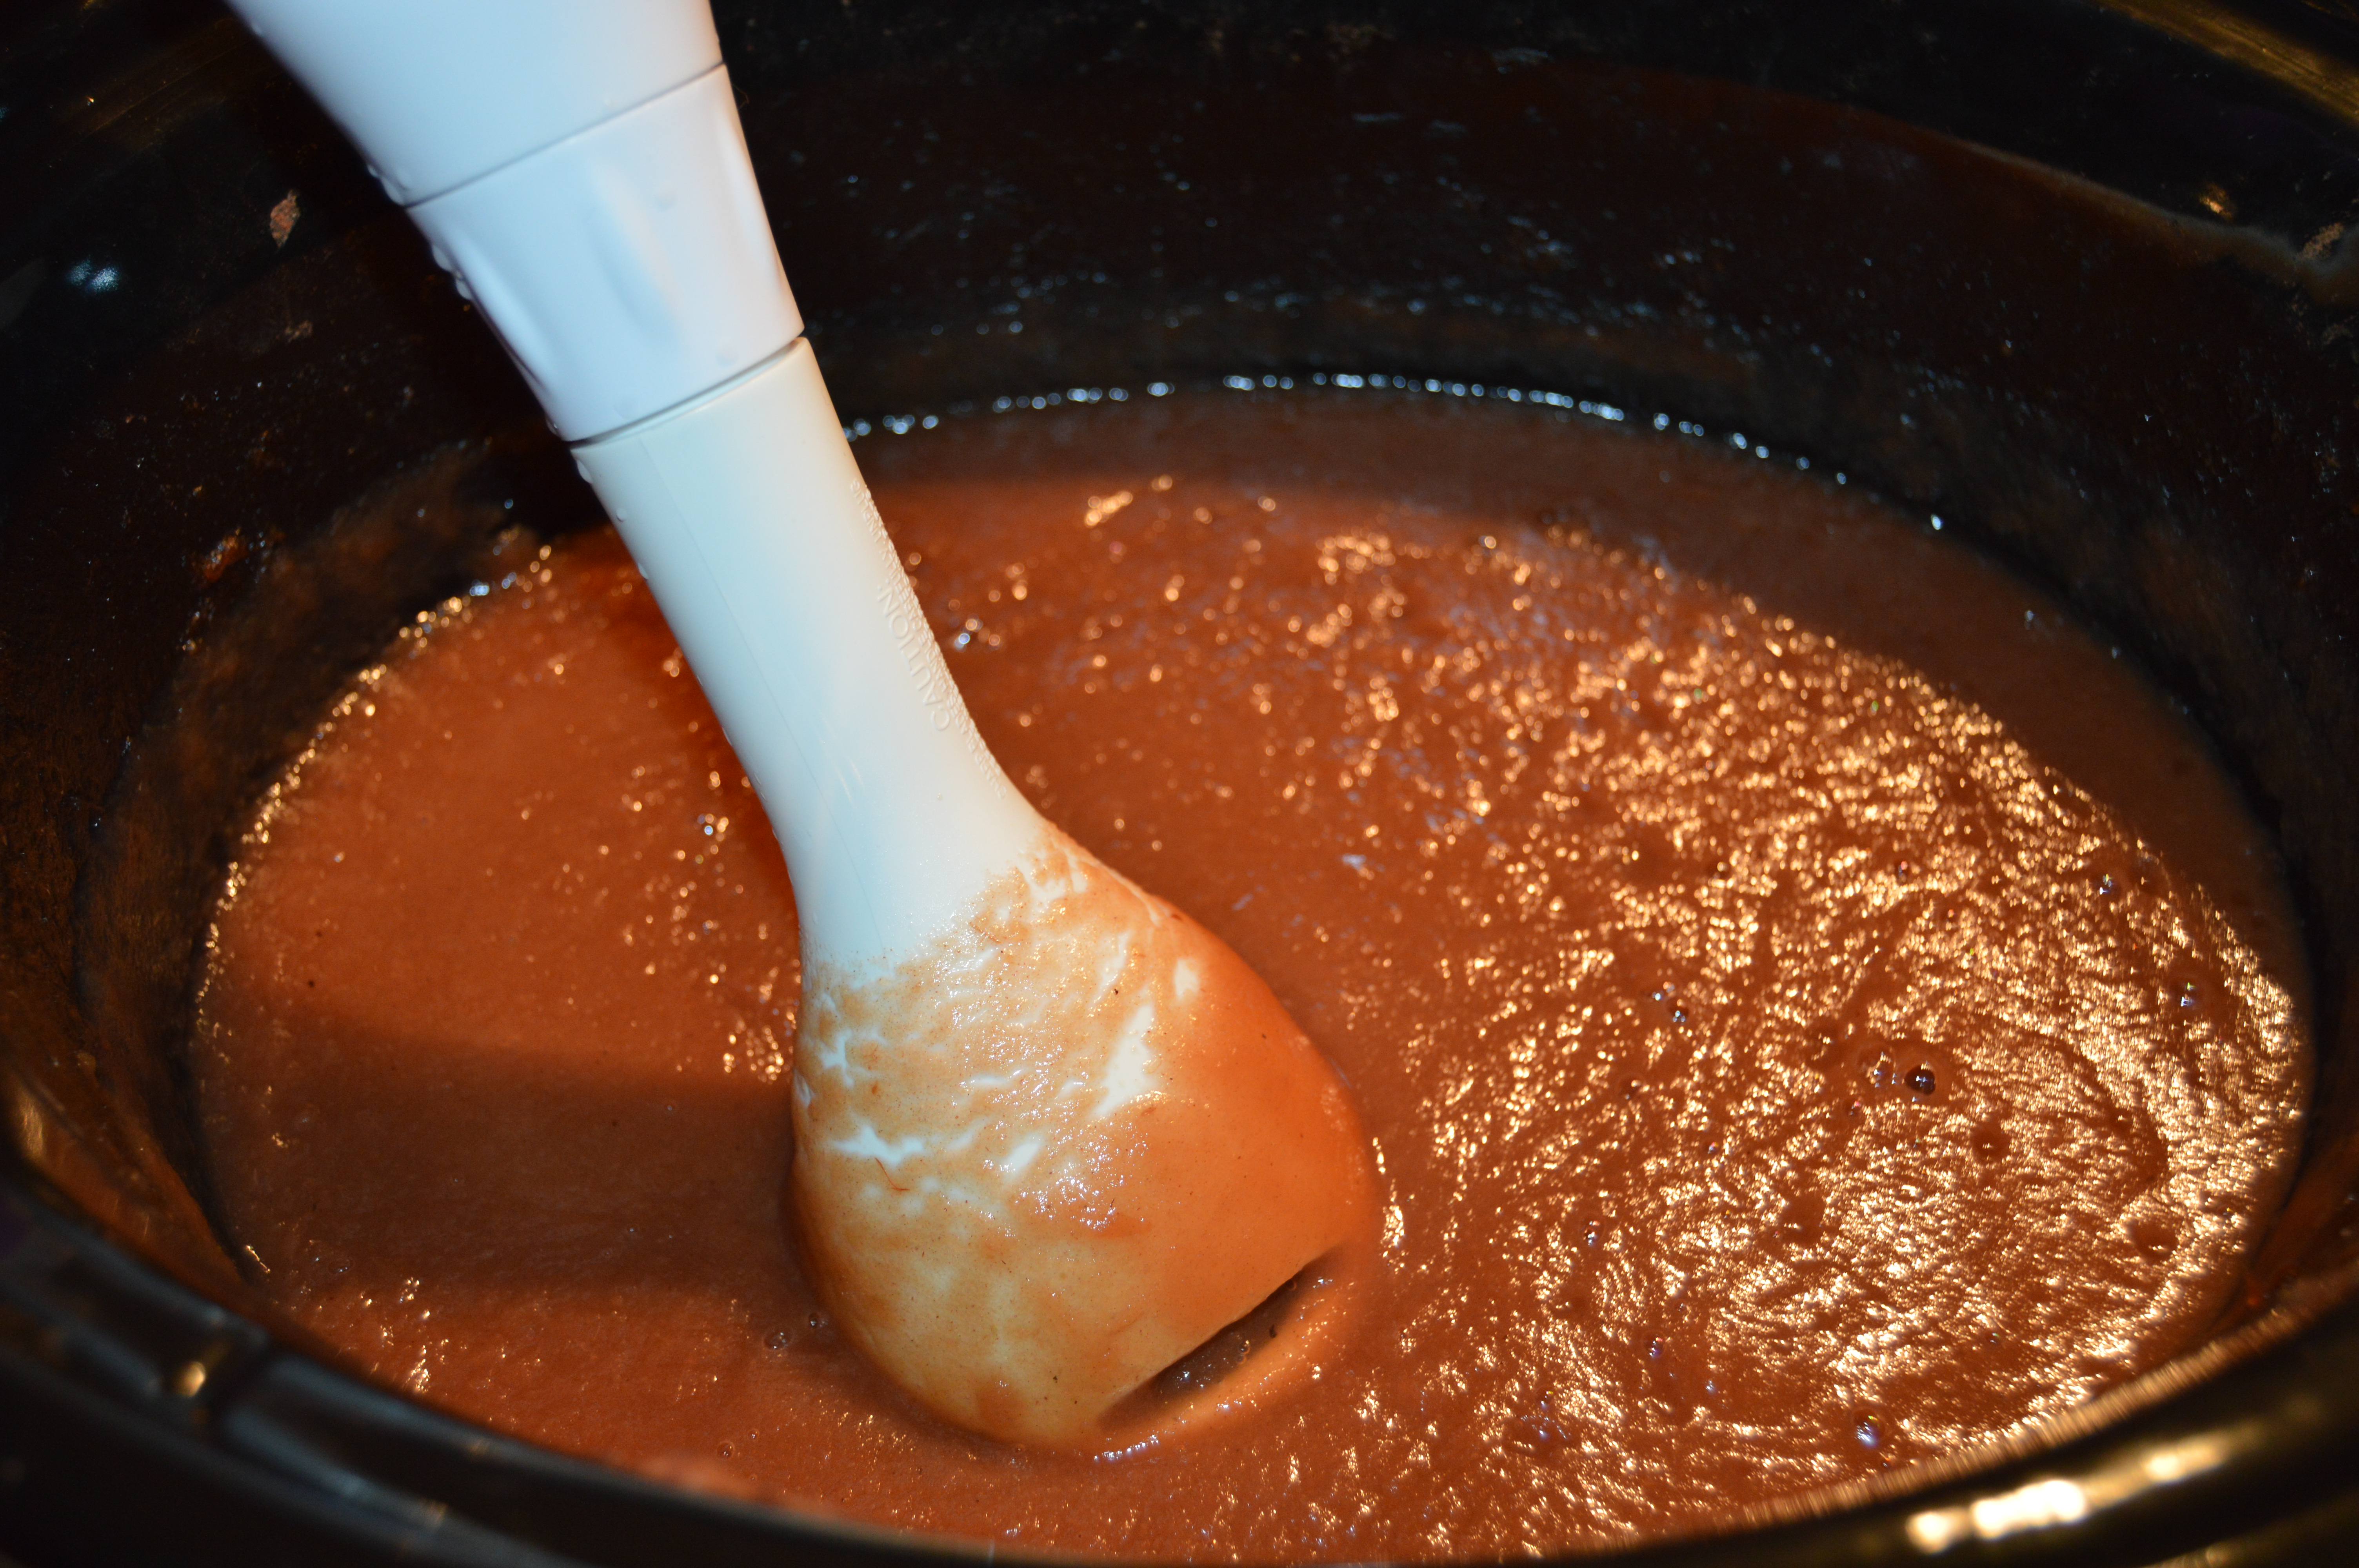
After allowing the moisture to cook-out, I took the immersion blender and turned a spicy applesauce into apple butter.

DSC_0801

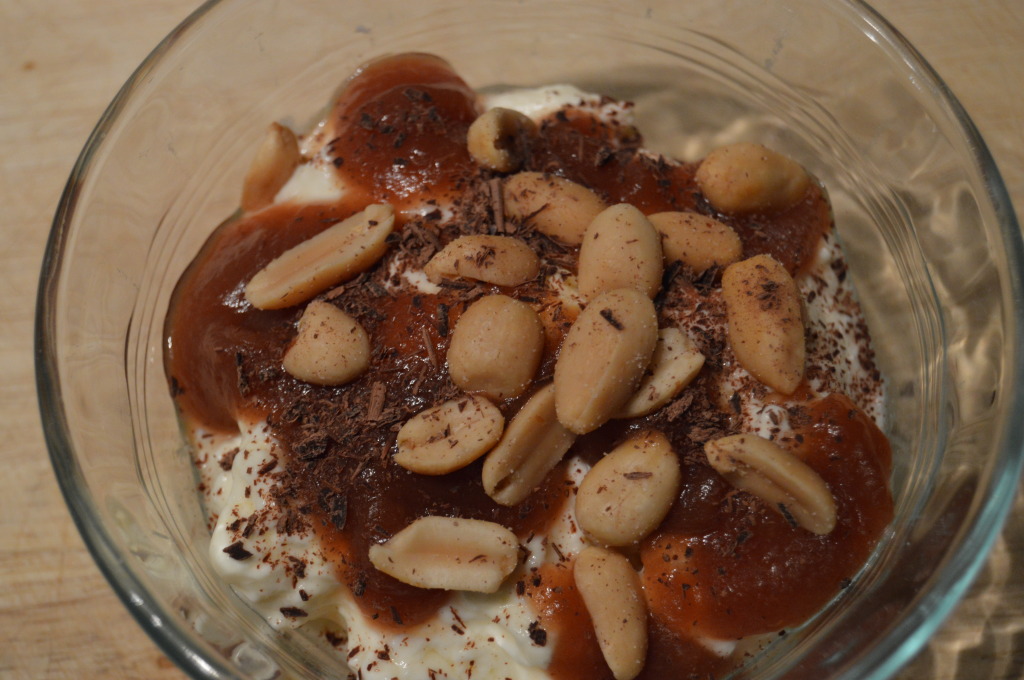
This is my homemade greek yogurt topped with apple butter, dark chocolate, and peanuts.  Trust me, this stuff won’t last in my freezer very long.

Easy Crock Pot Apple Butter

Excerpted mostly word for word from: http://www.deniseinbloom.com/crockpot-apple-butter-recipe/


Ingredients

  • Apples, peeled, cored, and cut into large sections. (enough to fill your Crockpot to the top). I used 6 pounds or 12  Cortland apples
  • 1 1/2 cups granulated sugar. I used just one cup
  • 1 1/2 cups packed brown sugar. I used just one cup
  • 1 tbsp cinnamon
  • 1/2 tsp ground nutmeg
  • 1/4 tsp ground cloves. Nope, none handy, so I switched with all spice
  • 1/4 tsp salt
  • 1 tbsp vanilla
  • 2 tsp lemon juice. I used the lemon juice in the beginning to keep the apples from turning, so I did not add more.

Directions

  • Fill crock-pot with prepared apples.
  • In separate bowl combine and stir, 1 cup of granulated sugar, 1 cup of brown sugar, cinnamon, nutmeg, cloves, and salt. (reserve the rest of the sugar for later)
  • Pour sugar and spice mixture over apples.
  • Turn crock-pot onto low and cook apples for 10 hours. After first 1-2 hours gently stir in the sugar mixture to coat the apples.
  • Leave it and forget it now.  At this point I let mine cook overnight
  • After 10 hours take lid off and stir. Your mixture will be very dark and cooked down by about half the capacity of your crock-pot.
  • Stir in lemon juice, and vanilla.
  • At this point taste your apple butter for sweetness. I had tart firm apples and they needed more sugar, so I then added the additional 1/2 cup of granulated and 1/2 cup of packed brown sugar. You can adjust accordingly to your taste and the apples you are using.
  • Let apple butter continue to cook for 1-2 hours with lid off to absorb more liquid and make apple butter thicken more.
  • At the end of the cooking time, smooth apple butter with an emulsion blender.
  • Spoon into clean pint jars, and cover tightly with jar lid and ring. Be sure to leave room at the top of the jar if freezing.

Go back

Your message has been sent

Dehydrated Apples

It’s Fall in the Midwest and one of our many rites of passage before winter has us in it’s grasp is to head to one of the apple orchards in the area to pick our own apples.  Since I have an organic requirement, the apple orchard we went to is a little further away but the apples are well worth it. We stood at one tree and picked 20 lbs of Cortlands and then moved a few rows over to the Ida Reds and stood at one tree and picked another 20 lbs of apples.  We were done and heading back home in twenty minutes. So, I have 40 lbs of apples to use up, and I am so very gleeful about this.  The next day I pulled my apple peeler, corer and slicer out of storage. It is an absolute must if you are working with more than a few apples.  My first apple project was dehydrated apples.  My daughter’s boyfriend’s father is a big dehydrating guy,  and he gifted a few bags of dried apples to me in exchange for fresh eggs.  I absolutely loved the flavor, so I bugged both the boyfriend and later the father for the recipe.  He gave me a few, invaluable steps, and as you will see, I ran with them.

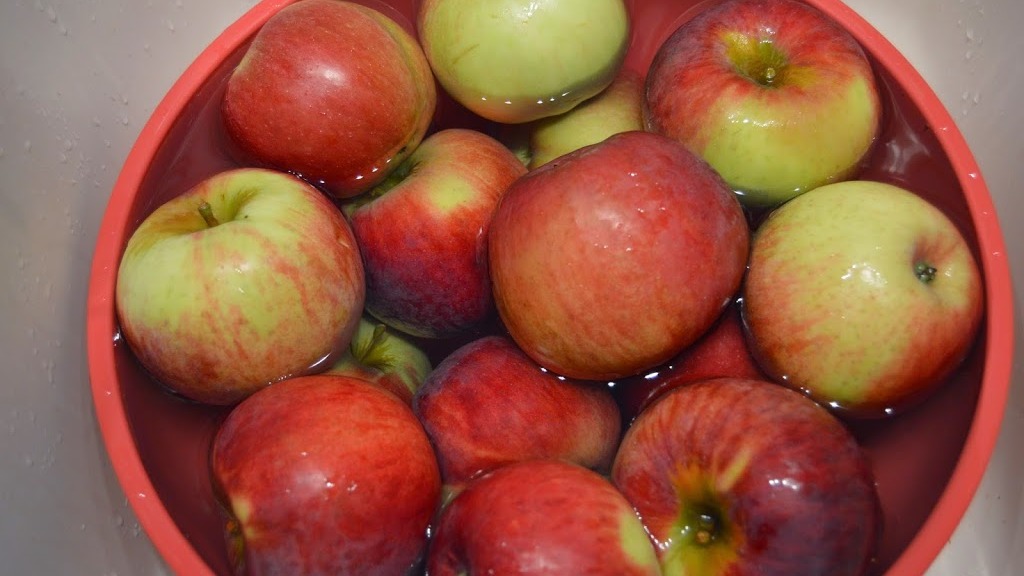
Gather your apples.  I used about a dozen or 6 lbs of apples, and I used the Courtlands(I’m saving the Idas for eatin’)

I used this handy kitchen gadget to core and slice the apples. It saves a lot of time, and it also slices the apples uniformly.

I poured a cup of pineapple juice with a half cup of lemon juice, and I put the apples in this liquid to both keep them from turning brown and to add sweetness.

I spooned about two cups of the sliced apples into a bag with a little juice and a half teaspoon of cinnamon, and I shook until all of the apples were evenly covered. Repeat with all apples and refresh the cinnamon with each bag.

Here are the apples before going into the dehydrator. I used all ten trays and set the temperature to 135 degrees for 8 hours. I didn’t want to completely dry the apples, so I kept the drying time shorter.

This was the first time dehydrating apples, and I have to admit, these turned out to be quite tasty.

Easy and Quick Homemade Granola Bars

I’ve blogged about making my own granola bars in the past, but I am always scouting for easier/tastier recipes.  This recipe trumps the recipe I blogged before because it calls for less dried fruit and fewer steps-winner, winner!  Oh, and I love the taste and texture.

This bar goes with me for long days at work or a late morning running errands(who wants to grocery shop hungry?).  It fills me up, but be warned, it can get messy. The plus and yet minus in this case is homemade granola bars don’t contain “stuff” to keep the bars glued together.

Trader Joe’s peanuts make great peanut butter. I put a half of a bag into the Vita Mix and I blend until it looks like butter. This makes lip smackin’ good peanut butter.

The recipe calls for a sauce pan on low heat to heat up the peanut butter and honey–pshaw–I throw it in a microsafe bowl and heat on high for a minute and then stir like a mad woman. Oh, and this isn’t honey it’s maple syrup.

Chop the nuts, add the oats, puffed rice and dried fruit to a large bowl. The puffed rice adds a really good texture with very few calories.  This may be what sets this bar high on my granola bar list.

Add the peanut butter and honey/syrup with the dry ingredients. Stir until well combined.

Add plastic, foil or parchment to the baking dish so you can just lift out and cut. 

Press the prepared mixture into the baking dish. I’ve made a double recipe here, so I am using a 13 x 9 dish. Put the mixture in the fridge and let harden for at least an hour.

Cut into bars and wrap each bar into plastic or foil. I keep my bars in a freezer safe bag in the freezer.

 I transport my bar in a cloth snack bag; environmentally friendly and pretty darn cute. Try the bar with an apple–delicious.

Granola Bars

Recipe excerpted word for word from Prevention Magazine, March 2014

Ingredients

1/2 cup honey
1/2 cup any nut butter
1 cup crispy brown rice cereal
1 cup granola or plain rolled oats
1/2 cup chopped nuts
1/2 cup chopped dried cherries or apricots

Directions

Put 1/2 cup honey and 1/2 cup any nut butter in small saucepan over medium heat. Stir until melted together, 2 to 3 minutes. Whisk to combine. Put 1 cup crispy brown rice cereal, 1 cup granola or plain rolled oats, 1/2 cup chopped nuts, and 1/2 cup chopped dried cherries or apricots in large bowl. Add honey mixture and stir well to combine. Lightly grease 8″ x 8″ baking dish or line with plastic wrap or parchment. Spread mixture evenly in dish, pressing down gently, and cover with plastic wrap. Chill until firm, at least 1 hour. Cut into bars. (For cleaner cutting, transfer to board by lifting edges of plastic wrap or parchment.)

Who Can Resist Banana Bread?

I can’t.

When I spot a few bananas getting past their prime, I instantly start carving out time to make banana bread. It’s a treat like no other. Sorry to say I’m a purist who does not put any chocolate in her banana bread; walnuts, yes, but not chocolate. It’s one of the few baked items I make that isn’t doused in a deep vat of dark chocolate. This tasty bread doesn’t need chocolate-gulp-it’s great without it.

The banana bread I’ve been making for years is from Cook’s Illustrated. It’s a great recipe and there is no reason to look for better or change it up at all. Cook’s stresses the key to great banana bread is the ripeness of the banana. The riper the better but be sure and bag them to keep the fruit fly population in check. If you don’t have the time to bake, bag the bananas and freeze until you do have the time.

First step is roasting the walnuts. Add the 1 and a 1/4 cup to a dry pan and roast on medium heat, stirring constantly until you hear popping or smell the oils. Be careful and don’t burn nuts. Let the nuts cool before chopping.

Gather your dry ingredients: sugar, flour, chopped walnuts, baking soda, and salt. Combine all into a large bowl.

Gather your wet ingredients: mashed bananas, melted butter, vanilla, eggs, and yogurt. Combine wet ingredients in a medium bowl and then add to dry. Stir gently until combined and add to prepared bread pan(greased and floured).

Bake for an hour or so until a long toothpick(or I use a spaghetti pasta)comes out clean.

Nom, nom, nom. I ate the heel seconds after taking the photo.

The Best Banana Bread

Excerpted word for word from:Cook’s Illustrated

Greasing and flouring only the bottom of a regular loaf pan causes the bread to cling to the sides and rise higher. If using a nonstick loaf pan, on which the sides are very slick, grease and flour sides as well as the bottom.

INGREDIENTS

2 cups unbleached all-purpose flour
3/4 cup granulated sugar
3/4 teaspoon baking soda
1/2 teaspoon table salt
1 1/4 cups toasted walnuts, chopped coarse (about 1 cup)
3 very ripe bananas, soft, darkly speckled, mashed well (about 1 1/2 cups)
1/4 cup plain yogurt
2 large eggs, beaten lightly
6 tablespoons unsalted butter, melted and cooled
1 teaspoon vanilla extract
INSTRUCTIONS

1. Adjust oven rack to lower middle position and heat oven to 350 degrees. Grease bottom only of regular loaf pan, or grease and flour bottom and sides of nonstick 9-by-5-by-3-inch loaf pan; set aside. Combine first five ingredients together in large bowl; set aside.

2. Mix mashed bananas, yogurt, eggs, butter, and vanilla with wooden spoon in medium bowl. Lightly fold banana mixture into dry ingredients with rubber spatula until just combined and batter looks thick and chunky. Scrape batter into prepared loaf pan; bake until loaf is golden brown and toothpick inserted in center comes out clean, about 55 minutes. Cool in pan for 5 minutes, then transfer to wire rack. Serve warm or at room temperature.

Love my Beet…Leather?

As the beets mature in the garden, and the hubby deposits a dozen or so on my kitchen counter,  I quickly research tasty recipes for these small orbs of my favorite color. I found the answer in my dehydrator cookbook: Mary Bell’s Complete Dehydrator Cookbook. I come across a beet leather recipe, but I was a bit hesitant wondering if I would find somewhere in my daily menu to fit an item eaten mostly by children. The demand of using up these beets quickly didn’t allow for a lot of time to deliberate, so I got to work and tried it. After a bit of tweaking(using sweetened applesauce instead of unsweetened); this makes my fifth or sixth leather. It’s a great recipe to use up roasted beets I haven’t eaten during the week, and I have actually found, it’s perfect when you need a healthy pick me up. I stash it in my desk drawer, and it’s there when my stomach starts to growl before I am ready to break-out lunch

First, I roast the beets as addressed in an earlier blog but do not add the oil, vinegar, salt and pepper:
http://veggiesandcheeseandeggs.blogspot.com/2014/08/roasting-beets-cannot-be-beat.html

Two cups sliced, roasted(or boiled) beets and two cups sweetened apple sauce.

Process for a minute until well blended.

Spread on a dehydrator, fruit roll-up sheet(you will find these on Amazon for around $9.00) evenly. Throw in the dehydrator for 12 or more hours at 135 degrees. Remove when dried completely

Voila’ you have just made your own fruit roll/leather. Be impressed…this is pretty darn cool. Notice the missing leather in the bottom, right-hand corner; hard to resist.

Best if kept in refrigerator but will last 3-5 days outside of.