Love my Beet…Leather?

As the beets mature in the garden, and the hubby deposits a dozen or so on my kitchen counter,  I quickly research tasty recipes for these small orbs of my favorite color. I found the answer in my dehydrator cookbook: Mary Bell’s Complete Dehydrator Cookbook. I come across a beet leather recipe, but I was a bit hesitant wondering if I would find somewhere in my daily menu to fit an item eaten mostly by children. The demand of using up these beets quickly didn’t allow for a lot of time to deliberate, so I got to work and tried it. After a bit of tweaking(using sweetened applesauce instead of unsweetened); this makes my fifth or sixth leather. It’s a great recipe to use up roasted beets I haven’t eaten during the week, and I have actually found, it’s perfect when you need a healthy pick me up. I stash it in my desk drawer, and it’s there when my stomach starts to growl before I am ready to break-out lunch

First, I roast the beets as addressed in an earlier blog but do not add the oil, vinegar, salt and pepper:
http://veggiesandcheeseandeggs.blogspot.com/2014/08/roasting-beets-cannot-be-beat.html

Two cups sliced, roasted(or boiled) beets and two cups sweetened apple sauce.

Process for a minute until well blended.

Spread on a dehydrator, fruit roll-up sheet(you will find these on Amazon for around $9.00) evenly. Throw in the dehydrator for 12 or more hours at 135 degrees. Remove when dried completely

Voila’ you have just made your own fruit roll/leather. Be impressed…this is pretty darn cool. Notice the missing leather in the bottom, right-hand corner; hard to resist.

Best if kept in refrigerator but will last 3-5 days outside of.

Don’t Bother Sharing this Recipe

Enough with the vegetables already.  I am ready for something decadent and downright bad for the hips.  Well, the recipe I settled on doesn’t quite fit that description but my curiosity about the crazy Facebook sharing cookie got the better of me.  I know you’ve seen it:

Photo: Sounds delicious AND they are egg-less, dairy-less, flour-less, and with no added sugar! #Healthy

Yep, this is it. I had some over-ripened bananas in the freezer I wanted to use up, so I thawed them and went to work.

I gathered the oats, bananas, vanilla, cinnamon, applesauce, milk, and chopped cherries. I used raw, cow’s milk instead of the almond milk and cherries instead of raisins. I combined all of the ingredients and stirred until well combined.  It was very wet.

No directions for this, so I just dropped teaspoonfuls of mixture onto parchment paper. I baked for 7.5 minutes, changed racks and baked for 9 more.. Hard to know when they are done, but I pulled them out when they became a little golden and left them on the pan for ten minutes or so before switching them to a wire rack.

What do I think of these? Where’s the fat?  The recipe is so worried about adding too much sugar, they forgot about a little fat for binding. Replace the almond milk with almond butter or peanut butter and then you might have a good, good-for-you cookie.  So many great recipes out there for raw cookies, it’s really unnecessary to turn the oven for this type of cookie.

I won’t be sharing this Facebook recipe on my wall.

Crustless Ratatouille Pie

It’s Sunday, and I have veggies in dire need of being used in one recipe or another–quickly. If they don’t get used today, the chances of me having enough motivation to whip something up during the week is very slim.  It’s gotta be today.

Hubby grilled up some eggplants from the garden this morning, and since I hadn’t made my signature eggplant dish yet, today looked like a good day to do that. I’ve been making this dish  for many years(the date on the Prevention page is 1999)with whatever type of eggplant we decided to grow that year. The dish comes together fairly quickly, and I get to use up a pound of eggplant and a couple of tomatoes.  And the fact that it’s tasty and only 172 calories/serving may be a few more reasons why I throw this dish together more than once every summer.  I had to make a few adjustments today since I did not have ricotta cheese or the type of yogurt it calls for.  This is an old recipe so the Greek yogurt consistency is probably not what the recipe intended. I used a cup of my homemade, Greek yogurt with a half of cup of raw milk buttermilk. I know, I know, but I am trying to use ingredients I have on hand.

You need an onion, a red or yellow bell pepper, two tomatoes and two cloves of garlic.  If you are using fresh eggplant, cut in chunks, salt and drain the water from the eggplant for 30-45 minutes. I grilled the eggplant until the meat collapsed and that took enough of the moisture out without the salt. I have a little jar of Penzeys Tuscan Sunset(salt-free), and I used that in place of the marjoram.

Two teaspoon olive oil, saute the onion for three minutes and then add the pepper and the garlic.

Because my eggplant was grilled, I added the eggplant later with the tomatoes and seasoning.

Throw a cup of ricotta cheese, yogurt, 3 egg whites, 1/4 cup of flour(replace this with a non-gluten product if you prefer gluten free),1/2 teaspoon baking powder, and 1/4 cup grated Parmesan cheese. Spray a pie plate lightly with no-stick spray and throw half of the cooled,sauteed vegetables onto the plate followed by half of the ricotta cheese mixture; add the rest of the veggies and the ricotta cheese mixture. Bake at 350 degrees for 45 minutes or until the middle is done.

What’s for lunch? Ratatouille Pie!  Will you join me?
Ratatouille Pie
Prevention, August 1999

Serve this crustless quiche warm or at room temperature

Ingredients
-2 tsp olive oil
-1 large onion, finely chopped
-1 medium eggplant(1 lb). Cut into one inch cubes, salted, and drained.
-1 sweet yellow or red pepper, coarsely chopped
-2 cloves garlic, finely chopped 
-1/4 teaspoon Pepper
-3/4 teaspoon salt
-2 medium tomatoes
-1/2 teaspoon marjoram or oregano
-1 cup reduced-fat ricotta cheese
-1/2 cup low-fat plain yogurt
-3 egg whites
-1/4 cup all purpose flour
-1/2 teaspoon baking powder
-1/4 cup grated parmesan cheese
Directions
1. Preheat oven to 350 degrees. Lightly coat a 10-inch pie plate with cooking spray
2. Heat oil in a large nonstick skillet over medium heat. Add onions; saute 3 minutes. Add eggplant, yellow or red pepper, garlic, pepper and salt. Cook, stirring often, for 5 minutes or until eggplant is softened. Stir in tomatoes and marjoram and cook for 2 minutes. Let cool for 10 minutes. 
3. In a blender,  process ricotta, yogurt, egg whites, flour, baking powder, Parmesan cheese and remaining 1/4 teaspoon of salt until smooth.
4. Spoon half of the vegetables into the pie plate. Poor the cheese mixture over the vegetables and top with the remaining vegetables. 
5. Bake 35-45 minutes or until a toothpick inserted into the center comes out clean. Let stand 15 minutes until cutting. 
Serves 6.
Here is the recipe I have been using since 1999.  It’s oiled stained, dog eared, and downright in bad shape.  This makes it a recipe worth trying.

Big-Batch Summer Tomato Sauce

I come from a meat and potatoes kind of cooking.  Pa couldn’t tolerate spice, garlic or heat of any kind so mom cooked the typical Americana meal in the 70’s: meatloaf and mashed potatoes.  The family’s idea of an “exotic meal” consisted of a can with La Choy on the label.  I don’t recall having spaghetti and sauce too often, and I can guarantee you this, mom never had a pot simmering of homemade tomato sauce on the stove.  I’m not banging on my mom’s cooking, she was a wonderful cook, but we sure could have used some food other than the meat(sometimes liver-GROSS) and potato.  The menu from when I was a kid may explain my aversion to meat and my adoration of ethnic foods.  Yeah, pasta and sauce isn’t really all that ethnic but homemade sauce and homemade pasta are.  When I announced at work what I was doing, my Italian colleague said his mother would cook up big batches and can it.  I have to admit, I had to really control myself from shaking him and demanding the recipe from his mother. Since I don’t have an Italian mom or grandmother, I relied, instead, on my DIY bible from the Test Kitchen.

I would love to say the sixteen quarts of red pasta sauce were in celebration of our trip to Italy in May, but I would be lying.  It’s more about the number of tomatoes littering my deck than anything else.  I found a recipe calling for 30 pounds of tomatoes with minimal processing of the tomatoes and minimal ingredients. Bingo.

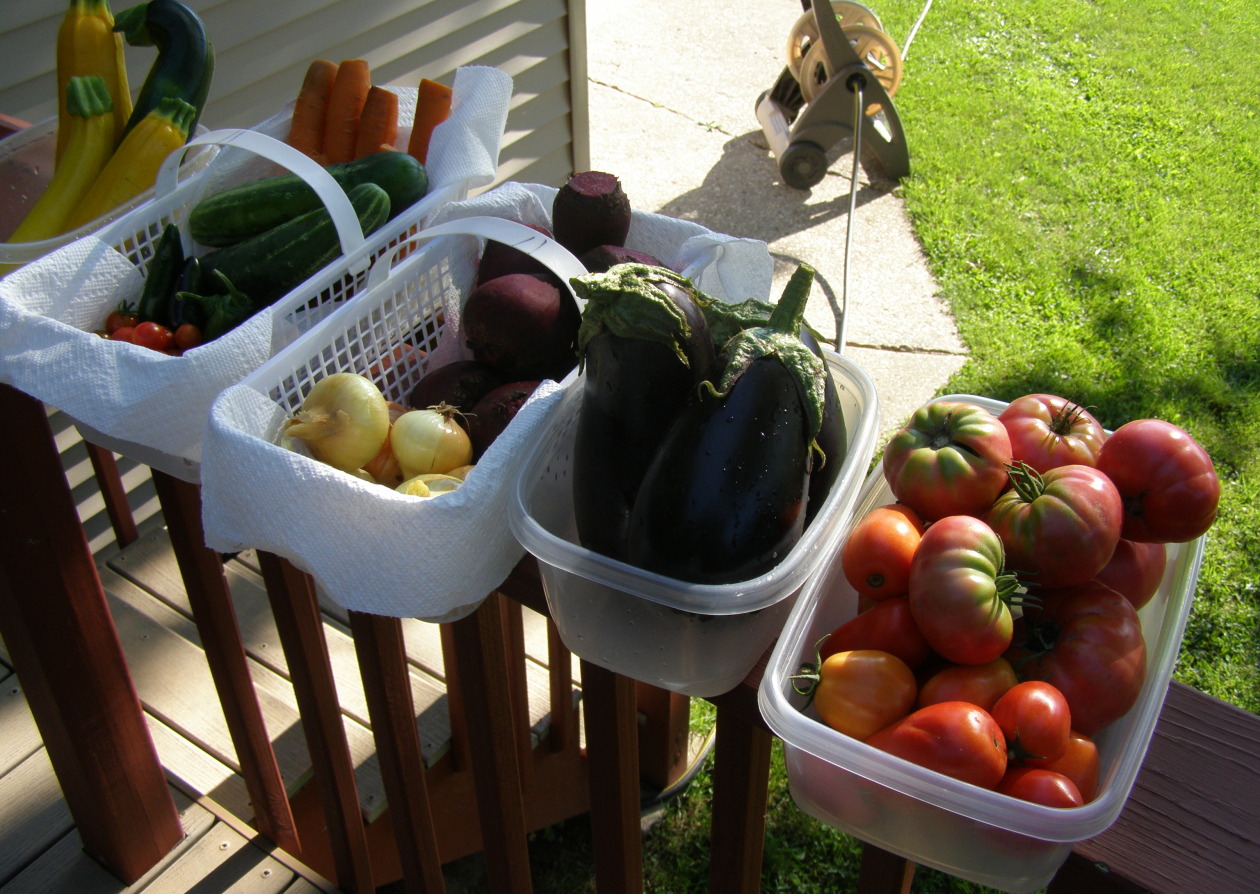
So many tomatoes, so little time.

Dip the tomatoes in hot water for 30-45 seconds and then switch to an ice bath.  The skins come right off. The tomatoes in the picture have been skinned and quartered.

And then processed in the food processor. I either froze the tomato puree or refrigerated it–depending on when I would get back to it. Refrain from processing the garlic until the day you cook your tomatoes.

Pictured are the pureed tomatoes, basil, organic sugar, red wine vinegar, salt, garlic, and organic tomato paste.

Four kettles of tomato puree, basil, garlic, kosher salt and tomato paste. I stirred the four pots every five minutes or so.

 After some serious reduction happened, I was able to combine the four into to two pots.  This is painful for my husband to hear but the Le Creuset Dutch Oven yielded the best sauce.

Here is the sauce almost ready for the two tablespoons of vinegar and one teaspoon of sugar.

While the sauce is cooking, wash the jars and collars. 

Necessary tools of the canning trade: The first grabs hot jars for you and the second is a funnel. 

Place the washed jars into the oven with the temperature set at 215 degrees.  I found this method on YouTube, and you heat the jars in the oven instead of a hot water bath.  Between the hot jars, hot liquid and hot lids, your jars will seal. I tried it with two batches, and it worked like a charm.

Sixteen Quarts of tomato sauce.  . 

Big-Batch Summer Tomato Sauce

Adapted word-for-word from, America’s Test Kitchen d.i.y cookbook
America’s Test Kitchen d.i.y. cookbook

Ingredients:

30 pounds tomatoes
12 garlic cloves
1 cup tomato paste
1 cup chopped fresh basil
salt and pepper
1/2 cup red wine vinegar
Sugar

Directions:

1. Bring 4 quarts water to boil in large pot over high heat and prepare ice bath in large bowl. Remove core from tomatoes. In batches, lower tomatoes into boiling water and cook just until skins loosen, 15-45 seconds. Using slotted spoon, transfer tomatoes to ice bath to cool, about 2 minutes. Remove tomatoes from ice bath and remove loosened tomato skins.

2. Process garlic in food processor until minced, about 10 seconds. Transfer to small bowl. Process peeled tomatoes in batches in now-empty food processor until almost smooth, 15-20 seconds. Transfer to large bowl.

3. Combine 3 1/2 quarts tomato puree, one-quarter of minced garlic, 1/4 cup tomato paste, 1/4 cup basil, and 1 1/2 teaspoons salt in each of 4 Dutch ovens or large pots and bring to simmer over medium heat. Continue to cook, stirring occasionally, until sauce in each pot has thickened and reduced to 2 quarts, 1 1/2 to 2 hours(I found 2 1/2 was a more accurate time frame for my sauce). Stir 2 tablespoons vinegar and 1 teaspoon sugar into each pot, seasoning with additional sugar to taste. Also season salt and pepper to taste.

4. Transfer hot tomato sauce to 8 hot, sterilized quart jars, leaving 1/2 inch of headspace at top, and process in a boiling water bath for 20 minutes.

Well, I am set for pasta sauce until tomato time next year.  Homemade pasta??? That’s for a future blog.
EASY Homemade Tomato Paste

As you know, this blog is mainly about my love of DIY projects in the kitchen. There is just something about creating something better, healthier and sometimes cheaper than I can buy at the store. It feels great to meander through the grocery store basically skipping all of the middle aisles(the notoriously unhealthy aisles) and visit only produce and the organic aisles. Here is another one of those projects.

Finding a recipe on Pinterest for making homemade tomato paste made me jittery with excitement. Here I am with end of the summer tomatoes and a possible DIY project that will assist me in NOT throwing away 6 oz cans of organic tomato paste when only a tablespoon or maybe two was used. Dehydrate my numerous cherry tomatoes, turn them into tomato paste and freeze into small portions. No future waste, I know what’s in it, and I am not creating any new garbage…win, win, win. Now, don’t get me wrong, I didn’t find a recipe and run with it: rather, I researched a half dozen recipes about how to make your own tomato paste. The few recipes I liked consisted of cooking the tomatoes, running them through a food mill, and pouring the results onto a jellyroll pan to hang out in the oven for 2-3 hours at 350 degrees. This is tough to do in August and the recipes also called for garlic and olive oil. I wanted to re-create the paste called for in standard recipes and the paste we buy at the store does not contain either of those ingredients. The dehydrator was a consideration rather than the oven but the consistency post food mill was more like a soup; not possible to hold the liquid on a dehydrator tray. Frustrating but at least hubby will have some tasty tomato soup for his future grilled cheeses. The recipe I pulled from Pinterest was a perfect way to use up the glut of cherry-like heirloom tomatoes. She used romas, but I figured my ping-pong ball sized tomatoes would be the perfect fit for the job. I dried about 24 of them in the dehydrator, poured a cup or so of hot water over them, and I processed in the Vita Mix.

Could this get any easier?
I sliced the tomatoes and dried them at 115 degrees for 20-22 hours.
I poured hot water over the dried tomatoes and let them sit for a few hours(save some the water). Process the tomatoes in the blender/food processor for a few minutes and add the saved water–if needed. I found not adding any water made for a more paste-like consistency. Stop the food processor/ blender intermittently and scrape down the sides, coaxing the tomato meat into the middle.
This is my homemade, organic tomato paste.
This is my homemade, organic tomato paste going into the freezer. The freezer door specifically.

Easy Homemade Tomato Paste

Loosely interpreted from: https://jarohoney.com/old-fashioned-tomato-paste-raw-vegan-paleo/

Ingredients:
24 Cherry Tomatoes or tomato of choice
1 cup filtered water, heated
Directions:

1.Sharpen your knife and slice the cherry or tomatoes of choice into uniform slices.

2. Lay them in a single layer on dehydrator trays and dry them for 18-22 hours at 115 degrees.
3. Once dry, place them in a bowl and pour the cup of hot water over them. Let sit 2 hours or so. pp
Save the water.
4. Place slightly re-hydrated tomatoes in a food processor or blender. Process on high, stopping and scraping sides often until the paste-like consistency is reached. Add a teaspoon of saved water if needed.
5. Scoop two tablespoons into a small storage container and store in the freezer where easily accessed.
Admittedly, the caveat is this doesn’t make a lot of paste. But when hubby keeps bringing in bags of tomatoes from the garden, I am looking for any way to use them up. This is easy, and since it doesn’t consist of any boiling water, I am all over it.