Don’t Bother Sharing this Recipe

Enough with the vegetables already.  I am ready for something decadent and downright bad for the hips.  Well, the recipe I settled on doesn’t quite fit that description but my curiosity about the crazy Facebook sharing cookie got the better of me.  I know you’ve seen it:

Photo: Sounds delicious AND they are egg-less, dairy-less, flour-less, and with no added sugar! #Healthy

Yep, this is it. I had some over-ripened bananas in the freezer I wanted to use up, so I thawed them and went to work.

I gathered the oats, bananas, vanilla, cinnamon, applesauce, milk, and chopped cherries. I used raw, cow’s milk instead of the almond milk and cherries instead of raisins. I combined all of the ingredients and stirred until well combined.  It was very wet.

No directions for this, so I just dropped teaspoonfuls of mixture onto parchment paper. I baked for 7.5 minutes, changed racks and baked for 9 more.. Hard to know when they are done, but I pulled them out when they became a little golden and left them on the pan for ten minutes or so before switching them to a wire rack.

What do I think of these? Where’s the fat?  The recipe is so worried about adding too much sugar, they forgot about a little fat for binding. Replace the almond milk with almond butter or peanut butter and then you might have a good, good-for-you cookie.  So many great recipes out there for raw cookies, it’s really unnecessary to turn the oven for this type of cookie.

I won’t be sharing this Facebook recipe on my wall.

Crustless Ratatouille Pie

It’s Sunday, and I have veggies in dire need of being used in one recipe or another–quickly. If they don’t get used today, the chances of me having enough motivation to whip something up during the week is very slim.  It’s gotta be today.

Hubby grilled up some eggplants from the garden this morning, and since I hadn’t made my signature eggplant dish yet, today looked like a good day to do that. I’ve been making this dish  for many years(the date on the Prevention page is 1999)with whatever type of eggplant we decided to grow that year. The dish comes together fairly quickly, and I get to use up a pound of eggplant and a couple of tomatoes.  And the fact that it’s tasty and only 172 calories/serving may be a few more reasons why I throw this dish together more than once every summer.  I had to make a few adjustments today since I did not have ricotta cheese or the type of yogurt it calls for.  This is an old recipe so the Greek yogurt consistency is probably not what the recipe intended. I used a cup of my homemade, Greek yogurt with a half of cup of raw milk buttermilk. I know, I know, but I am trying to use ingredients I have on hand.

You need an onion, a red or yellow bell pepper, two tomatoes and two cloves of garlic.  If you are using fresh eggplant, cut in chunks, salt and drain the water from the eggplant for 30-45 minutes. I grilled the eggplant until the meat collapsed and that took enough of the moisture out without the salt. I have a little jar of Penzeys Tuscan Sunset(salt-free), and I used that in place of the marjoram.

Two teaspoon olive oil, saute the onion for three minutes and then add the pepper and the garlic.

Because my eggplant was grilled, I added the eggplant later with the tomatoes and seasoning.

Throw a cup of ricotta cheese, yogurt, 3 egg whites, 1/4 cup of flour(replace this with a non-gluten product if you prefer gluten free),1/2 teaspoon baking powder, and 1/4 cup grated Parmesan cheese. Spray a pie plate lightly with no-stick spray and throw half of the cooled,sauteed vegetables onto the plate followed by half of the ricotta cheese mixture; add the rest of the veggies and the ricotta cheese mixture. Bake at 350 degrees for 45 minutes or until the middle is done.

What’s for lunch? Ratatouille Pie!  Will you join me?
Ratatouille Pie
Prevention, August 1999

Serve this crustless quiche warm or at room temperature

Ingredients
-2 tsp olive oil
-1 large onion, finely chopped
-1 medium eggplant(1 lb). Cut into one inch cubes, salted, and drained.
-1 sweet yellow or red pepper, coarsely chopped
-2 cloves garlic, finely chopped 
-1/4 teaspoon Pepper
-3/4 teaspoon salt
-2 medium tomatoes
-1/2 teaspoon marjoram or oregano
-1 cup reduced-fat ricotta cheese
-1/2 cup low-fat plain yogurt
-3 egg whites
-1/4 cup all purpose flour
-1/2 teaspoon baking powder
-1/4 cup grated parmesan cheese
Directions
1. Preheat oven to 350 degrees. Lightly coat a 10-inch pie plate with cooking spray
2. Heat oil in a large nonstick skillet over medium heat. Add onions; saute 3 minutes. Add eggplant, yellow or red pepper, garlic, pepper and salt. Cook, stirring often, for 5 minutes or until eggplant is softened. Stir in tomatoes and marjoram and cook for 2 minutes. Let cool for 10 minutes. 
3. In a blender,  process ricotta, yogurt, egg whites, flour, baking powder, Parmesan cheese and remaining 1/4 teaspoon of salt until smooth.
4. Spoon half of the vegetables into the pie plate. Poor the cheese mixture over the vegetables and top with the remaining vegetables. 
5. Bake 35-45 minutes or until a toothpick inserted into the center comes out clean. Let stand 15 minutes until cutting. 
Serves 6.
Here is the recipe I have been using since 1999.  It’s oiled stained, dog eared, and downright in bad shape.  This makes it a recipe worth trying.

Big-Batch Summer Tomato Sauce

I come from a meat and potatoes kind of cooking.  Pa couldn’t tolerate spice, garlic or heat of any kind so mom cooked the typical Americana meal in the 70’s: meatloaf and mashed potatoes.  The family’s idea of an “exotic meal” consisted of a can with La Choy on the label.  I don’t recall having spaghetti and sauce too often, and I can guarantee you this, mom never had a pot simmering of homemade tomato sauce on the stove.  I’m not banging on my mom’s cooking, she was a wonderful cook, but we sure could have used some food other than the meat(sometimes liver-GROSS) and potato.  The menu from when I was a kid may explain my aversion to meat and my adoration of ethnic foods.  Yeah, pasta and sauce isn’t really all that ethnic but homemade sauce and homemade pasta are.  When I announced at work what I was doing, my Italian colleague said his mother would cook up big batches and can it.  I have to admit, I had to really control myself from shaking him and demanding the recipe from his mother. Since I don’t have an Italian mom or grandmother, I relied, instead, on my DIY bible from the Test Kitchen.

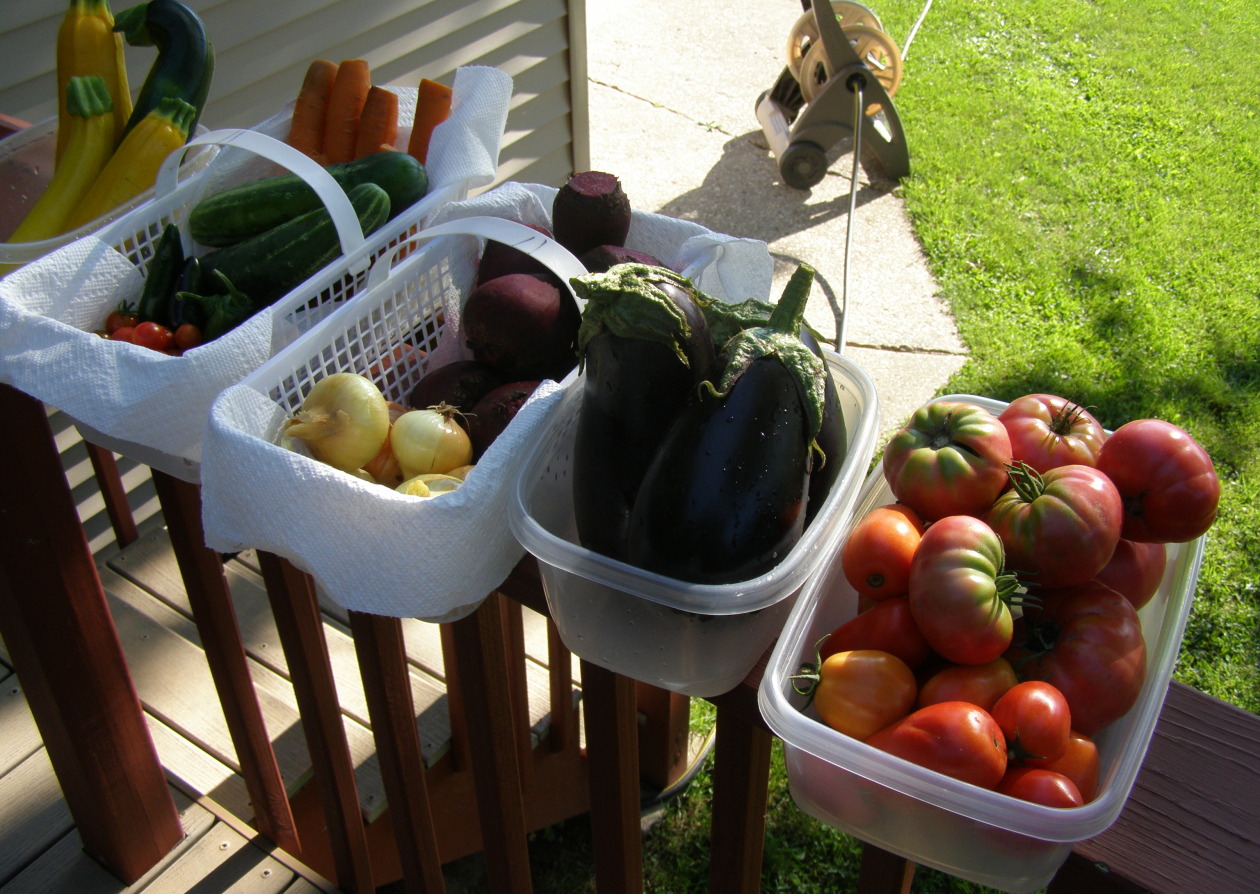
I would love to say the sixteen quarts of red pasta sauce were in celebration of our trip to Italy in May, but I would be lying.  It’s more about the number of tomatoes littering my deck than anything else.  I found a recipe calling for 30 pounds of tomatoes with minimal processing of the tomatoes and minimal ingredients. Bingo.

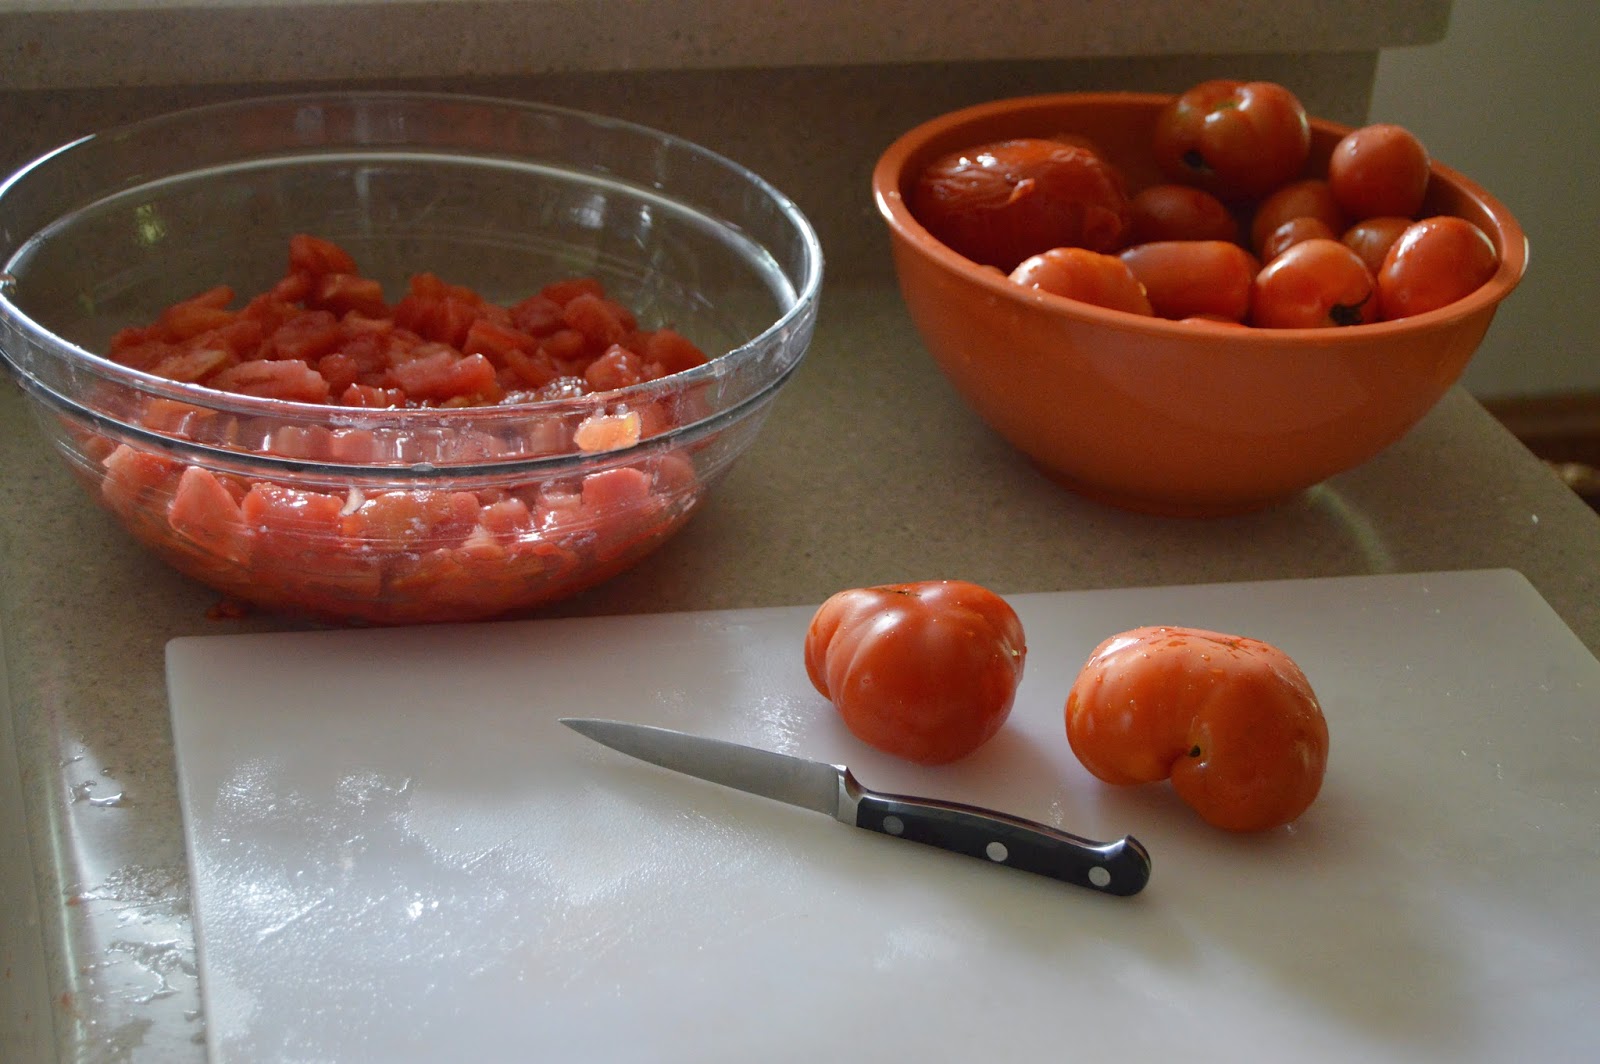
So many tomatoes, so little time.

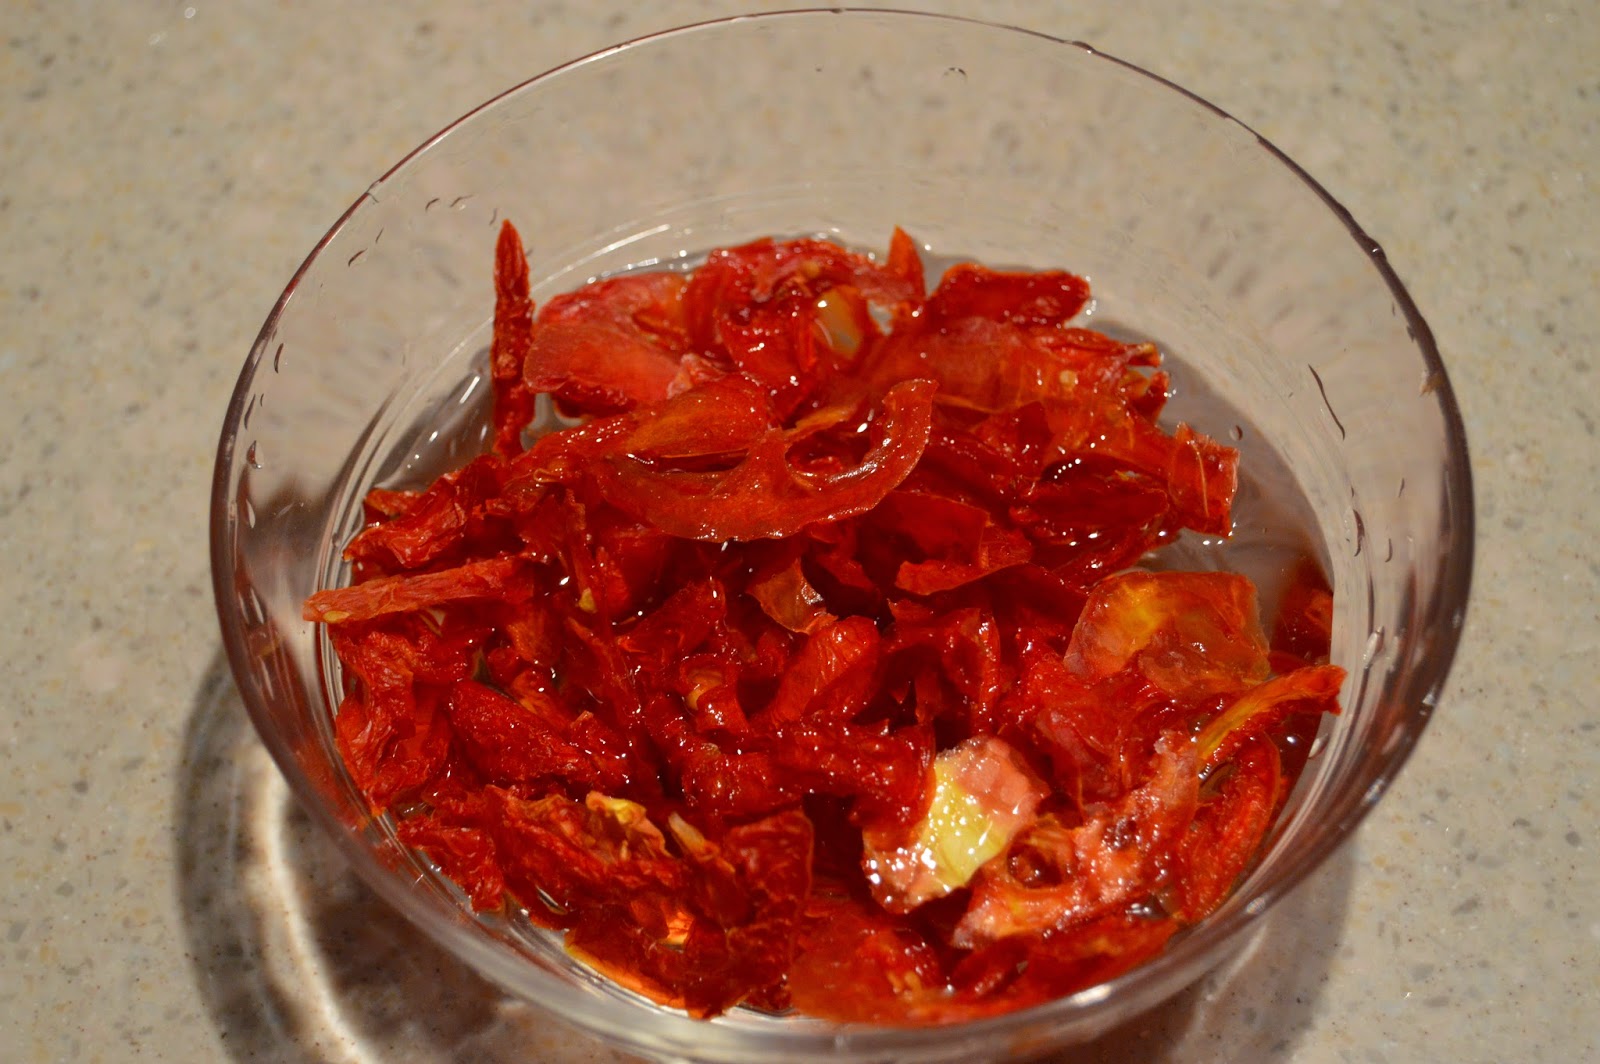
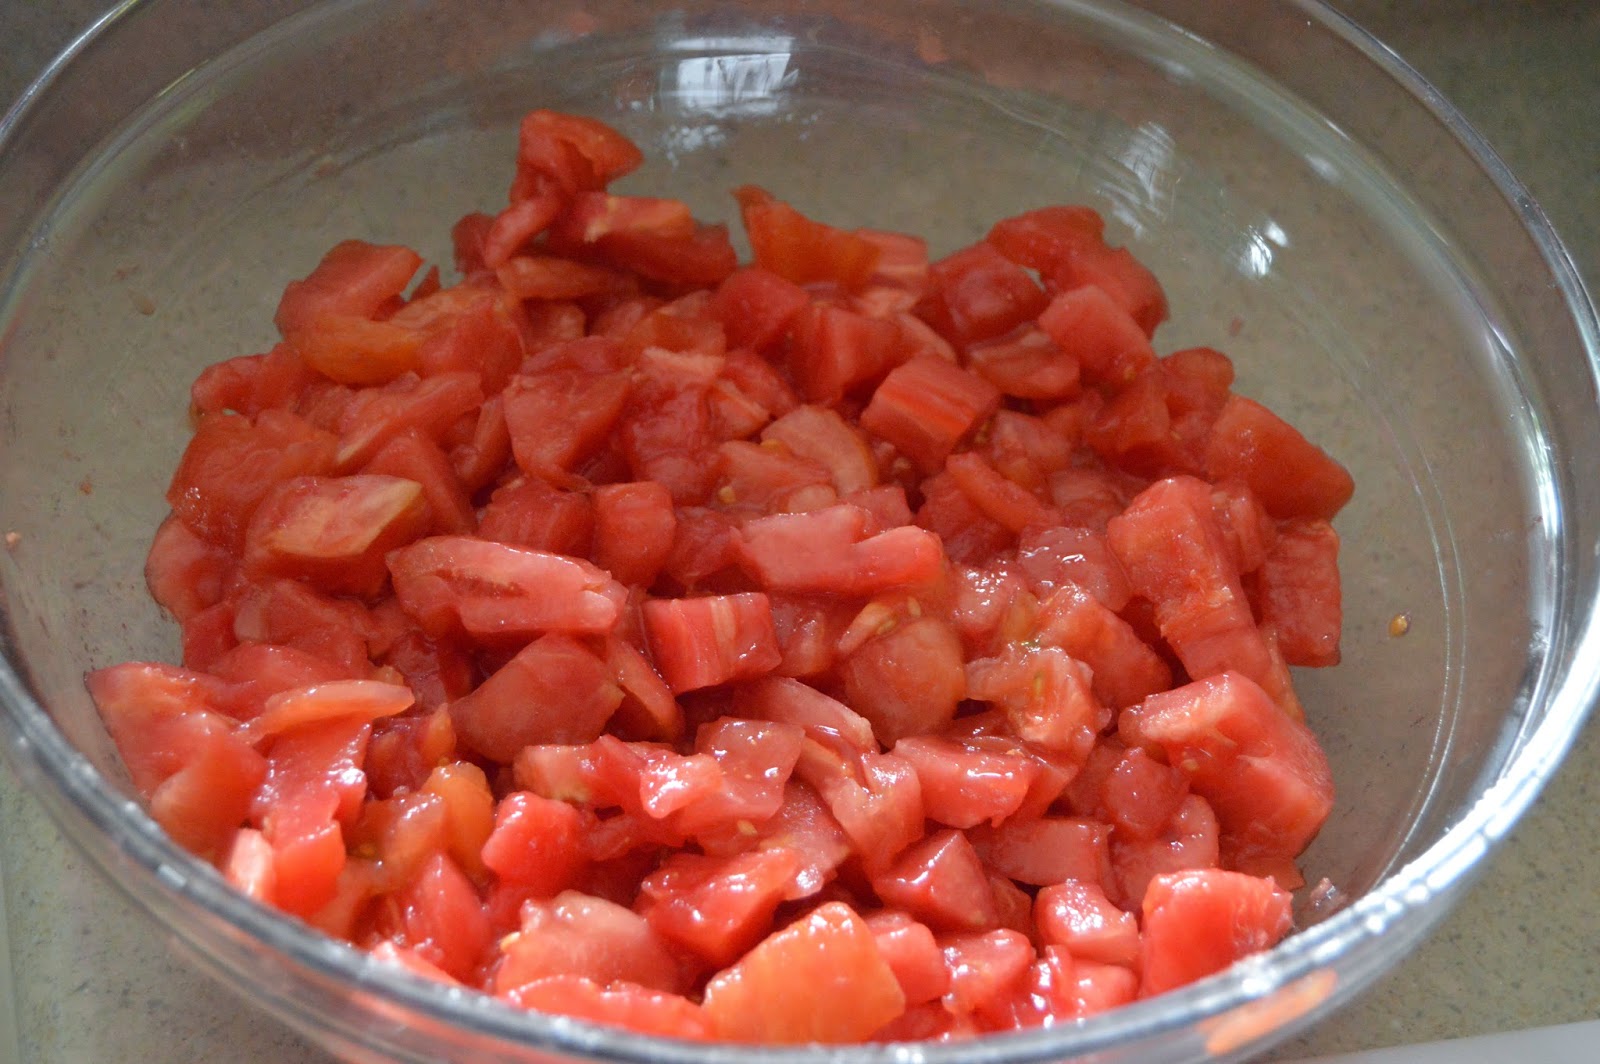
Dip the tomatoes in hot water for 30-45 seconds and then switch to an ice bath.  The skins come right off. The tomatoes in the picture have been skinned and quartered.

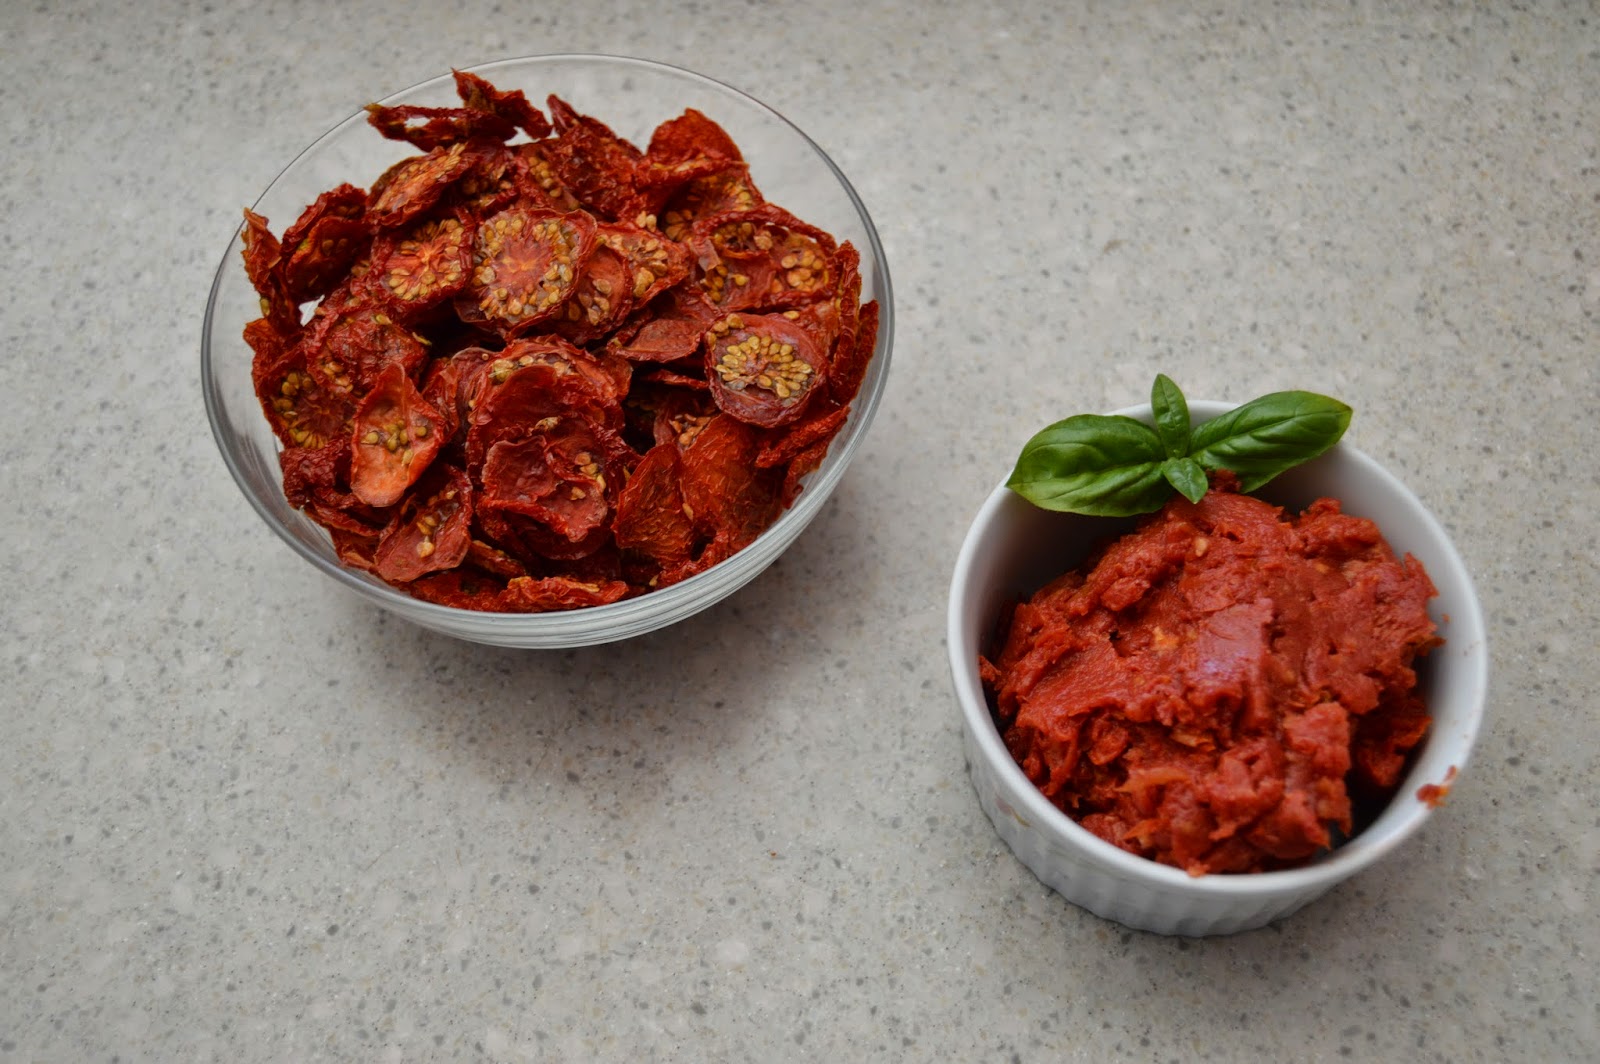
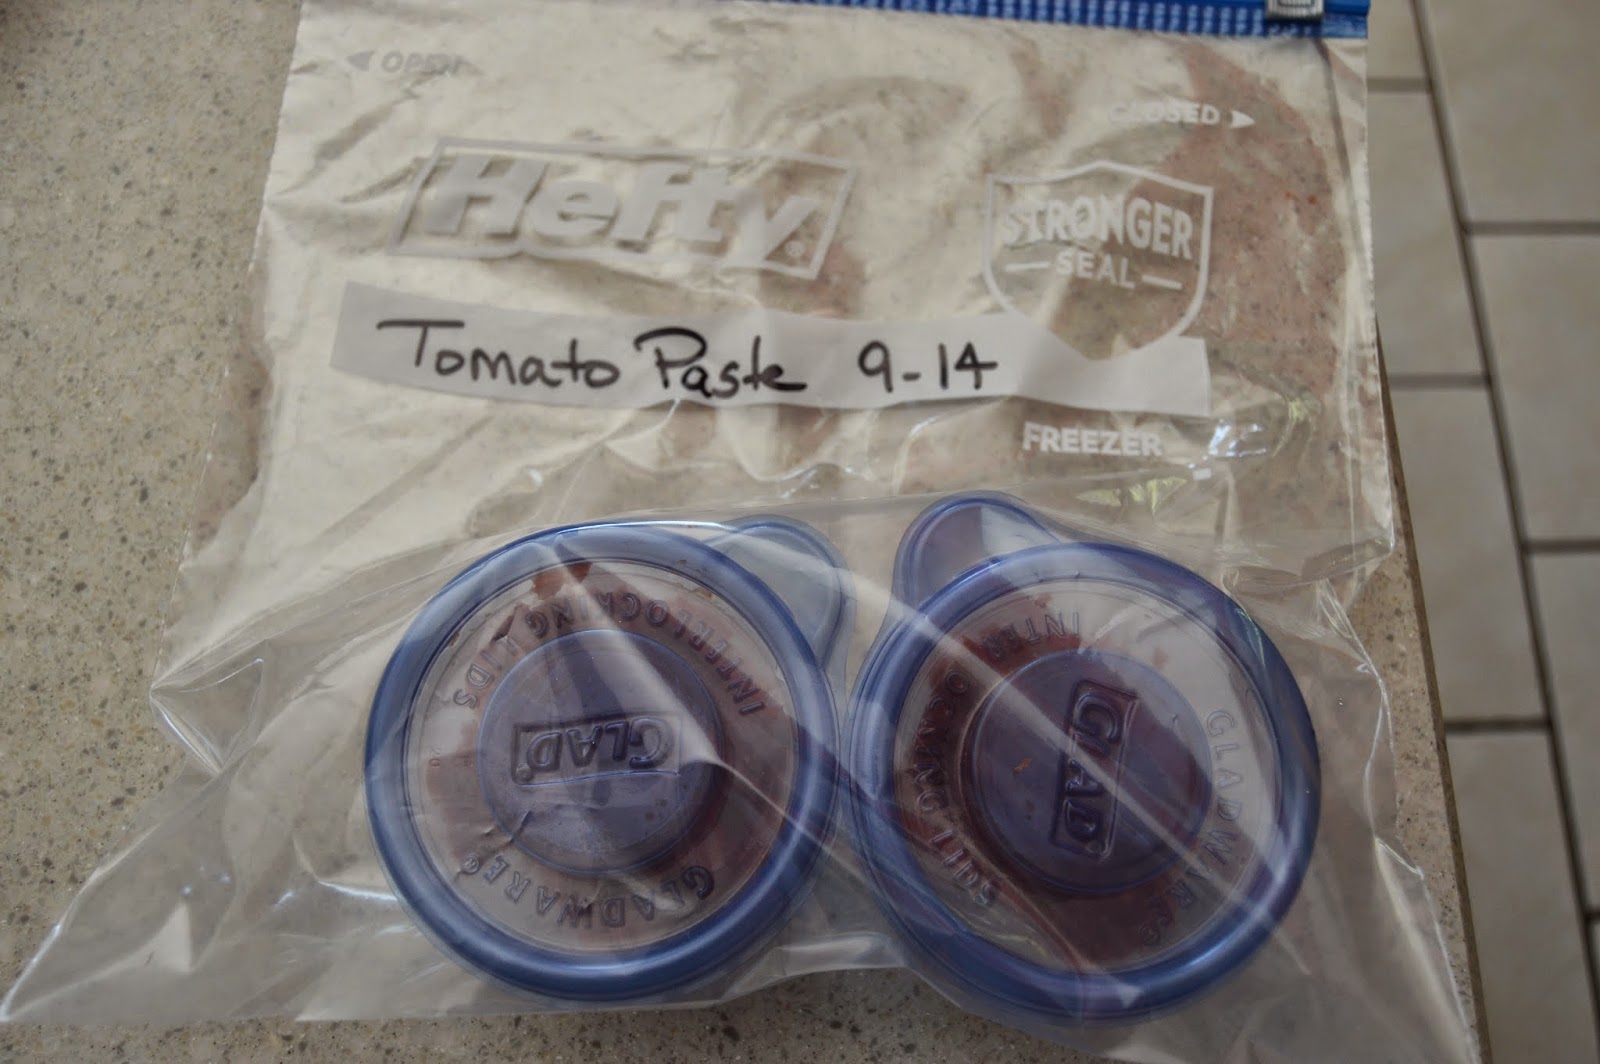
And then processed in the food processor. I either froze the tomato puree or refrigerated it–depending on when I would get back to it. Refrain from processing the garlic until the day you cook your tomatoes.

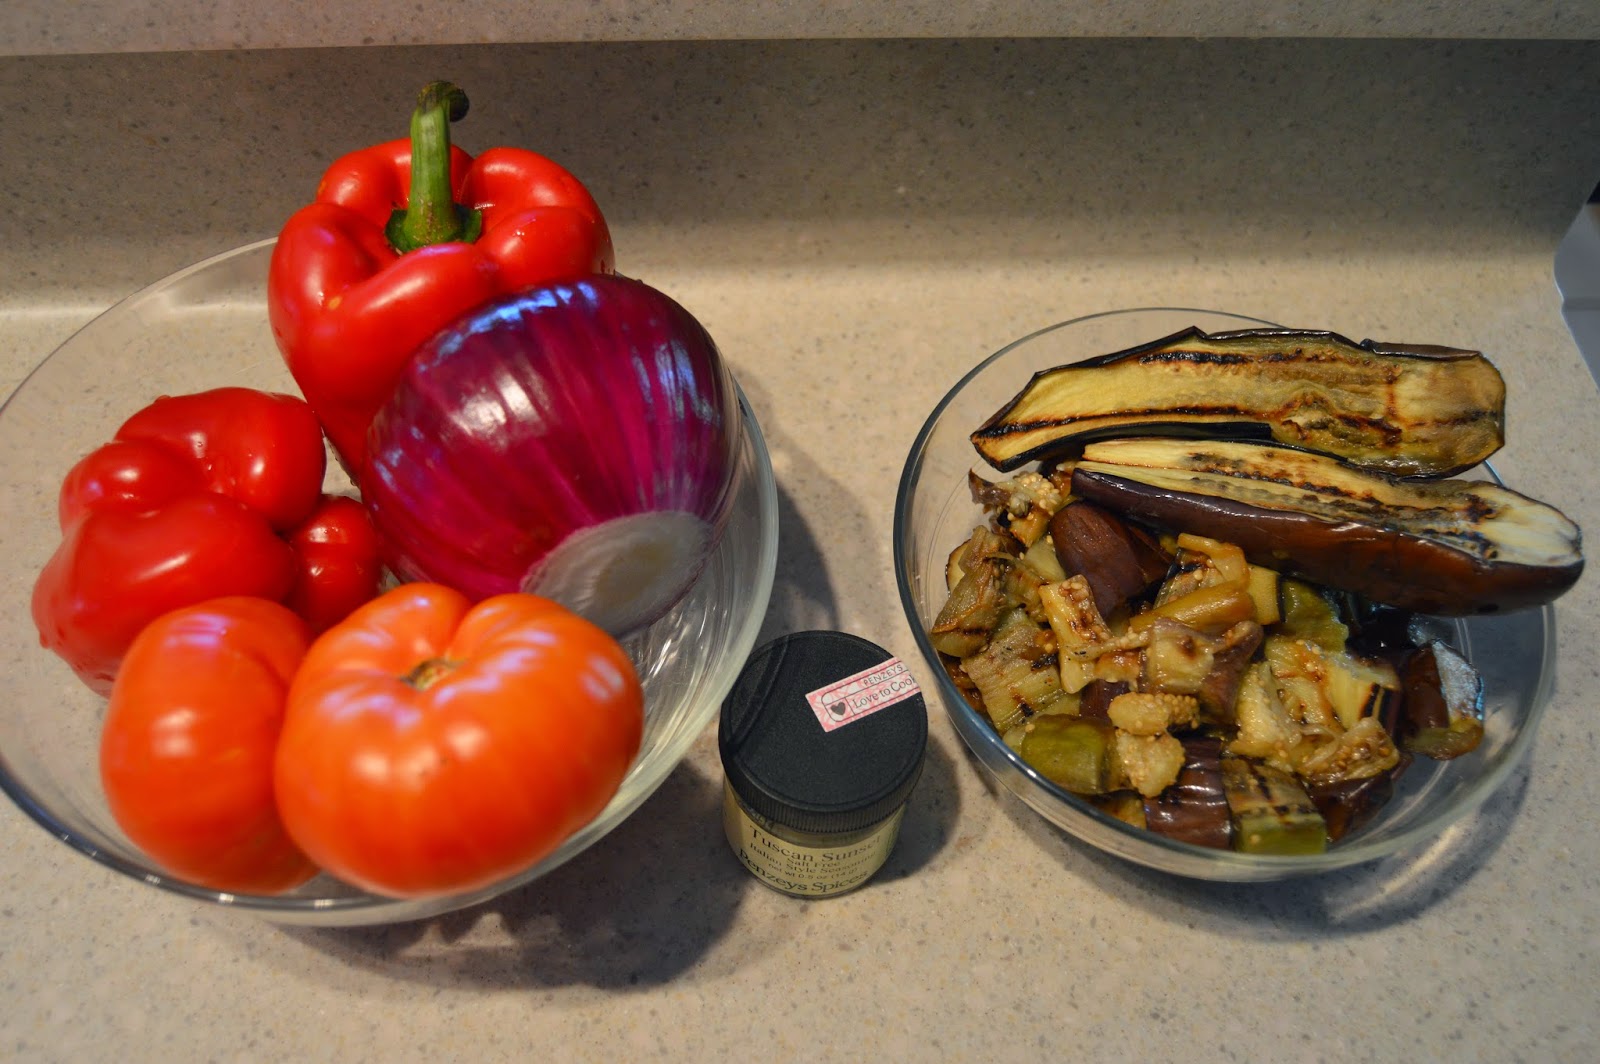
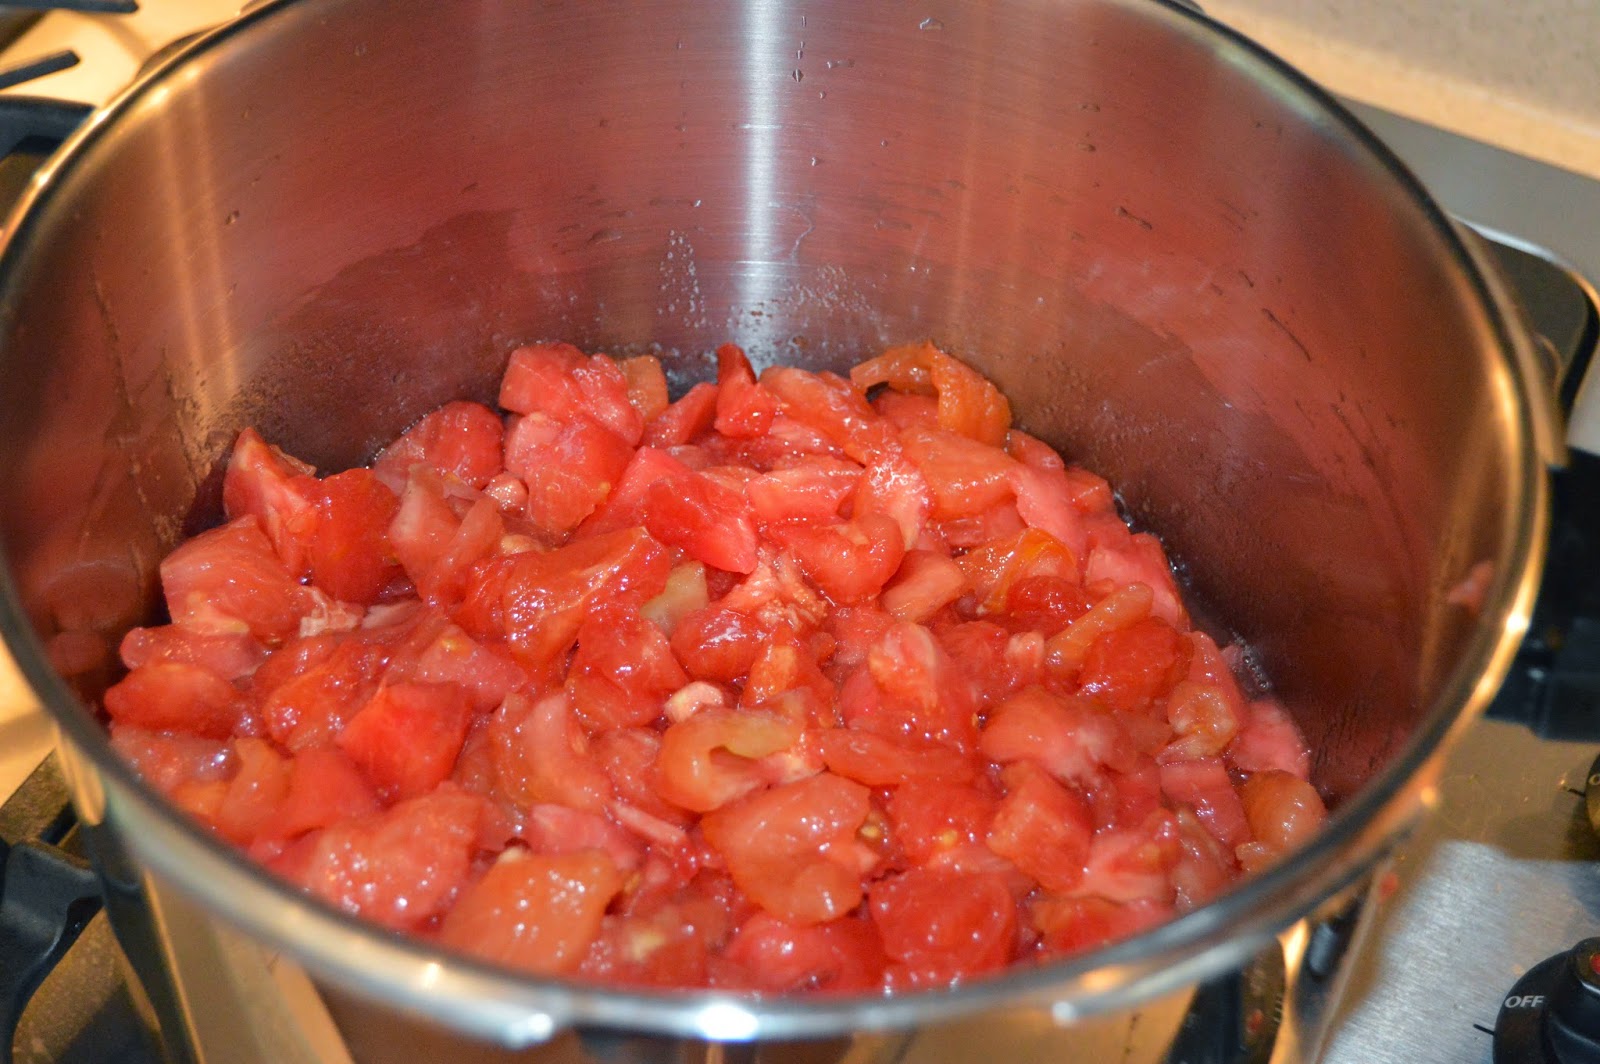
Pictured are the pureed tomatoes, basil, organic sugar, red wine vinegar, salt, garlic, and organic tomato paste.

Four kettles of tomato puree, basil, garlic, kosher salt and tomato paste. I stirred the four pots every five minutes or so.

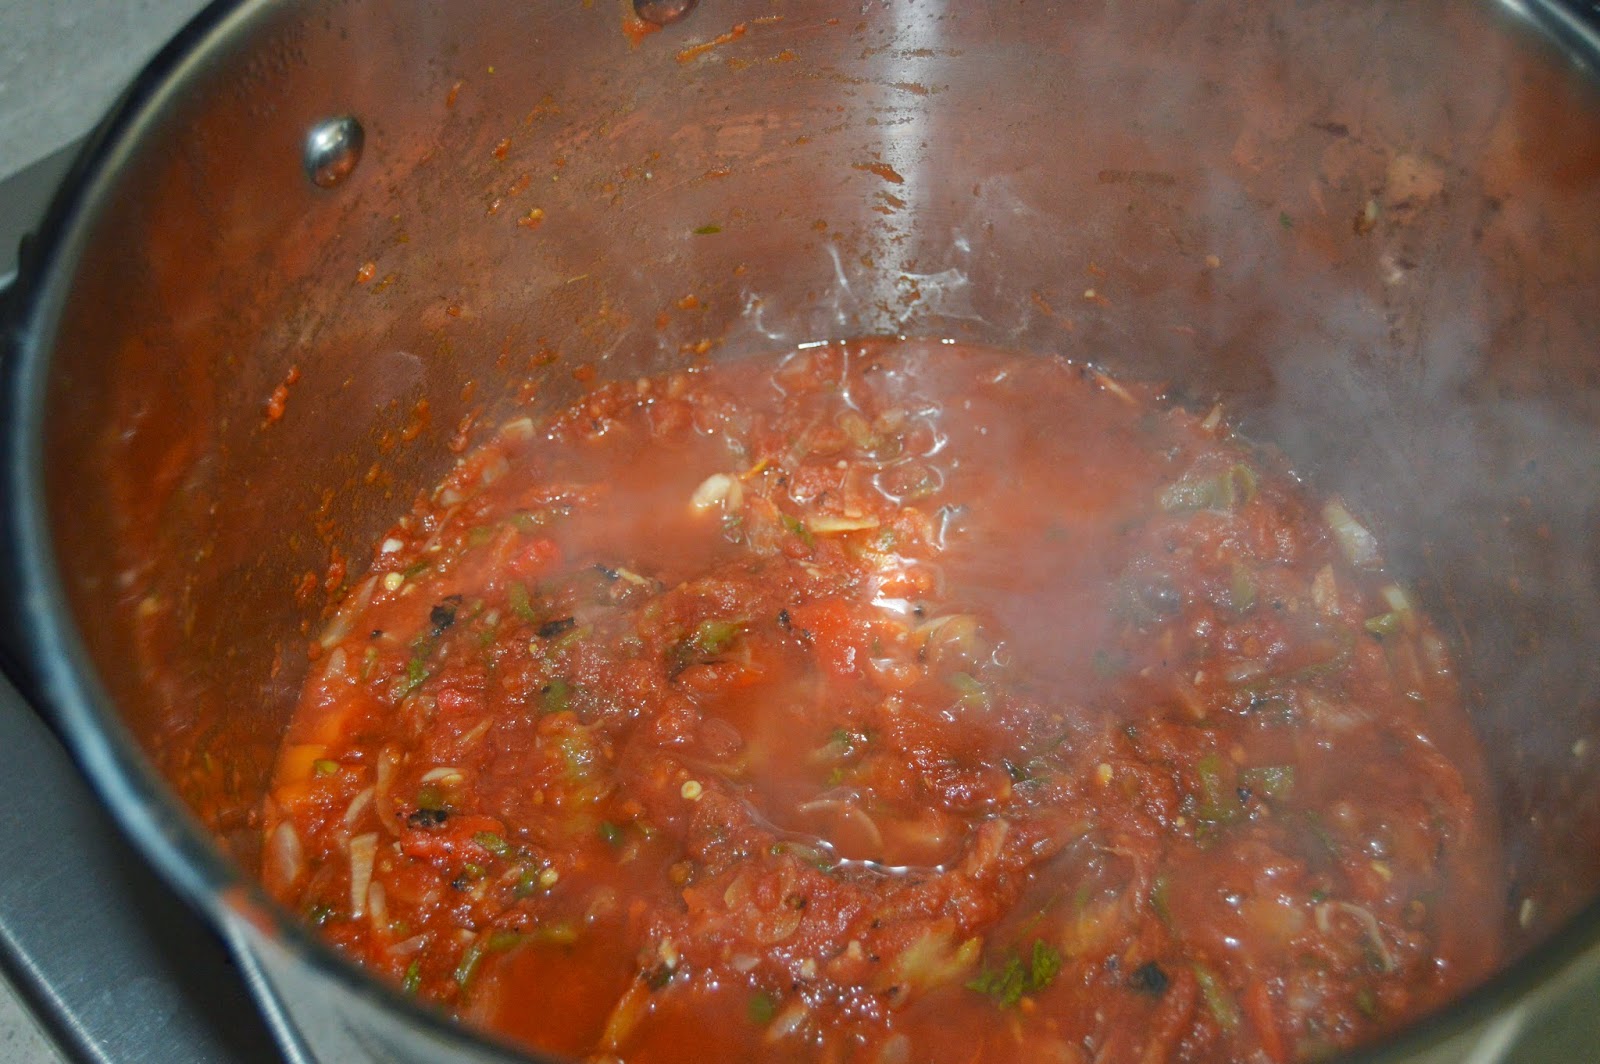
 After some serious reduction happened, I was able to combine the four into to two pots.  This is painful for my husband to hear but the Le Creuset Dutch Oven yielded the best sauce.

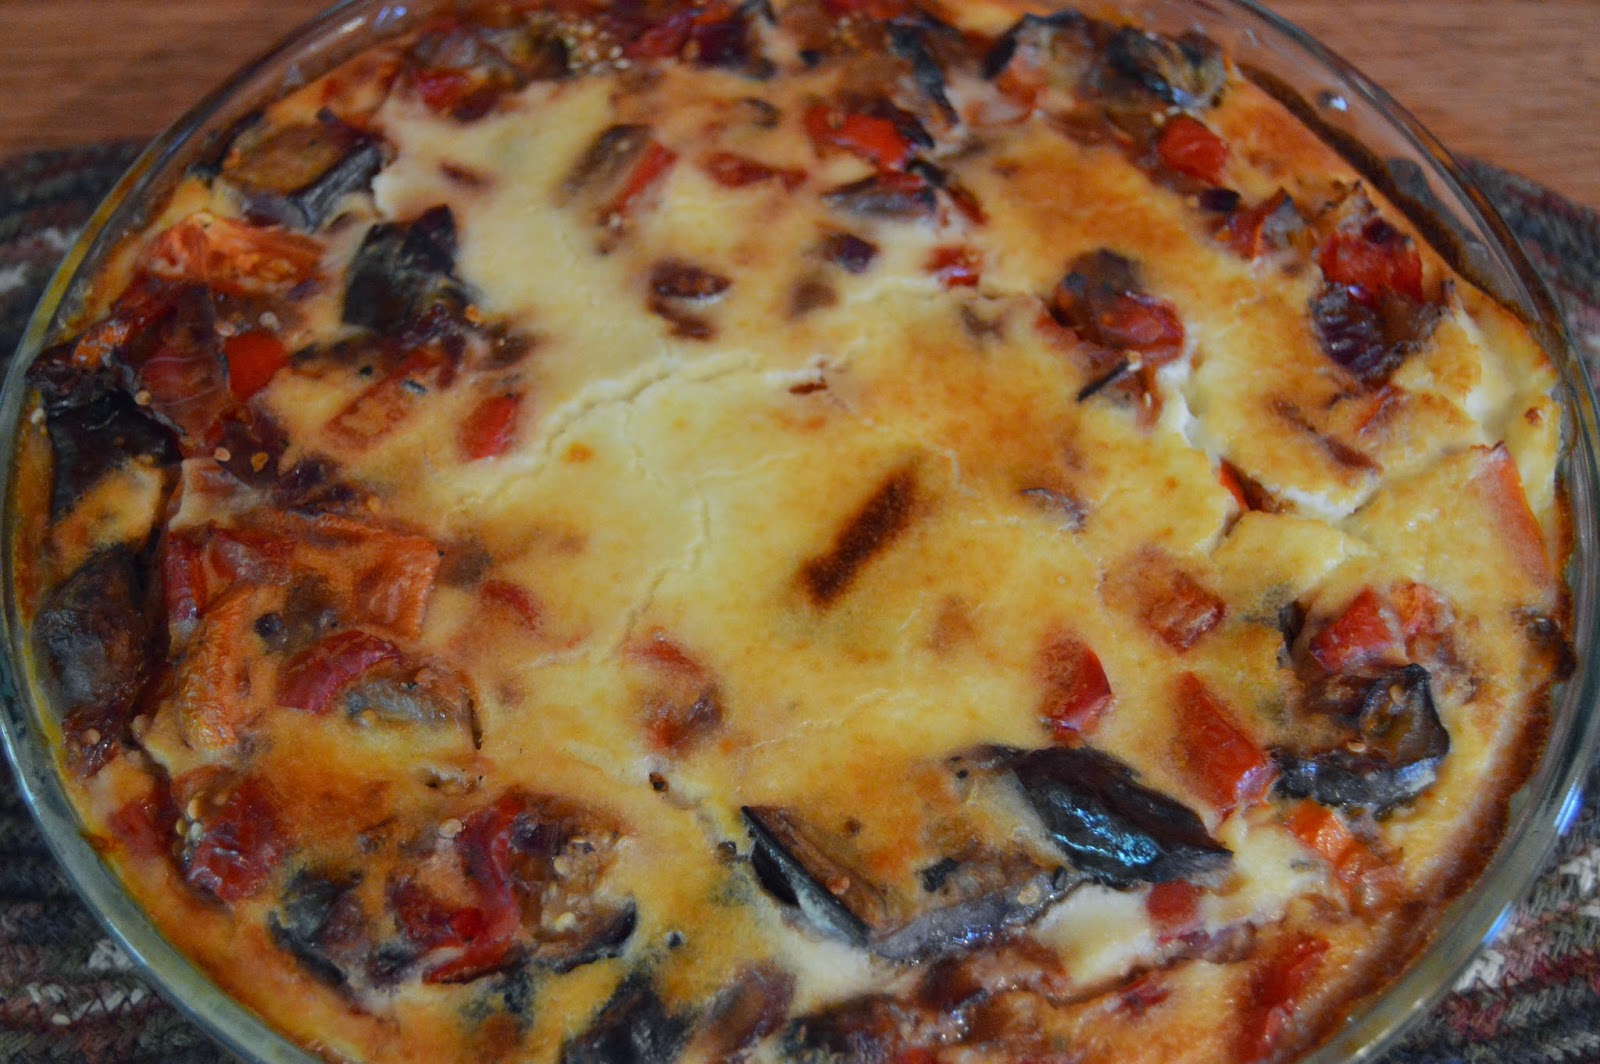
Here is the sauce almost ready for the two tablespoons of vinegar and one teaspoon of sugar.

While the sauce is cooking, wash the jars and collars. 

Necessary tools of the canning trade: The first grabs hot jars for you and the second is a funnel. 

Place the washed jars into the oven with the temperature set at 215 degrees.  I found this method on YouTube, and you heat the jars in the oven instead of a hot water bath.  Between the hot jars, hot liquid and hot lids, your jars will seal. I tried it with two batches, and it worked like a charm.

Sixteen Quarts of tomato sauce.  . 

Big-Batch Summer Tomato Sauce

Adapted word-for-word from, America’s Test Kitchen d.i.y cookbook
America’s Test Kitchen d.i.y. cookbook

Ingredients:

30 pounds tomatoes
12 garlic cloves
1 cup tomato paste
1 cup chopped fresh basil
salt and pepper
1/2 cup red wine vinegar
Sugar

Directions:

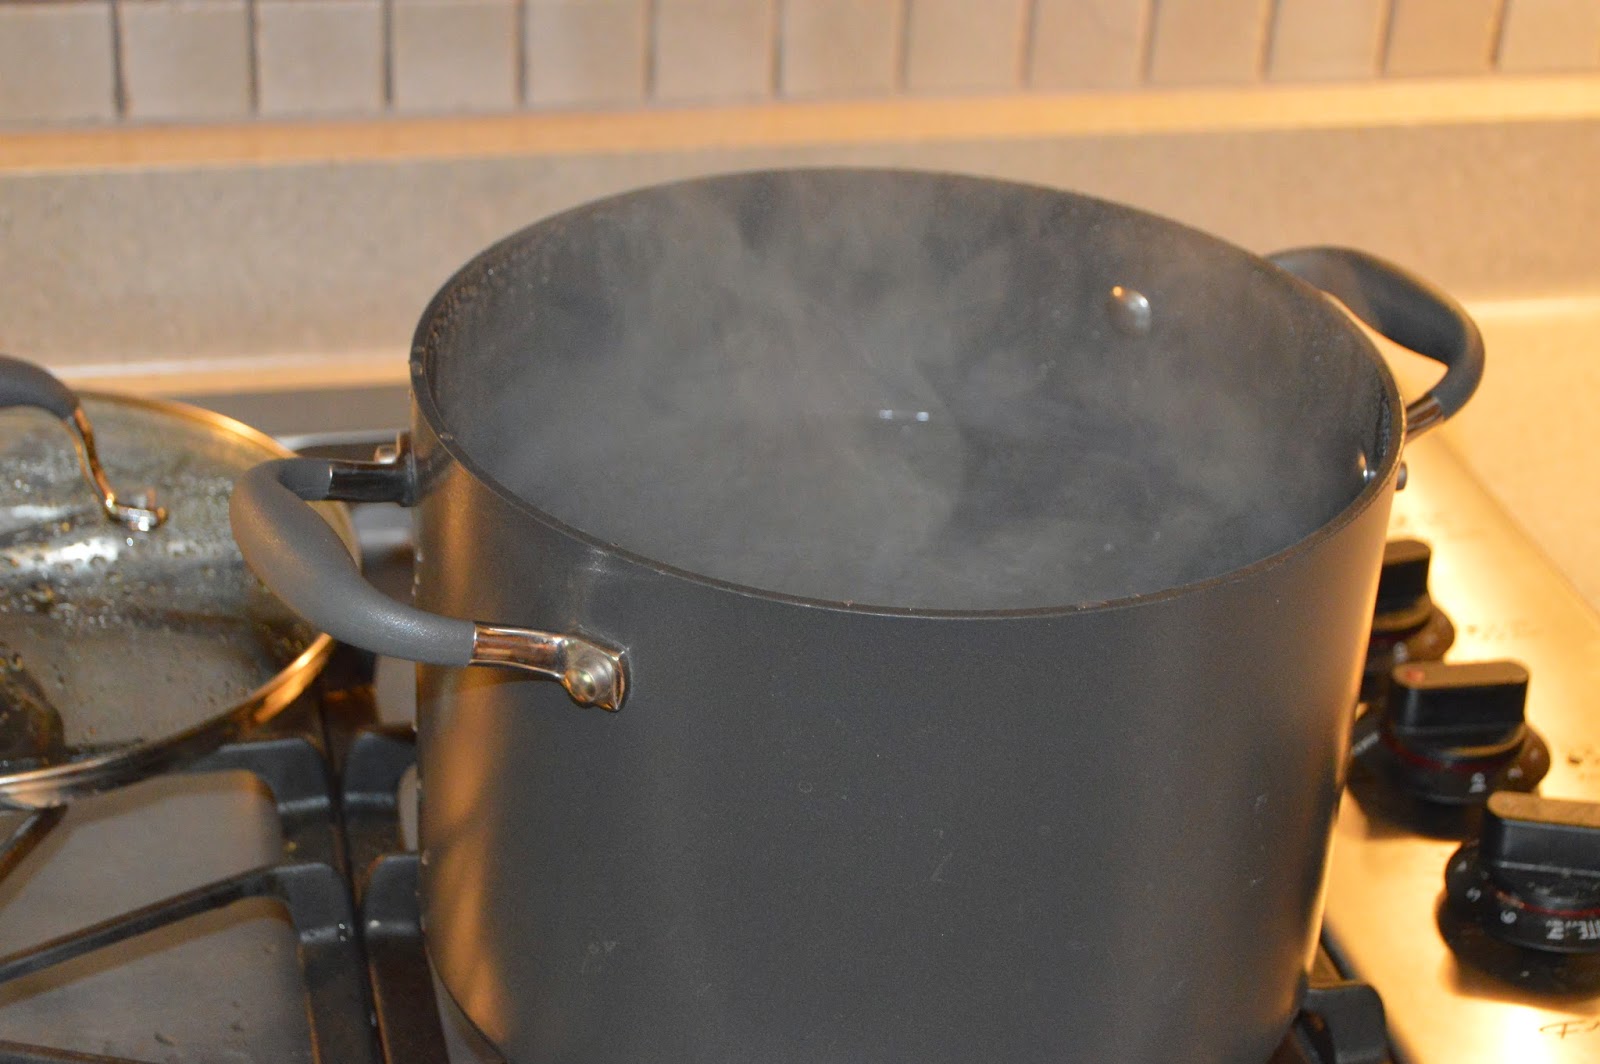
1. Bring 4 quarts water to boil in large pot over high heat and prepare ice bath in large bowl. Remove core from tomatoes. In batches, lower tomatoes into boiling water and cook just until skins loosen, 15-45 seconds. Using slotted spoon, transfer tomatoes to ice bath to cool, about 2 minutes. Remove tomatoes from ice bath and remove loosened tomato skins.

2. Process garlic in food processor until minced, about 10 seconds. Transfer to small bowl. Process peeled tomatoes in batches in now-empty food processor until almost smooth, 15-20 seconds. Transfer to large bowl.

3. Combine 3 1/2 quarts tomato puree, one-quarter of minced garlic, 1/4 cup tomato paste, 1/4 cup basil, and 1 1/2 teaspoons salt in each of 4 Dutch ovens or large pots and bring to simmer over medium heat. Continue to cook, stirring occasionally, until sauce in each pot has thickened and reduced to 2 quarts, 1 1/2 to 2 hours(I found 2 1/2 was a more accurate time frame for my sauce). Stir 2 tablespoons vinegar and 1 teaspoon sugar into each pot, seasoning with additional sugar to taste. Also season salt and pepper to taste.

4. Transfer hot tomato sauce to 8 hot, sterilized quart jars, leaving 1/2 inch of headspace at top, and process in a boiling water bath for 20 minutes.

Well, I am set for pasta sauce until tomato time next year.  Homemade pasta??? That’s for a future blog.

EASY Homemade Tomato Paste

As you know, this blog is mainly about my love of DIY projects in the kitchen. There is just something about creating something better, healthier and sometimes cheaper than I can buy at the store. It feels great to meander through the grocery store basically skipping all of the middle aisles(the notoriously unhealthy aisles) and visit only produce and the organic aisles. Here is another one of those projects.

Finding a recipe on Pinterest for making homemade tomato paste made me jittery with excitement. Here I am with end of the summer tomatoes and a possible DIY project that will assist me in NOT throwing away 6 oz cans of organic tomato paste when only a tablespoon or maybe two was used. Dehydrate my numerous cherry tomatoes, turn them into tomato paste and freeze into small portions. No future waste, I know what’s in it, and I am not creating any new garbage…win, win, win. Now, don’t get me wrong, I didn’t find a recipe and run with it: rather, I researched a half dozen recipes about how to make your own tomato paste. The few recipes I liked consisted of cooking the tomatoes, running them through a food mill, and pouring the results onto a jellyroll pan to hang out in the oven for 2-3 hours at 350 degrees. This is tough to do in August and the recipes also called for garlic and olive oil. I wanted to re-create the paste called for in standard recipes and the paste we buy at the store does not contain either of those ingredients. The dehydrator was a consideration rather than the oven but the consistency post food mill was more like a soup; not possible to hold the liquid on a dehydrator tray. Frustrating but at least hubby will have some tasty tomato soup for his future grilled cheeses. The recipe I pulled from Pinterest was a perfect way to use up the glut of cherry-like heirloom tomatoes. She used romas, but I figured my ping-pong ball sized tomatoes would be the perfect fit for the job. I dried about 24 of them in the dehydrator, poured a cup or so of hot water over them, and I processed in the Vita Mix.

Could this get any easier?
I sliced the tomatoes and dried them at 115 degrees for 20-22 hours.
I poured hot water over the dried tomatoes and let them sit for a few hours(save some the water). Process the tomatoes in the blender/food processor for a few minutes and add the saved water–if needed. I found not adding any water made for a more paste-like consistency. Stop the food processor/ blender intermittently and scrape down the sides, coaxing the tomato meat into the middle.
This is my homemade, organic tomato paste.
This is my homemade, organic tomato paste going into the freezer. The freezer door specifically.

Easy Homemade Tomato Paste

Loosely interpreted from: https://jarohoney.com/old-fashioned-tomato-paste-raw-vegan-paleo/

Ingredients:
24 Cherry Tomatoes or tomato of choice
1 cup filtered water, heated
Directions:

1.Sharpen your knife and slice the cherry or tomatoes of choice into uniform slices.

2. Lay them in a single layer on dehydrator trays and dry them for 18-22 hours at 115 degrees.
3. Once dry, place them in a bowl and pour the cup of hot water over them. Let sit 2 hours or so. pp
Save the water.
4. Place slightly re-hydrated tomatoes in a food processor or blender. Process on high, stopping and scraping sides often until the paste-like consistency is reached. Add a teaspoon of saved water if needed.
5. Scoop two tablespoons into a small storage container and store in the freezer where easily accessed.
Admittedly, the caveat is this doesn’t make a lot of paste. But when hubby keeps bringing in bags of tomatoes from the garden, I am looking for any way to use them up. This is easy, and since it doesn’t consist of any boiling water, I am all over it.

Homemade Sauerkraut-It’s Just That Good!

My mother’s extent of fermenting anything was crock pickles. Even though the neighborhood I grew up in was mainly German with a sprinkling of Irish, I never caught wind of someone fermenting their own sauerkraut.  This may be why, up until five years ago or so, I had no idea of the process of fermenting my own “soured cabbage.” I encountered the process of fermenting cabbage from Sandor Katz’s book, “Wild Fermentation.”  His enthusiasm about making homemade kraut definitely fueled this crazy passion, and I am ever more excited to ferment my next vegetable of choice. I am going to admit something here: Mr. Katz may have lit the fermentation fire underneath me, but for detailed execution, I seek the help of the internet. His book is very casual about the steps in the actual fermentation process.  I have failed in making sauerkraut in the past, and I believe now, a few key steps were missed.  I either didn’t add enough salt, or I may have possibly left it in the crock too long.  After talking to my neighbor about her first time making kraut and starting it in the fridge, did the realization hit.  Yes, take it out of the crock after the initial ferment and finish out the fermenting in a chilled, more controlled environment!

Two cabbage heads with all tough, outer leaves removed, a 1 gallon crock, kosher salt and my handy pounding tool. You also need something to chop the cabbage.  I used the slicer in the food processor or you can you use a mandoline.

Remove the core and slice into chunks(narrow chunks if using the processor).

Shred the cabbage and add the first layer to a very clean crock or a gallon glass jar.  Sprinkle a half teaspoon or so of kosher salt on the first layer. Take out your day’s frustrations on the cabbage, or in other words, pound the water out of your cabbage. Keep adding layers, salt  and pounding until you run out of cabbage. Add the remaining salt to the top layer. I used three tablespoons of salt for 5 lbs. of cabbage but that was waaaay too much salt for me. The last batch I made I reduced it to two tablespoons.

Once you add your last layer, weigh-down the cabbage.  I insert an upright bowl and then place a gallon of water or two-liter bottle of soda in the bowl.  Whatever you add, make sure it is clean and the item of weight is sealed.  My ghost-like crock is covered tightly to prevent fruit flies or any other unwelcome pests but be sure the ferment can breathe. Check it after 24 hours and check the liquid amount; the cabbage needs to be submerged in liquid. If not, add a little filtered water until it is. It’s tough to get the cabbage to release water so don’t worry if you need to help it along. Leave your crock hang for a couple of weeks but don’t forget about it. Check it daily and clean off the bowl and the weight, and also any scum that forms.  Depending on the temperature of where you keep the crock, cooler may mean a longer initial ferment and warmer may mean shorter.

This is day two or three of the ferment. 

Here we are at day 16.  I moved the kraut to jars when the crock started to smell like…are you ready for this…beer, and I finished the ferment in the fridge.  The jars have been in there about three weeks, and they are still bubbling. I’ve started another batch since one of the jars is almost gone. It’s just that good.

The Wisconsin Tomato

I never knew how cherished Wisconsin tomatoes were until the family took a trip out West. We set up camp in a beautiful park called Rocky Mountain National Park. We set out to get fire wood the first night of camp and the woman manning the stand asked where we were from. When we told her Wisconsin, her eyes became big when she asked, “Did you bring any tomatoes with you?” Huh? Aren’t all home-grown tomatoes created equal; no matter where they are grown? Apparently not as we proceeded to give this woman the sad news of no tomatoes from home. I started to pay more attention to the food away compared to the food at home, and I began to notice something: We have really good food here. You’ll understand if you ever stop by one of our cheese castles situated conveniently near the interstate. I make the hubby stop every time, so I can try a new cheese or two. Or how about locally grown sweet corn brushed lightly with hand-rolled butter? Let’s not forget the Wisconsin State Fair iconic Cream Puff–evidenced below.

It’s true: The food is better here.

I think about the woman in Colorado as I’m prepping my sixteen pounds of tomatoes for salsa. The only thing I can think about is cooking up the tomatoes before I am over-run with fruit flies…again. I succeeded in using up a lot of tomatoes but there are more ripening on the vine even as I type. Below is one of my methods in using up tomatoes. I have more ideas planned for the tomatoes ripening on the vine, but for now, let’s focus on the most labor intensive: salsa. If you ask me for a jar of this stuff, I may ask you if you are salsa worthy. I took a Friday off of work to do this, and I needed the whole day. I made a double recipe, and I ended up with just seven pints. Leave it to hubby to burst my salsa bubble by putting an economic spin on it: “Seven jars at five bucks a pop. Congratulations you just made $35.00 today.”

I don’t think I’m even salsa worthy.
Prepare a pot of boiling water and a bowl filled with cold water and ice. Dip the tomatoes into the boiling water for a minute and transfer to the ice water.
Peel the tomatoes, remove the core and seeds. Dice coarsely.
I doubled the recipe, so at this point, I pressure cooked these tomatoes while I worked on the next batch.
Here I am roasting the peppers. I wanted to give the salsa smokey layers.
The ingredients minus the tomatoes and cilantro: lime juice, vinegar, organic tomato paste, kosher salt, cumin seeds, smoke paprika, onions, jalapenos, green peppers, garlic and banana peppers. I chopped the jalapeno and garlic in the food processor. I also used the processor to slice the peppers and onion.
I cooked this longer than the recipe recommended. I simmered it for around 25 minutes.
Notice no pictures of the bath? A little too frenetic and timing is everything. I tried a couple of spoonfuls of salsa, and it definitely has smokey undertones. And it’s a little spicier than I usually make. This is more like a strong medium heat.

Best Home Canned Thick and Chunky Salsa

Recipe excerpted from:

Ingredients
8 pounds ripe tomatoes
2 green bell peppers(I roasted)

2-4 banana peppers(I roasted)
½ cup seeded and chopped fresh jalapeno pepper (about 2-3 large)
2 cups chopped onions (about 2 large)
½ cup snipped fresh cilantro (roughly ½ bunch)
½ cup fresh squeezed lime juice (about 3 large limes)
½ cup Apple Cider Vinegar
3 oz tomato paste
5 cloves garlic, minced (roughly ½ head)
1 teaspoon cumin seeds, toasted and coarsely ground in a mortar and pastel or a coffee grinder
1 teaspoon ground black pepper
3 teaspoons kosher salt
½ tablespoon paprika

Instructions

1.Wash tomatoes, and remove stems and cores with a knife.
2. Bring at least 4 inches of water to a boil in a large kettle, and immerse tomatoes, a few at a time, into boiling water for about a minute, or until the skins start to crack and peel off the flesh
3.Immediately dip tomatoes into cold water, and drain in a colander.
4.Slip off the skins, and discard( I also seeded the tomatoes)
5.Coarsely chop the tomatoes, then place in a large colander set in sink, and allow to stand for 30 minutes. This will allow much of the tomato juice to strain out(I skipped this step and put the tomatoes into the Pressure Cooker as is).
6.Transfer the drained tomatoes to a 7-8 quart stainless-steel, enamel, or nonstick heavy pot. Bring to a boil, then reduce to a simmer.
7.Simmer, uncovered, for about 1.5 hours or until tomatoes are at the desired consistency, stirring often. You’re looking for the same consistency as a thin marinara sauce.(I used the Pressure Cooker instead and cut the time to 45 minutes. I drained the tomatoes when they came out of the Pressure Cooker).
8.Add remaining ingredients. Return mixture to boiling, then reduce heat to a simmer.
9.Simmer, uncovered, for 10 minutes. Remove from heat.
10.Ladle hot salsa into hot, sterilized pint canning jars, leaving a ½-inch headspace.
11.Wipe jar rims clean with a damp towel; place lids on jars, and secure in place by hand tightening the bands onto the jars.
12.Process filled jars in a boiling-water canner for 15 minutes (start timer when water returns to boiling).
13.Remove jars from canner, then cool them on cooling racks or on a towel on the counter.

Roasting Beets cannot be Beat

The thought of roasted beets with a little vinegar, olive oil and salt makes me salivate–seriously.  I am sure there are a lot of you out there who do not share this reaction to beets. This is too bad.  I feel beets, like so many other vegetables, were given to children in the most undesirable manner, so the lure of this delicious root vegetable will forever elude them. A neglected vegetable served to our very young can make for a life-long distaste for that vegetable. Beets fall under this sad category. Give roasted beets a chance, and you too may drool at the thought of your next beet.

Roasted Beets

Pulled fresh beets out of the garden, trimmed off the greens(these are edible too) and rinsed.  I spray two large sheets of heavy duty foil with nonstick spray, and I wrap the beets into a pouch and place on a pan.

 I roasted  these in my Breville oven at 400 degrees for an hour. You could do these on your gas grille as well. Test the beets in an hour, but depending on the size of your beets, they may need another ten minutes or so. Test the beets with an oven mitt and give them a squeeze.  A slight give but still firm will make for a tasty beet. Better to take them out sooner rather then over-done.  Take them out of the oven and slice slits in the foil to release the steam and to help them cool.

Once cooled, don some plastic gloves and peel each one. You won’t even need a knife for this. 
The peels come right off. 

Slice or cube the beets. Here I use my handy egg slicer from Pampered Chef. 

Toss the beets with a little olive oil, your vinegar of choice and salt and pepper. Now taste a slice while it’s still warm…you are loving your beets now. Notice my salad jar to the left?  It’s awaiting the beets, of course.

Help! I have too many green beans

This is not a serious SOS situation.  I am more than delighted to be buried in green beans–really. But while hubby keeps bringing in bowls-full of the nearly perfect green gems, I am caught, once again, to find ways to preserve them.

Celebrating green bean season hasn’t always been the case. Ask any of my six siblings about “it’s time to pick the beans,” and will you hear a very loud groan. Mom and dad had a family of seven mouths to feed(nine including theirs), and they did it by growing a large garden on their ample lot in a Milwaukee County suburb. Every summer there were always too many rows of green/wax beans, and it was up to the kids to pick every plant clean of beans. I remember the chore consisting of uncomfortable heat, bugs and sore knees. My memory is very reliable since all of my siblings remember it the same way; the collective groans prove it.
Well, a bad memory of a childhood chore didn’t scare me away from growing beans; I made my kids pick them(I had to pass the joy to the next generation). And now my hubby picks them.  He picks them, and I have to figure out what I am going to do with them all. I started out freezing, moved to pickling and then back to freezing.

Freezing Green Beans

Wash your beans thoroughly and snap-off the stem ends. I like to leave my beans whole because they just look prettier that way(less like canned).

The tested and recommended way to freeze beans is to throw them in boiling water for 2-3 minutes and then transfer to a bowl of cold water and ice. I used that method in the first freeze and then no blanch in the second freeze. Blanching your vegetables halts the enzymes and retains the color and integrity of the vegetable. I’m bucking the trend, and  I’m going to find out if blanching is necessary or not.

 Spread them single layer on jelly roll pans, lined with parchment paper.  Dab the extra water off with a towel. Place pans in freezer and allow to freeze eight hours or more.

Remove from freezer and transfer to freezer bags or vacuum sealed bags. I’ve labeled the bag with the month and year and also identified it as not blanched.  I’ll get back to you on those results.

Pickling Green Beans(endearingly referred to as, Dilly Beans)

In this photo you see dill, Apple Cider Vinegear, 3 pounds green beans, garlic cloves, picking salt, water, crushed red peppers and peppercorns.  
Sanitize six wide-mouthed jars and collars in the dishwasher or by hand.  
Start the hot water bath on high heat.

Divide the heads of dill, garlic, red pepper flakes and peppercorns between the jars. Pack the beans by squeezing into a tight bunch before pushing them down inside.  It helps to have cut the beans down to the size of the jar; the packing goes a lot faster.
Bring the vinegar, water and salt to a boil.  Place your lids in a small kettle filled with water and bring that to hot but never boiling on the smaller burner. It gets a little chaotic here: The bath needs to be boiling, your brine needs to be boiling and your hot lids are just hanging out in the back. Pour the brine into each jar, leaving a 1/2 inch from the top. Remove any air bubbles or pockets by pressing down with a plastic spoon. Wipe each top and then quickly pull the lids out of the water with a tong and and secure each with a lid and a collar. Carefully place each jar on a canning rack and submerge the rack into the water with tongs very carefully. Leave in the bath for 10 minutes and remove the jars very carefully to a heat-resistant board. Am I over-stressing “carefully?”  You bet I am.  I have a burn on my abdomen from when I had a mis-hap with peach preserves. 
Hello, dilly bean goodness.

Dilly Bean Recipe/s

My first batch was with a recipe from the following blog: http://www.mrswheelbarrow.com/2011/06/a-dalliance-with-dilly-beans/

The other recipe was taken from Cooking Light/August 2014.  I combined them both and made the recipe my own, of course.

Ingredients

4 cups Apple Cider Vinegar
3 cups water
1 tablespoon salt
6 garlic cloves
3 pounds wax or green beans, trimmed
18 fresh dill sprigs(I only used a head in every jar)
1 1/2 tsp red pepper flakes
1 tablespoon(roughly) peppercorns

Directions
1. Combine vinegar, 3 cups water, and salt in a medium saucepan; bring to a boil.
2. 1 garlic clove in each of 6 (1-pint) hot sterilized jars. Divide beans, dill sprigs, red pepper flakes(1/4 tsp), 3-4 peppercorns among jars.
3. Divide hot vinegar mixture among jars, filling to 1/2 inch from top. Remove air bubbles; wipe jar rims. Cover with metal lids; screw on bands.
4. Process in boiling-water bath for 5 minutes(I did 10). Remove jars from water bath; cool completely, and check for proper seal (see Note below). For best flavor, allow 3 weeks before eating. Store in a cool, dark place up to 1 year.
Note: Remove jars from canner, placing on a towel. Let jars stand at room temperature 12 to 24 hours. Press center of each lid; lids should not flex or “pop.” Remove bands; gently try to lift lid with gentle pressure. If lid stays on, you have a good seal.

Help! I have too much Summer Squash and Zucchini!

Truly.  And where are these summer squash and zucchini in the winter when I need them?

I have tried blanching and freezing summer squashes, and they end up getting thrown-away after hanging in the freezer too long.  I know this is my problem and not the zuc’s but the blanched, frozen, vacuumed bag of squash looked none too appetizing.  As the garden begins to prolifically produce summer squash and zucchini, I am desperate to find a quick method for preservation. The light bulb turned on and stayed on when the idea of dehydrating instead of freezing came to me.  I searched the internet for tips and ideas for drying.  Most folks were making chips out of the squash, but I didn’t want such a specific use; I wanted the squash for soups, broths, and salads. I love the early squashes, but I only love it in the summer.  I won’t even give the cardboard-like replicas a glance in the grocery store in the winter.  If a recipe calls for summer squash or zuc past the last of the local stock, I either don’t make the recipe or I skip that ingredient.  Now you understand why it’s such a priority for me to try to preserve it in the summer.

I think I’m onto something with dehydrating them.  Take a look below, and you will see what I mean.

Here is the bounty from this week–Yay?
I first tried slicing them with the food processor but the slices were too thin. You want the slices somewhere between 1/8 and 1/4 thick–sturdy yet not too thin.  Whatever thickness you choose, be consistent and adjust your drying time accordingly. A great tool for consistent slicing is a mandoline slicer. My husband, the daredevil, is using it without the finger protector. Don’t do as he is doing and consider using a cut resistant glove. 

I’ve placed the slices on a dehydrator tray with a screen. I didn’t use any seasoning, but you could add salt, pepper or some hot sauce if so desired.  Since I plan on using these in other dishes, plain slices are best. The bottom picture is the slices in the dehydrator around three hours later.  I’ll leave them dry anywhere from 18-24 hours at 115 degrees. The dehydrator I use is an Excalibur 3926TB, 9 Tray.  It’s a workhorse this time of year, and I use it all winter long for my yogurt. 
Trust me on this: Their appearance here is more inviting than when they were blanched and frozen.  I have popped more than a few of these in my mouth, and I have to agree, these would make very tasty chips. From here I will vacuum seal and put them in the freezer. 

Freezing the Fruit of Summer

I took an extended weekend off of work for the Fourth of July.  I began the celebration by going to the biggest musical festival in the US and the world(that is our claim, anyway), Summerfest. Never been?  The requirements: Do you like music and do you have a pulse?  You must go. It’s a $17.00 entry fee for great acts everywhere you turn.  Hubby and I caught Berlin, James Hunter Six and Bonnie Raitt.  If I didn’t have him steering me at my elbow, I could have been sucked into several different stages.  Summerfest is not for the attention deficit; trust me, this ADD gal knows all too well.

The next day of vacation I dug in and started working on the sixteen pints of blueberries hubby picked up for me. I washed them thoroughly and laid them in a single layer on parchment paper in a jelly roll pan. I gently dried them with a paper towel, and I move the  pans to the freezer chest.  I freeze them for 4-6 hours and then vacuum seal the frozen blueberries.  It’s painstaking, but I would rather take the time now to assure a good fruit in the future.  My eat-by-date is normally a year but the vacuum sealed fruit has lasted two.

While I was working on the blueberries, hubby came home with several pints of freshly picked strawberries. Out of the three fruits I freeze every year, the strawberries are the most labor intensive.  I abandoned the blueberries and started working on the strawberries immediately; they go soft pretty quickly from the sugars. And once you refrigerate them, they just aren’t as good, so I like to work fast. Stem them, remove the soft spots, rinse, and lay them on the parchment paper.  Again, wipe off any excess moisture.

My last fruit was peaches.  I had two boxes of peaches equaling 50 lbs.  I waited the 3-4 days until they ripened, and I went to work boiling the peaches for 30 seconds and then plunging them into icy water.  I pull out the peach, slice it in it’s natural line, pull out the pit or cut it out and then I peel. Remember to peel last because the peach gets dangerously slippery when peeled and you want all the leverage you can get to pull out the pit. Slice the halves and place on jelly roll pans lined with parchment. Sprinkle lemon juice over the top to avoid browning. Peaches may take longer to freeze due to size and moisture.

Cut the natural indentation and gently pry open the two halves.  If you cannot pull the pit out, take the half with the pit and halve it. The pit should be easy to pull out. Place on jelly roll pans lined with parchment paper.  It’s expensive but well worth it.  It’s sturdier than wax paper and foil tends to stick to the peaches. Trust me, parchment is the only way to go.  I loosely place sheets of plastic wrap over the top of the peaches. Don’t over fill the sheets if you plan on stacking them.

  You can see here the two glasses placed in the pan. I do this with three pans and then fill the fourth. The freezing is the longest process, so I do whatever I can to freeze the most.

After 6-8 hours of freeze time, take a  pan out and quickly vacuum seal the peaches while still frozen.  Make each bag a few servings each and don’t forget to date the bag.

 What’s this?  Those pesky fruit flies will be flying around if you have fruit ripening.  Get a small glass, fill a 1/4 of it with apple cider vinegar and tightly fit plastic wrap over the top.  Make a series of small holes(I use a thumb tack)all over the wrap.  Secure it with a rubber band and you have a fruit fly trap.  

That’s my freezer stuffed with the hard work I did over the Fourth weekend.  This is not all of the fruit nor does it include the peach preserves I made.

Yes, this is a lot of fruit but I will use it in pies, topping for ice cream or yogurt and for smoothies. It will go quickly once the weather gets cold and apple season has passed. This will be our choice of fruit until the citrus comes in.