Category Archives: Snacks DIY

Italian Breakfast Bread

I know I’m late to post this for Easter so let’s just make this bread in celebration of spring and the new life that blooms all around us.

There are a lot of breads I am excited to make, but this one caught my eye on Pinterest. It wasn’t hot cross buns or the traditional Easter breads with little pockets meant for the dyed eggs. No, this had dried fruit and looked delicious in it’s simplicity.  In case you haven’t noticed, I look for traditions from other cultures, and I do a little testing, complexity, healthy(sometimes), and taste, and I decide from those criteria if it stays or goes.  This is a delicious sweet bread that is very reminiscent of a dressed-down stollen. The eggs make it a tasty egg-bread and the dried fruit gives it sweet/tart flavor. No added fats like butter or oil weigh it down, so I was thrilled with that and didn’t feel guilty when I smeared a little cream cheese on it.

Italian Breakfast Bread

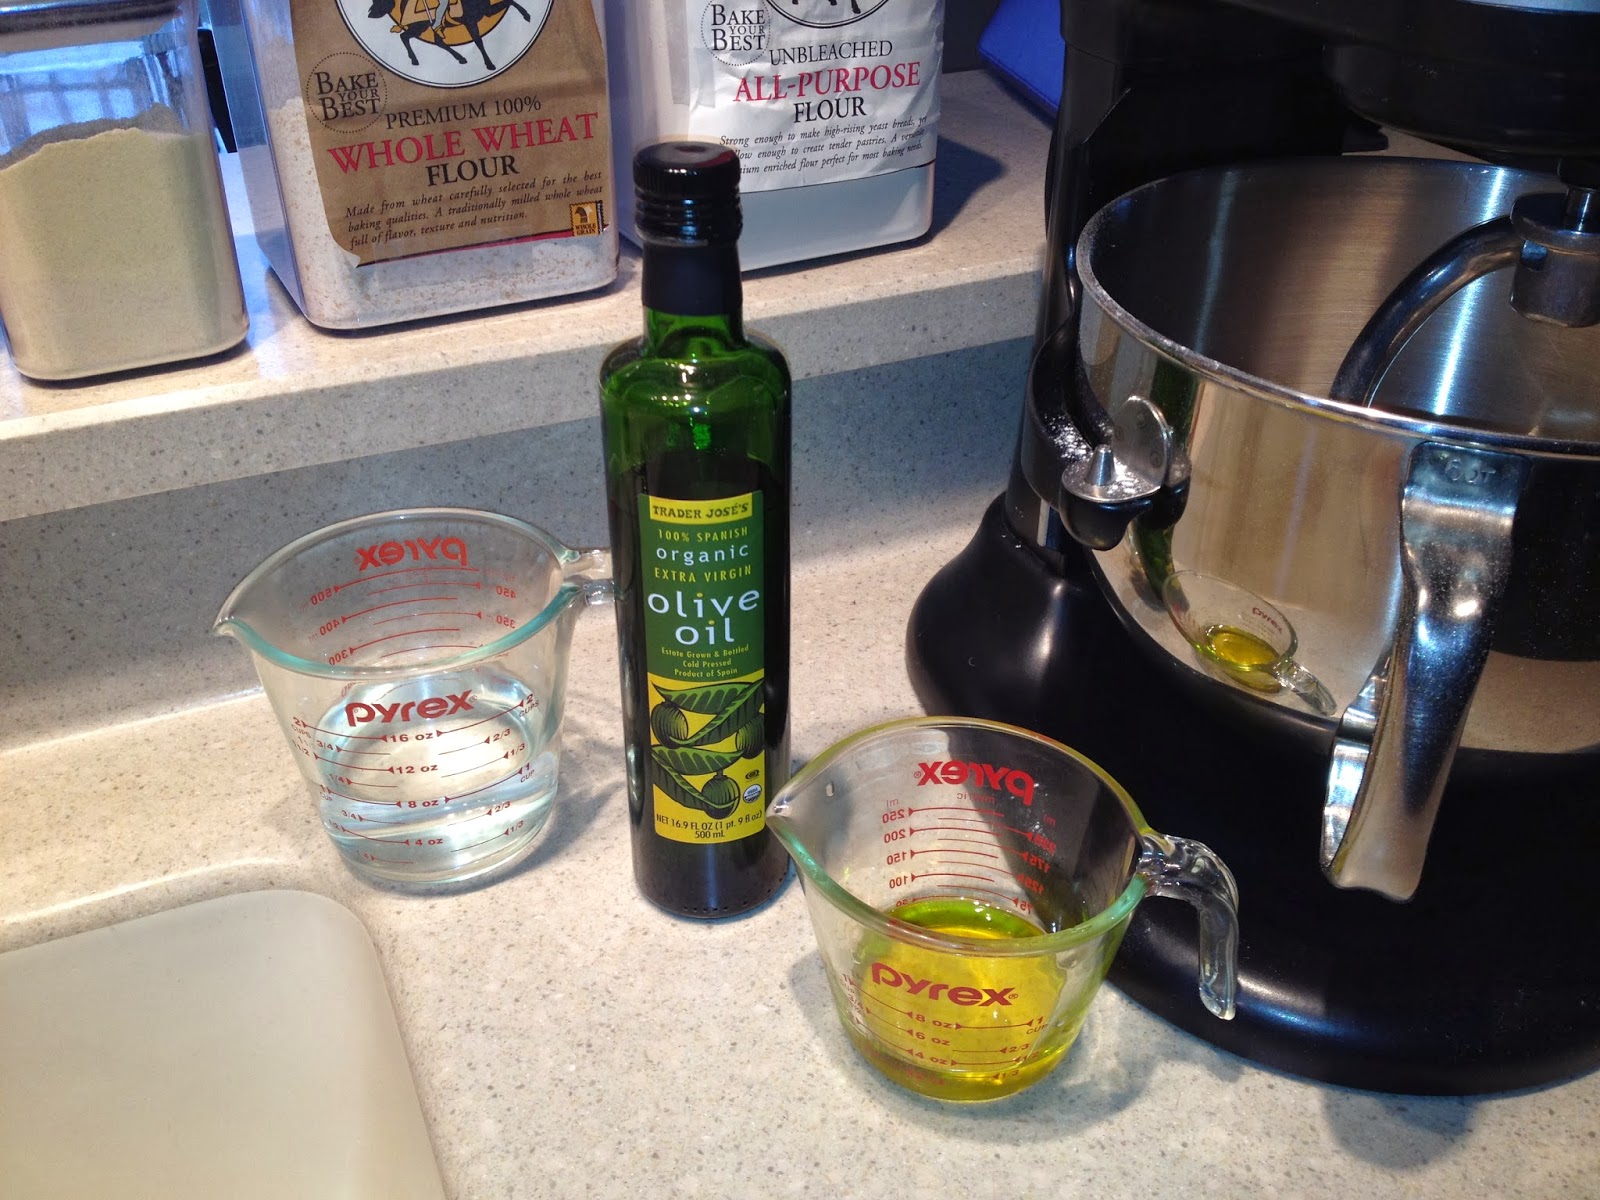
Start out with  one cup of warm water(110-112 Fahrenheit), 2 Tablespoons white sugar and 2 1/2 teaspoons of active yeast. I activated the yeast in a pyrex measuring cup.

While the yeast, sugar and water worked it’s wonders, I got a half cup of yogurt, a teaspoon of vanilla, two eggs and 1 tablespoon of lemon zest, and a teaspoon of salt ready for the mixer.

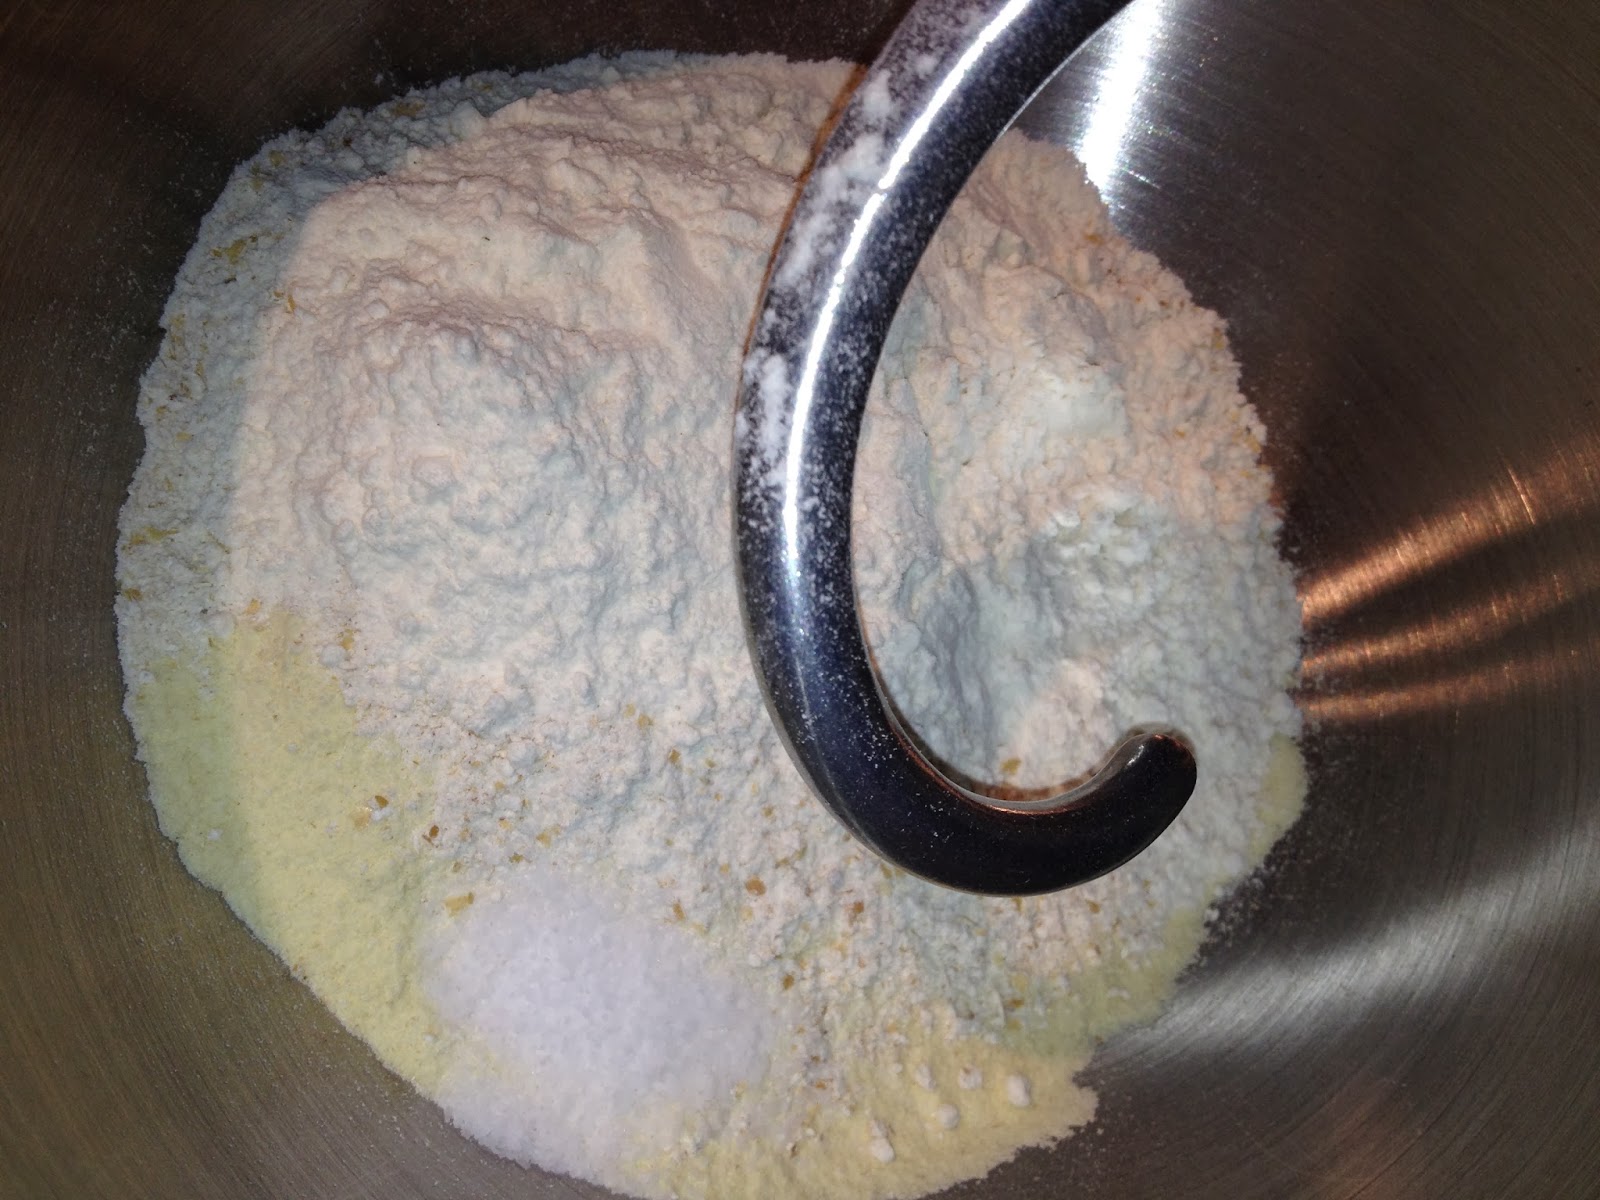
With the paddle attachment, add all ingredients above(including the yeast) and mix thoroughly. Change over to the dough hook and start adding all-purpose flour, a 1/2 cup at a time, and waiting until fully combined until adding more. Add enough flour to make a non-sticky, solid ball.  It took me around 5 1/2 cups.

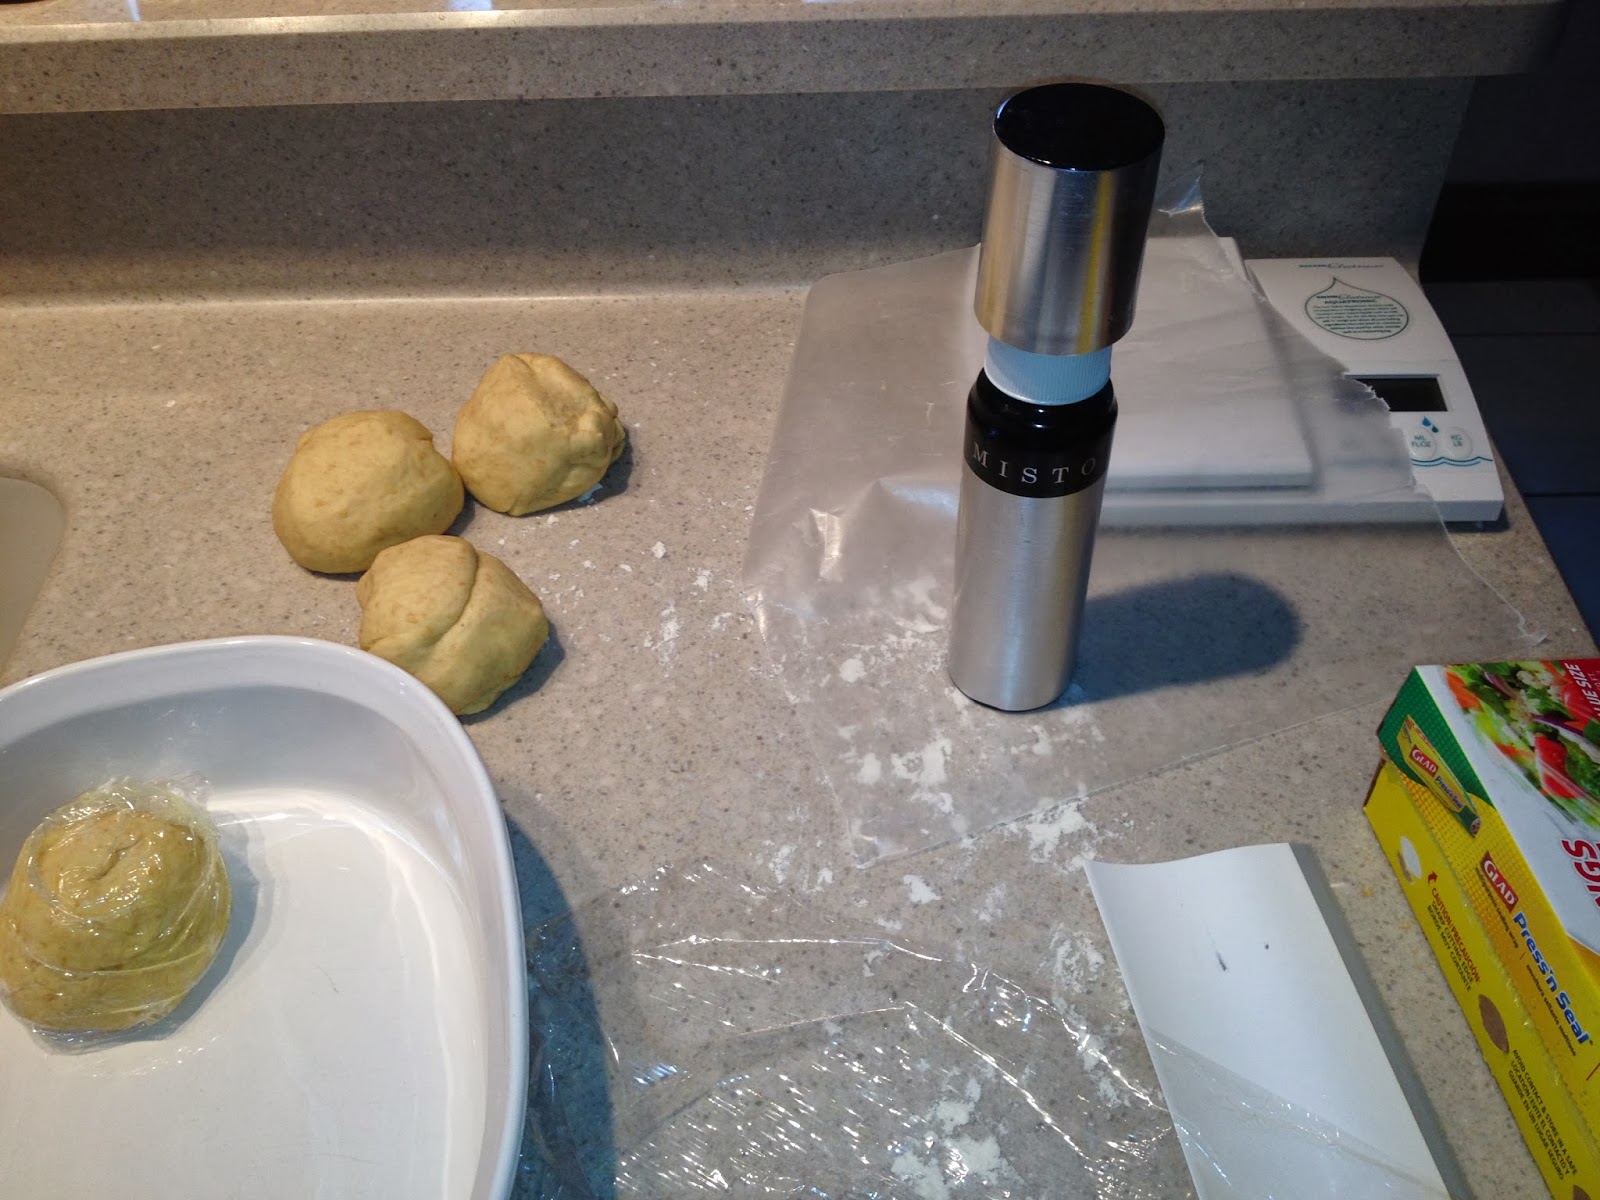
Spray a large bowl and place the dough into it, making sure to rub the ball of dough into the oil. Cover with a towel and let rise one hour or more. While the dough is rising, prepare the dried fruit.  I added diced raisins, cranberries and apricots.

Punch it down and roll it onto a floured surface.  Create a loaf with a seam and add some of the dried fruit. Once you combine the fruit into the dough, make another seam and repeat.

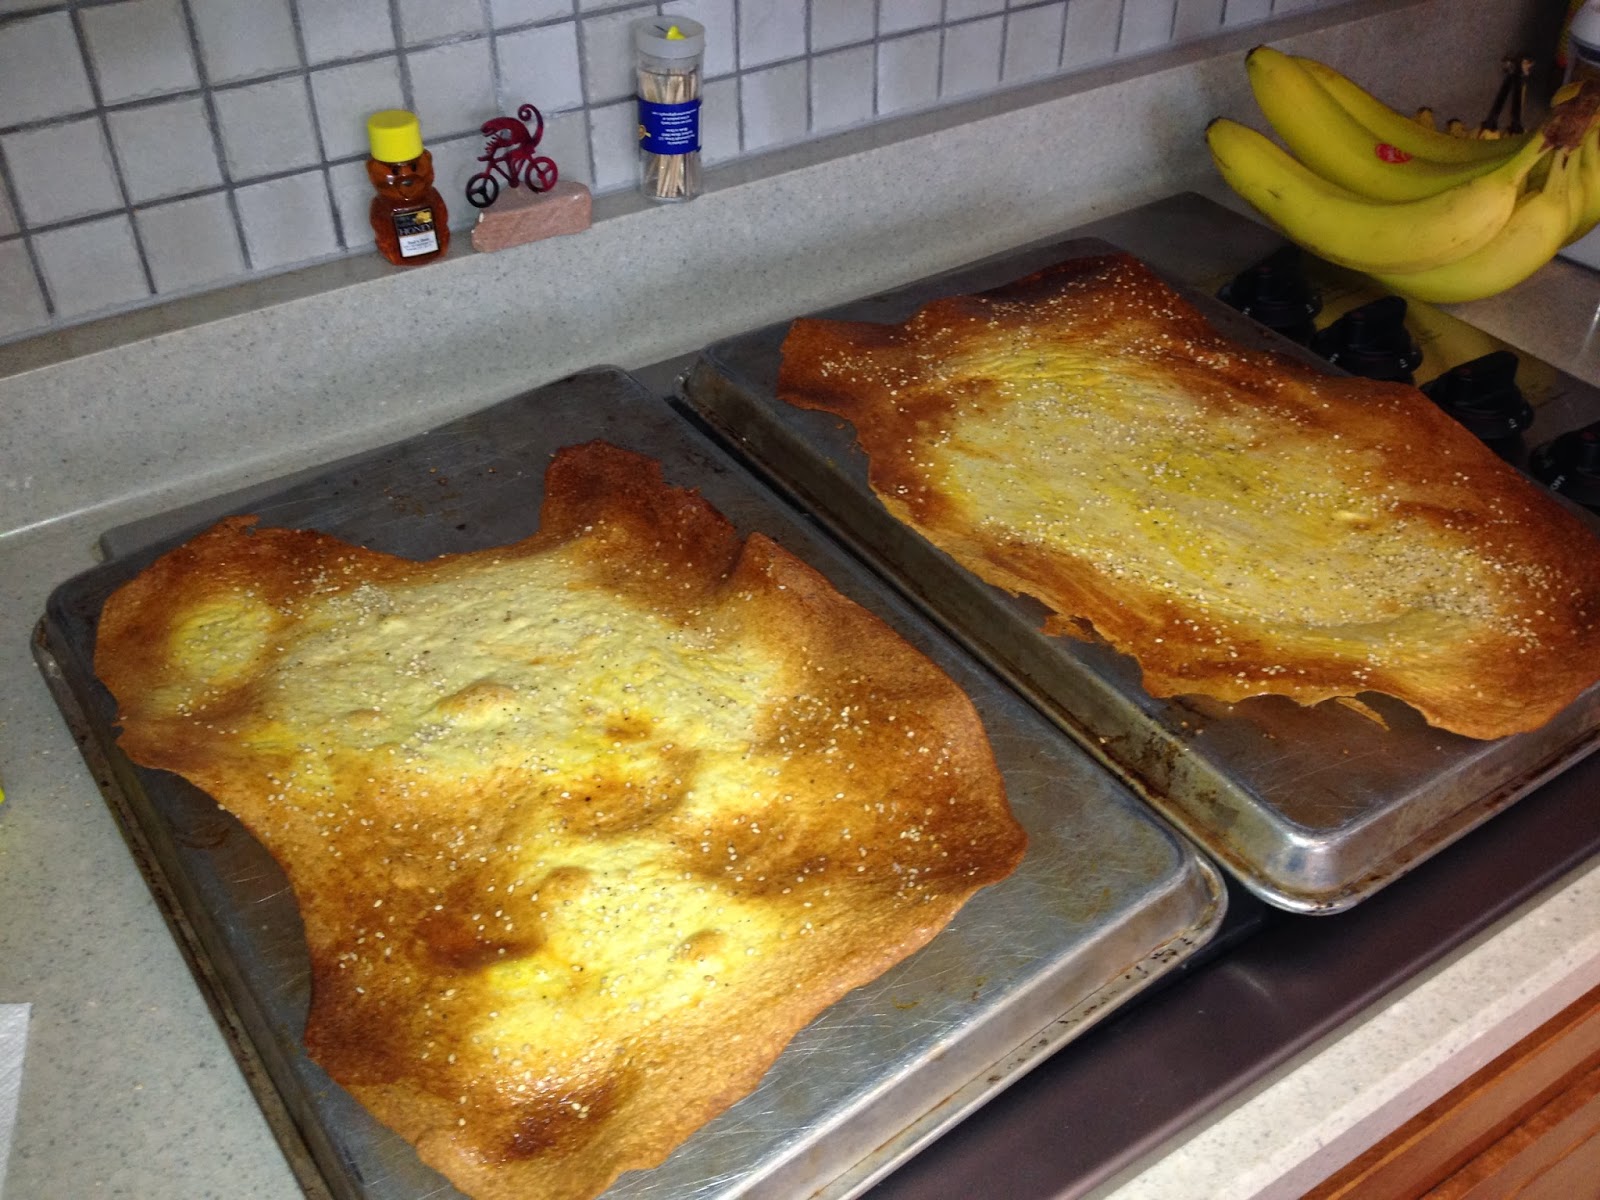
Once all of the dried fruit is hiding, place the dough into a pan for baking(a 9×9 cake pan is not large enough-trust me). Place the dough in the fridge for several hours or overnight. My dough rose within three hours. Take it out and let it warm up at room temperature for an hour.  Bake in a 350 Fahrenheit oven for 45 minutes.

This was an easy and wonderful dough to work with.  It’s time consuming(as all yeast breads are) but not labor intensive. The taste was mildly sweet but not overpowering like stollen can be.  I’ll keep this recipe in my recipe box–absolutely.  Now onto Brioche.

Italian Sweet Breakfast Bread
http://www.apricosa.com/2012/03/italian-breakfast-bread.html 
Makes one 10-inch round loaf

2 ½ tsp. active dry yeast
1 cup warm water
2 Tbs. white sugar
2 eggs
½ cup nonfat plain yogurt
1 teaspoon vanilla extract
1 tablespoon grated lemon zest
1 teaspoon salt
4-5 cups unbleached all-purpose flour
¼ cup dried cranberries
¼ cup golden raisins
¼ cup chopped candied lemon peel

In the bowl of a large stand mixer, combine yeast, water and sugar. Cover and let stand 10 minutes, or until foamy.  (If yeast does not foam, discard and begin again with new yeast.)  Add eggs, yogurt, vanilla, lemon zest, and salt. Mix well. With the paddle attachment of the stand mixer, stir in flour ½ cup at a time, scraping sides of bowl down, until dough starts to form (after adding ~3 cups).  Switch to the dough hook and continue adding flour (about 1 more cup) until dough forms a manageable mass.  Continue kneading for 5 to 10 minutes, adding flour as necessary, until dough is soft and pliable, but not sticky (up to 5 cups).
Form dough into a large ball and coat all sides with vegetable oil.  (I like to lift the dough out of the bowl, pour a tablespoon of oil in, then turn the dough around in the oil until the dough, as well as the sides of the bowl, are greased.)  Let dough rise in a warm place until doubled, about 1 hour.
Punch dough down in bowl, transfer to a floured surface, and knead in the dried fruits.  The goal is to get the fruits uniformly throughout the dough without any of them actually bursting out into the exterior of the bread (as they will burn if exposed in the oven).
Form dough into a ball and place in a greased 9-10 inch round pan.  Cover loosely with plastic wrap and cool rise in the refrigerator overnight.
The next morning, remove pan from refrigerator and let come to room temperature (about 1 hour before baking).  Bake in a preheated oven at 350 F  for 45 minutes, or until loaf is golden brown and a toothpick inserted in the center comes out clean.  (If bread browns too quickly on top, cover with a piece of foil.)

Leon and me at the Milwaukee Domes

It is with a heavy heart I announce the passing of my brother, Leon. He passed on April 2nd from pancreatic cancer at the young age of 55. To the man who loved to eat, this blog entry and loaf of bread are dedicated to you.

Choco-Nut Oat Bars

Many, many years ago, when I had first moved out with my then boyfriend and now husband, I had the grand scheme of baking Christmas cookies.  I recruited a gal I worked with at the time to help me.  She was none too happy when she witnessed my scantily-clad-closet for a kitchen. I had no mixing bowls, measuring spoons, or even a gas oven with a working pilot light . I don’t recall what we baked, or if we were able to successfully bake even a batch of anything, but what did get ignited was my love for a certain cookie book.

The cause of my cookie escapade started with buying a recipe book from the grocery store. I was the ripe-old age of 20, and my first cookbook was about cookies.  This all makes sense given who I am now–a self-proclaimed cookie connoisseur. Those little disks of deliciousness call to me; especially if it has peanut butter and chocolate or any combination of chocolate and nuts. The mood will just hit, and I will pull out the necessary baking ingredients and whip up a batch or two. What’s not to love about cookies? They are easy to taste-test compared to a cake or pie and also extremely portable. I’ve made a pact with myself: I can only indulge in cookies if I have made them; no store-bought cookies.  The exception of course is girl scout cookies–I’m only human. The cookbook is simply called, Cookies  by Natalie Hartanov Haughton . I’ve used it to death since buying it in 1984, so I transferred the cookbook to a binder with plastic protectors.  It’s my go-to book when I’m looking to make a cookie or a bar.  But the one recipe I have made(and the stained, wrinkled page proves it)time and time again is a cookie creation called, Choco-Nut Oat Bars.  I have made those bars for countless bake sales, birthdays, and thank you gifts.  They whip up fast, and somehow I always have the ingredients on hand. I cannot stress how easily these come together; and the added bonus, they are delicious and flavorful.

I start out by roasting the nuts for 5-10 minutes on medium heat, stirring frequently. No burning the nuts-yuck.  After they have cooled, chop them.

Chop the unsweetened chocolate. Tip: If you chop nuts or chocolate on wax paper on your cutting board, you can just pick up the wax paper to transport the chopped item to the bowl.

Add the sweetened condensed milk to unsweetened chocolate and microwave on high for 30 seconds. Stir briskly.  Place back in microwave and repeat process.  It should just take a minute and a half or so to melt the chocolate completely.

Add the chopped nuts to chocolate mixture and stir to mix.  Set aside.

Throw 2 cups of flour, a half teaspoon of baking soda and a quarter teaspoon of salt into the flour. Set aside.

Blend 1 cup butter with a cup and a quarter of packed brown sugar. Add two teaspoons of vanilla extract and beat.

Add the flower mixture and combine. Add two and a half cups of old-fashioned oats and blend completely.

Take one half of dough mixture and add to a greased 13×9 pan(don’t go up the sides of the pan–you want a sandwich look). Add chocolate mixture(microwave for another 15-25 seconds if too stiff)and carefully spread evenly.  Pat remaining dough to chocolate layer. Bake for 25-30 minutes at 375F.

Isn’t that pretty? Let cool completely in pan and then cut into bars.

Choco-Nut Oat Bars

Ingredients:
1(14-oz) can sweetened condensed milk
2 oz unsweetened chocolate-chopped
1-1/2 chopped nuts(I roast the nuts before chopping)
1 cup butter, room temperature
1-1/4 cup packed brown sugar
2 teaspoons of vanilla extract
2 cups all-purpose flour
1/4 teaspoon salt
1/2 teaspoon baking soda
2-1/2 cups old-fashioned rolled oats

Directions:
Preheat oven to 375F. Grease a 13 x 9 baking pan.  *In top of a double boiler, combine sweetened condensed milk and chocolate. Heat over hot but not boiling water until melted and smooth, stirring constantly. Remove from heat. Stir in nuts; and set aside. In a medium bowl, beat together butter, brown sugar and vanilla until light and fluffy. Add flour, salt, and baking soda, blending thoroughly. Stir in oats, mixing until crumbly. Press half of oat mixture evenly in bottom of greased baking pan. Spread evenly with chocolate-nut mixture. Sprinkle with remaining oat mixture, pressing into chocolate. Bake 25-30 minutes or until golden brown. Cool in pan. Cut cooled cookies into bars. Makes 54.

*You can also cook the chocolate and sweetened condensed milk in the microwave.  Microwave on high for 30 seconds in a microwave safe bowl and stir. Microwave for another 30 seconds and stir again.  You may need another 15 seconds or so, depending how fine you chopped the chocolate. Be careful–chocolate burns easily.

Smitten with Cookbooks of Old

Beth, a co-worker of mine, is a woman who sees the beauty in the most simplistic items of everyday life. She and her sister frequent estate sales and find those hidden treasures buried in hoarder-like mountains of…stuff. I made some dessert bars for someone’s birthday and as a thank you for another co-worker.  Beth enthusiastically gushed about how good the bars were and how I “do” it.  She started telling me about all of the old cookbooks she has collected, but she only reads them; paralyzed from doing the actual cooking or baking. Beth promised me she would bring in some of her finds.  Good to her word, she brought me a large bag, busting at the seams, of old cookbooks dating back to 1907. I couldn’t wait to dig in and peruse these old treasures. I gently opened each cookbook, and turned the pages so carefully as to not add a tear or a rip. Inside are poems, personal notes, names of individuals I never knew and recipes so short and succinct, I could quickly read through each and every recipe. Some pages are speckled and stained with butter, oil or chocolate, or little notes, “not good-too heavy.”  All of this makes them all the more special(note to self: When I smear my recipe with sticky fingers, it will add personality to the recipe/cookbook).  After perusing the old cookbooks looking for a good recipe I could try, I notice why recipes are such short entries: No baking directions. Gulp, this leaves a large-margin for error. Here is an example from The Daniel Webster Flour Cookbook:

Mock Cherry Pie

One cup of cranberries cut open , half a cup of raisins cut fine, one cup of sugar, small cup of water(?), one tablespoon of Daniel Webster flour, one teaspoon of vanilla. Bits of butter may be added. Bake with two crusts.

Err, where’s the rest of the recipe?  I looked at the page before and after to see if there was a master recipe somewhere. Nope. If you didn’t have a mother who included you in her baking chores, your first couple of pies were epic fails.

I chuckle at some of the titles and notes with my 21st century-bias:  The Settlement Cookbook, Mrs. Simon Kander, second printing 1946, lists on the cover, “The way to a man’s heart.”  Oh, is that why I cook? Another book was titled, Food Preparation Meal Serving and Housewifery, Authorized by Board of School Directors; Milwaukee Public Schools. Housewifery isn’t recognized by spell check–thank goodness.

I especially love the literary references and poems in some of the cookbooks. This poem is from the Book of Recipes, Ladies’ Aid Society of The First English Ev. Lutheran Church of Detroit, MI, 1920. The author, Meredith.

We may live without poetry, music and art;
We may live without conscience , and live without heart;
We may live without friends, and live without books;
But civilized man cannot live without cooks.

He may live without books–what is knowledge but grieving?
He may live without hope–what is hope but deceiving?
He may live without love–what is passion but pining?
But where is the man that can live without dining?

Thank you, Meredith.

This recipe is taken out of The Daniel Webster Flour Cookbook, copyright 1907…sort of. It’s actually a recipe written in  the cookbook by it’s owner, Virginia Louise Schaefer.

Pour boiling water over prunes(10 ozs of prunes)and let sit till plump(2-8 hours). When you drain the prunes, do not forget to collect some of the liquid for the frosting. 

Drain the prunes and chop.

Mix the butter, sugar and prunes

Add the dry ingredients.

This is after the milk addition–crazy moist, and I didn’t think it would ever bake through. I thought by spreading it out in a 8×8 pan would quicken the baking time as well as increasing the temperature to 350 F. Not so much–it still took an hour. 
Looks good. I waited until just a bit of batter showed on my toothpick before I took it out of the oven.


Prune Cake
This prune cake (is)somewhat like a fruitcake in texture; it has a finely blended flavor, and is moist enough to keep well.

Cake Ingredients
1/2 cup shortening(I used a stick of unsalted butter instead)
1 cup sugar
1 cup chopped, cooked prunes(Pour boiling water over prunes and let sit for 2 hours or more)
2 cups sifted, cake flour(I did not sift)
1 tsp baking soda
1/4 tsp salt
1 tsp cinnamon
1/2 tsp cloves
1/2 tsp nutmeg
2 1/4 cups milk
1 tsp vanilla

Frosting Ingredients
3 tbls butter(Two tbls)
1/4 cup prune juice(I used the liquid from the plumping prunes)
1 tsp vanilla
1/2 tsp lemon extract(a squirt of a lemon)
2 tbls chopped prunes
1/2 cup chopped nuts
4 cups sifted confection sugar(I used two cups)

Cake Instructions
Cream shortening and sugar thoroughly; stir in prunes. Mix and sift dry ingredients and add to previous mixture. Slowly add milk and vanilla. Beat for two minutes.  Pour into shallow loaf pan(I used a 8×8 pan instead), greased and lined with wax paper.  Bake at 325 for 1 1/4 hours(I baked for 60 minutes at 350).

Frosting Instructions
Blend first four ingredients and add the prunes and nuts; slowly add the confection sugar until the frosting is smooth. Spread on cake when cooled.

Ok, this is my first recipe from the old cookbooks, but it will not be my last.  Beth has loaned these old cookbooks to me for as long as I need, and I plan on reviving a recipe or two off the old pages.

Tapenade: A taste of the Mediterranean in the Midwest

I don’t know when or where I discovered this delicious spread or what motivated me to make it, but I can’t seem to keep it around the house lately. I go through food stages, but I think this one is healthy enough to keep in the regular food-prep rotation. It has lots of good fats(mono-unsaturated)due to the olives, anchovies and olive oil, and it adds many layers of flavor to whatever I add it to. I use it in place of anything I spread mayonnaise on, or I top my eggs or pasta with it.

While olives, capers and anchovies(if using) are salty, and I don’t like salt, Cook’s Illustrated(no, I do not work for them, but I would like to) to the rescue again. A recipe, in the November and December issue, had a method for reducing the saltiness with the surprising addition of pine nuts.  The recipe calls for un-roasted pine nuts but guess what I had in the freezer?  And let me warn you about the price of organic pine nuts; gulp, expect to pay $20.00/lb. Thankfully we only need a 1/3 of a Cup. Traditionally the tapenade has high-quality olives, capers and anchovies.  I adjusted the Cook’s recipe and left out the anchovies in order to make it vegetarian but feel free to add them back in–it’s good with them in. I also either leave the olive oil out completely or just add in a tablespoon.  Experiment and tweak to taste

I recently made olive tapenade for a food day at work.  I topped some of my Lavash Crackers(check earlier blog)with the tapenade and some with my homemade mozzarella(future blog entry), and I was surprised by how many people were not familiar with this flavorful, French spread.  Well, I am here to introduce this Mediterranean taste-bud treat to you. This is a very bold flavor and you better like olives, but promise me, you’ll try it.  We all need a taste of  Southern France at various times in our lives, and I need it now to get through this bone-chillin’ Midwest deep-freeze. And who knows, maybe this will become your new comfort food too.

Take a 1/3 Cup pine nuts, un-roasted and grind to a paste.

Add the rest of  the ingredients to the food processor: kalamata olives, salt-cured black olives, capers, 2 anchovy fillets(not pictured), Dijon mustard and garlic.

Pulse 15 times until finely chopped.

After resting in the fridge for 18 hours, I can barely wait the full 18 hours, but here it is spread on bagel chips. It tastes better than it looks–really.

Black Olive Tapenade

Makes about 1 1/2 cups

The tapenade must be refrigerated for at least 18 hours before serving. It’s important to use untoasted pine nuts in this recipe so that they provide creaminess but little flavor of their own. We prefer the rich flavor of kalamata olives, but any high-quality brine-cured black olive, such as niçoise, Sicilian, or Greek, can be substituted. Do not substitute brine-cured olives for the salt-cured olives. Serve the tapenade as a spread with sliced crusty bread or as a dip with raw vegetables.

Ingredients

Instructions:

In food processor fitted with metal blade, process pine nuts until reduced to paste that clings to walls and avoids blade, about 20 seconds. Scrape down bowl to redistribute paste and process until paste again clings to walls and avoids blade, about 5 seconds. Repeat scraping and processing once more (pine nuts should form mostly smooth, tahini-like paste).

2. Scrape down bowl to redistribute paste and add olives, capers, anchovies, mustard, and garlic. Pulse until finely chopped, about 15 pulses, scraping down bowl halfway through pulsing. Transfer mixture to medium bowl and stir in oil until well combined.

3. Transfer to container, cover, and refrigerate for at least 18 hours or up to 2 weeks. Bring to room temperature and stir thoroughly before serving.

*Recipe copied from the Cook’s Illustrated website: https://www.cooksillustrated.com/recipes/7413-black-olive-tapenade

Let’s get crackin’

I remember reading about these crackers from one of the books my husband blames my DIY bug(obsession) on. We were taking an extended weekend for our annual fill of Shakespeare and staying in a small, rustic cabin in the southwestern part of WI. Did I mention it was small?  The “loft” ceiling was very low and we must have averaged 6-8 knocks on the head in just the first hour we were there.  I think I muttered something about being concussed before the weekend even started. To combat a sore noggin, I dug into my newly purchased ebook, America’s Test Kitchen-DIY

Make crackers?  The thought never occurred to me until I opened the Test Kitchen’s wonderful book.  The recipe was for Lavash crackers, and when I cracked a piece off coming out of the oven, I was hooked. When I make a foundation item like mustard, bread, or cheese, I weigh the labor against the final product. Was the hassle worth the end-result?  My husband, who turns every situation into a mathematical word- problem, measures it by price.  I don’t think price tells the whole picture, so I tend not to use that as a measurement. Making crackers is a bit more labor intensive for something I can buy for a couple of bucks in the store, but after making them, I am not sure I can buy something this good.

Add semolina, whole wheat, all purpose flour and salt to a stand mixer.

Add warm water and evoo and knead for 7 to 9 minutes

Knead dough by hand and divide into four balls. I weighed the ball after kneading and made sure I divided the dough into four equal pieces.
Spray evoo on the dough and wrap in plastic wrap. Let rest for one hour.
Invert a jelly roll pan, put something underneath to keep it from sliding, and roll out the dough.  Using a fork, indent every two inches.
Brush the egg, and spread the sesame seeds, sea salt and pepper. Gently press into the dough. 
Ummm, delicious crackers I couldn’t keep my fingers from out of. 
This recipe is taken from, America’s Test Kitchen-DIY:
Lavash Crackers(Makes about 1 pound)
11/2 cups semolina flour
3/4 cups whole wheat flour
3/4 cups all-purpose flour
3/4 teaspoon salt
1 cup warm water
1/3 cup extra-virgin olive oil, plus extra for brushing
1 large egg
2 tablespoons sesame seeds
2 tablespoons flake sea salt
1 teaspoon coarsely ground pepper
1. Using stand mixer fitted with dough hook, mix flours and salt on low speed. Gradually add water and oil and knead until smooth and elastic, 7-9 minutes. Turn dough out onto lightly floured counter and knead by hand to form smooth, round ball. Divide dough into 4-equal pieces, brush with oil, and cover with plastic wrap. Let rest at room temperature for 1 hour.
2. Adjust oven rack to upper-middle and lower-middle positions and heat oven to 425 degrees. Lightly coat two 18 by 13-inch inverted(or rimless) baking sheets with vegetable oil spray.
3. Press 1 piece of dough(keep remaining dough covered with plastic), into small rectangle, then transfer to one of prepared sheets. Using rolling pin and hands, roll and stretch dough evenly to edges of sheet. Using fork, poke holes in dough at 2-inch intervals. Repeat with second piece of dough on second prepared sheet.
4. Brush rolled-out dough with beaten egg, sprinkle with sesame seeds, sea salt and pepper, then gently press seasonings into dough. Bake crackers until deeply golden brown, 15 to 18 minutes, switching and rotating sheets halfway through baking. Transfer crackers to wire rack and let cool completely. Repeat rolling, seasoning, and baking with remaining 2 pieces of dough, making sure baking sheets are completely cool before rolling out dough.
5. Break cooled lavash crackers into large pieces. Lavash can be stored at room temperature in airtight container for up to 2 weeks. 
Make these for your next party and you won’t need dip. 

Cold and dry equals Homemade Granola

As the temperature drops into single digits here in the Midwest, some folks crave a big bowl of chili while others dream of a plate of cheese dripping, mac and cheese. Well, not me.  As the thermometer drops and the moisture sucking air moves in, I gleefully announce, “I’m making granola.”

So, I happily made granola last night until I realized, I had not bought any dates. Too darn lazy(and cold)to go to my local co-op, I continued-on with figs, apricots, raisins, and cherries.  Still, it’s just not the same granola without medjool dates.

I’ve been making this granola off and on since the late 90’s.  I pulled it out of the Milwaukee Journal Sentinel, and I said, “I can do this.”  It isn’t a cheap endeavor but neither is buying granola of this quality.  Besides, it tastes great over my often soupy, and tart, raw-milk yogurt.

These are the dry ingredients: A mix of chopped, raw pecans and cashews, coconut flakes, raw sunflower seeds, a mix of chopped figs and apricots, old fashioned oats, cherries and raisins, and golden flax seeds.

After preparing the dry, I move on to heating up on low: Vanilla, maple syrup-Grade B, coconut oil, honey(buy local if you can), and cinnamon. Whisk until fully combined.

After the wet ingredients are warmed, stir into dry ingredients except the dried fruit. Add the dried fruit last.

Prepare two jelly-roll pans and line with foil(or not–I like easy clean-up). I do not add non-stick spray even though the recipe recommends it.

Heat in a 350 degree oven for five minutes, pull out, stir and return back to oven, switching the rack placement. To keep it straight, the pan I pull from the top rack always goes on the right and the bottom goes on the left.  I then know the right goes on the bottom rack while the left goes on the top. You do this three times. I do not stir the granola after the final five minutes–I just leave it.  I leave it be for at least a couple of hours or even overnight. Dry air keeps the granola crunchy and downright delicious.

Cranberry Raisin Granola
3 C old-fashioned rolled oats
1/3 C sliced almonds 
1/3 C sunflower seeds
2 Tbls flax seed
1/4 C maple syrup
1/4 C mild flavored honey
2 tsp. canola oil
1 tsp. ground cinnamon
1 tsp. vanilla extract
1/2 C dried cranberries
1/2 C raisins
1/2 C chopped pitted dates

Preheat oven to 350 degrees

In bowl, combine oats, almonds, sunflower seeds, and flax seeds.

In small saucepan, heat maple syrup, honey, oil, cinnamon and vanilla until mixture is warm, 2 to 3 minutes. Stir, then pour warm liquid over oat mixture. Stir with rubber spatula until oats are moist and coated evenly. Mix in dried fruits.

Cover jellyroll pan with foil. Coat lightly with vegetable oil spray. Spread granola to cover pan in even layer.

Bake 5 minutes. Remove from oven. Stir and turn granola, to let it dry and color evenly. Repeat, stirring every 5 minutes, until oats are lightly browned, about 15 minutes.  They will still feel slightly soft and moist. Cool granola in pan; it will get crisp. Stored in airtight container, granola keeps 1-2 weeks.

As you can see, I changed up the ingredients a little bit.  I’m all about the pizazz, and I have it with pecans, cashews, cherries and coconut.

Granola, yogurt and dark chocolate chips=YUM!

I always double the recipe and refrigerate–it stays fresh and crisp longer. I used all organic ingredients except the honey. This is a healthier granola recipe but pay attention to the serving size of a half a cup.

Stay warm and be sure to make your kitchen smell delicious soon with this recipe.