In the 70’s, my very progressive and health conscious mother, made her own yogurt. She would serve it as dessert in little dishes with fresh fruit. I did not like it. And I was not happy my mother was serving this cooked milk thing and masquerading it as a dessert. The yogurt we purchased in the stores in the 70’s and beyond was the furthest thing from healthy; from the artificial colors and fruit flavoring and the gelatinous mess the market tried to pass off as yogurt did not endear me to the food anymore than my mother’s creation. I didn’t eat yogurt for years until the last decade or so.
I’m not sure how I graduated from buying organic yogurt from my co-op to making my own, but thanks to Amazon’s order history, I started making it six years ago. So, since May of 2009, I have made countless batches of delicious, organic yogurt. While it’s tart compared to what Americans are used to, you can counteract that by adding granola, fresh strawberries and sprinkles of dark chocolate. Now it’s tasty enough to make even me a yogurt fan.
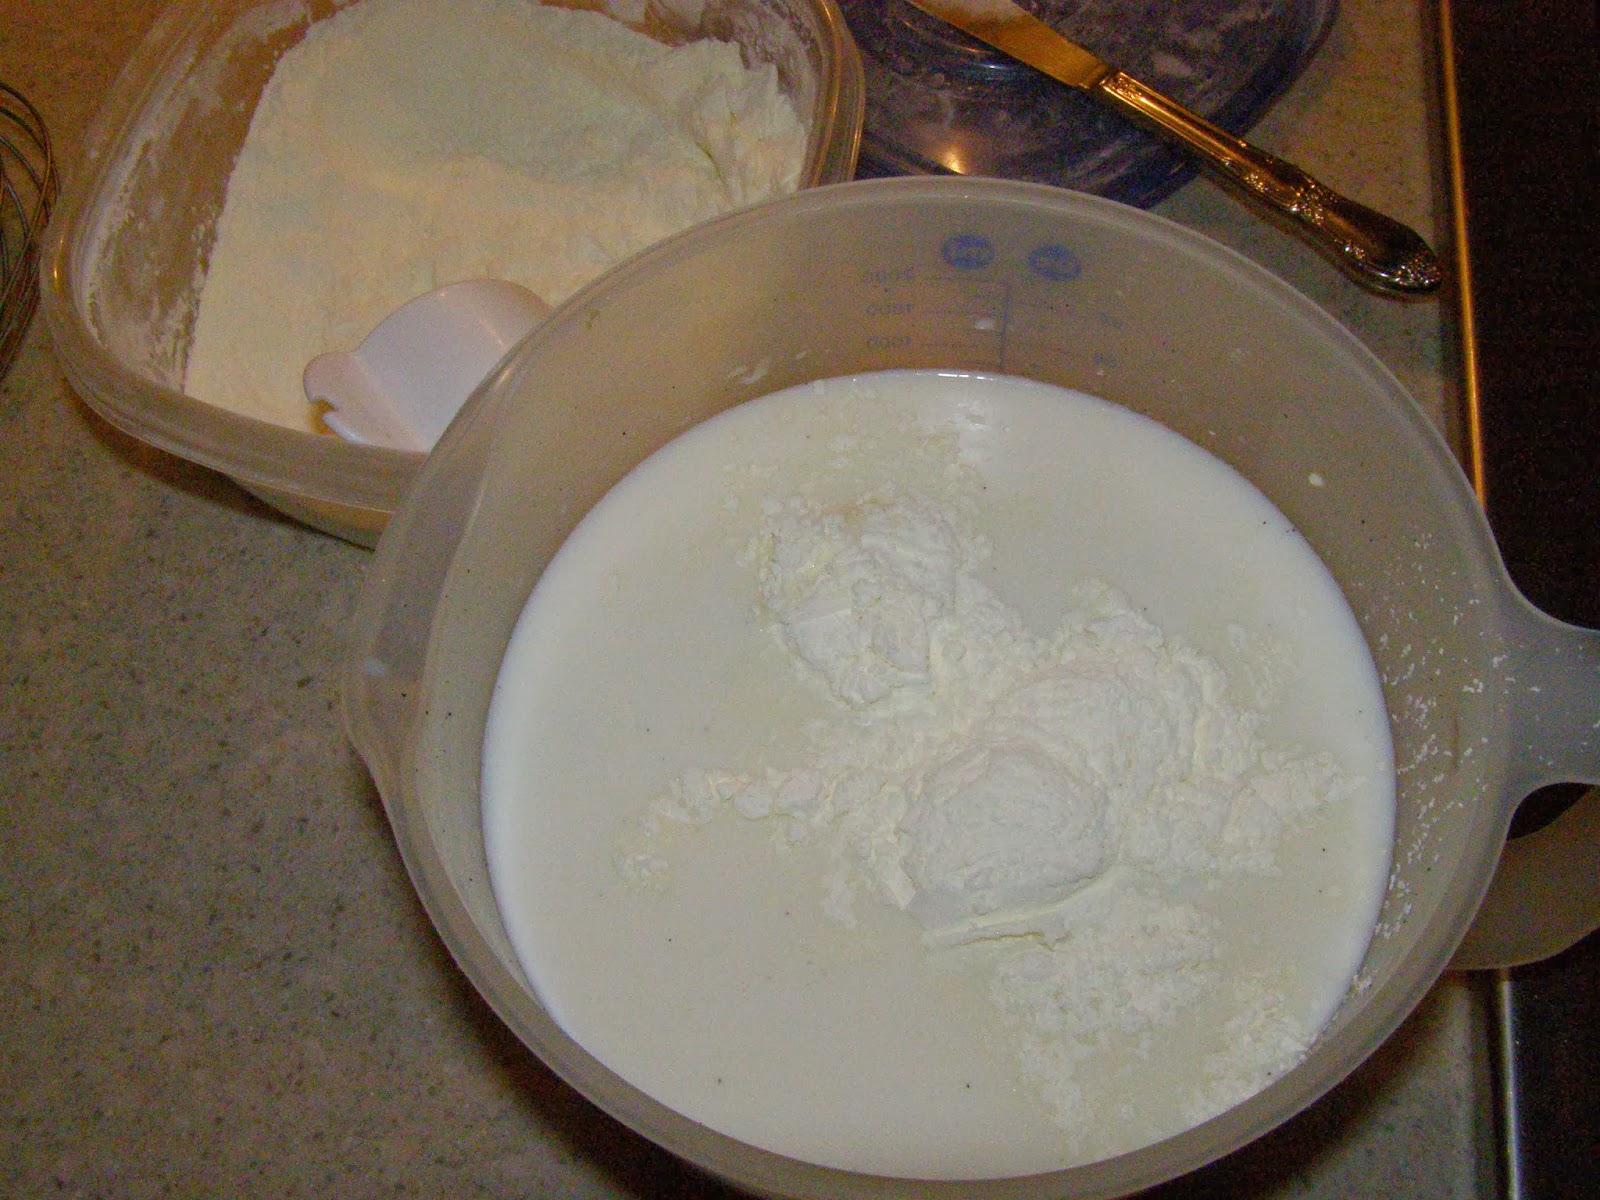
Here are a few items you will need to make your own yogurt: milk, yogurt culture, a glass jar and a source for low heat(95° to 115°). This is the minimal you will need. To make my recipe, you will also need organic, powdered milk, vanilla bean(optional), and a thermometer.
Let’s talk about the most important ingredient, milk. I was under the belief raw milk would make the best yogurt. While it does make great tasting yogurt, it’s awfully runny. I was really baffled when I cultured my first gallon of raw milk, and it turned out to look more like kefir than yogurt. I did an exhaustive research on the internet and learned raw milk behaves like this; it doesn’t want to solidify without a thickening agent like gelatin. Hello, I’m a vegetarian, any other ideas? I experimented with this and that, and I learned quickly my methods for making yogurt from pasteurized milk worked on the raw milk as well. Raw milk just yields a thinner consistency. That’s alright, I can get past this: Greek yogurt anybody? I could not understand why the yogurt was so thin for this full-fat milk. I learned from the wonderful internet, pasteurization damages the proteins in the milk so the culturing is more effective and produces a thicker yogurt. Before I started getting raw milk, I was using an organic 2% ultra-pasteurized milk. It worked great for texture, and if you aren’t interested in raw milk, it made a pretty tasty yogurt too albeit tart.
The second necessary item is the culture. You don’t necessarily have to buy a package of starter for your first batch. You can always use a half a cup from your favorite yogurt. I have never done this for fear of the unknown. A failed batch of yogurt can be a costly affair when you are talking about organic milk and organic powdered milk, so I try to make it as fail-safe as possible. I like Yogourmet Freeze-Dried Yogurt Starter. I use a new culture packet for every quart of yogurt. Cultures for Health has several different cultures and one packet will make up to two quarts of yogurt.
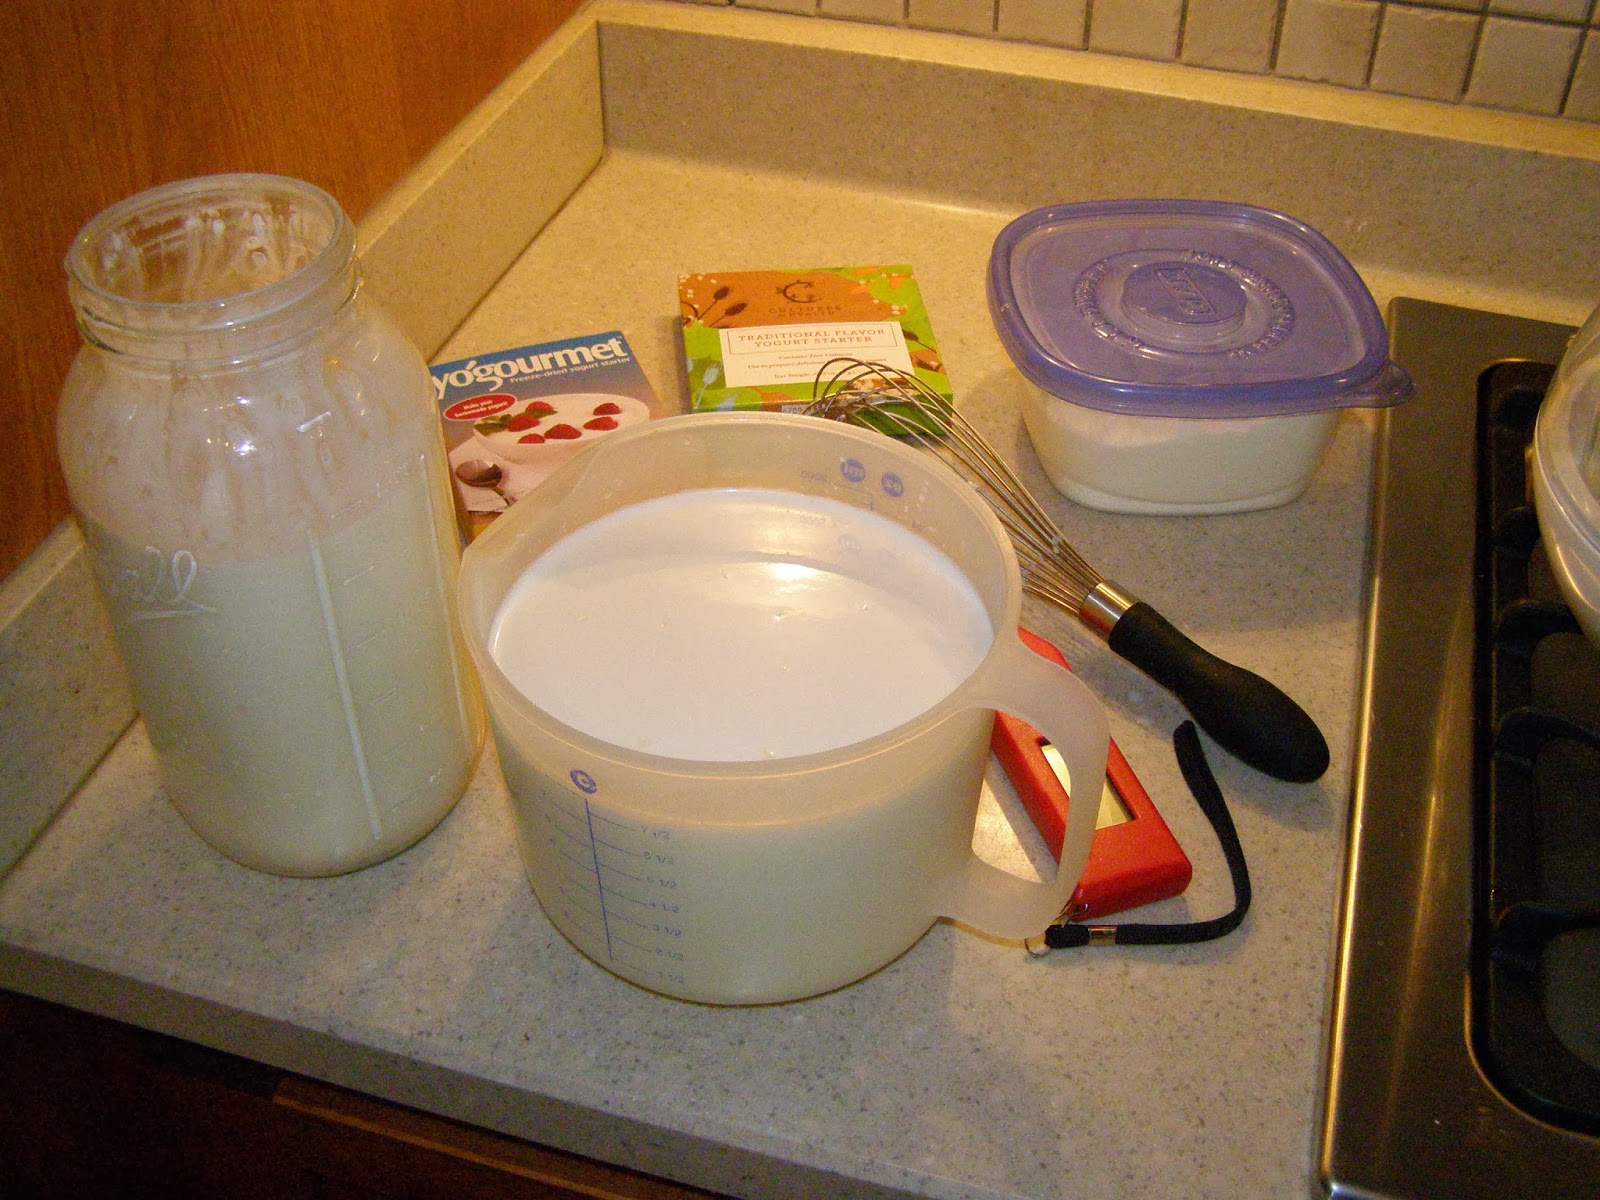
This photo shows what you need to make your yogurt. Two quarts of milk, yogurt culture, powdered milk, whisk, and a thermometer.
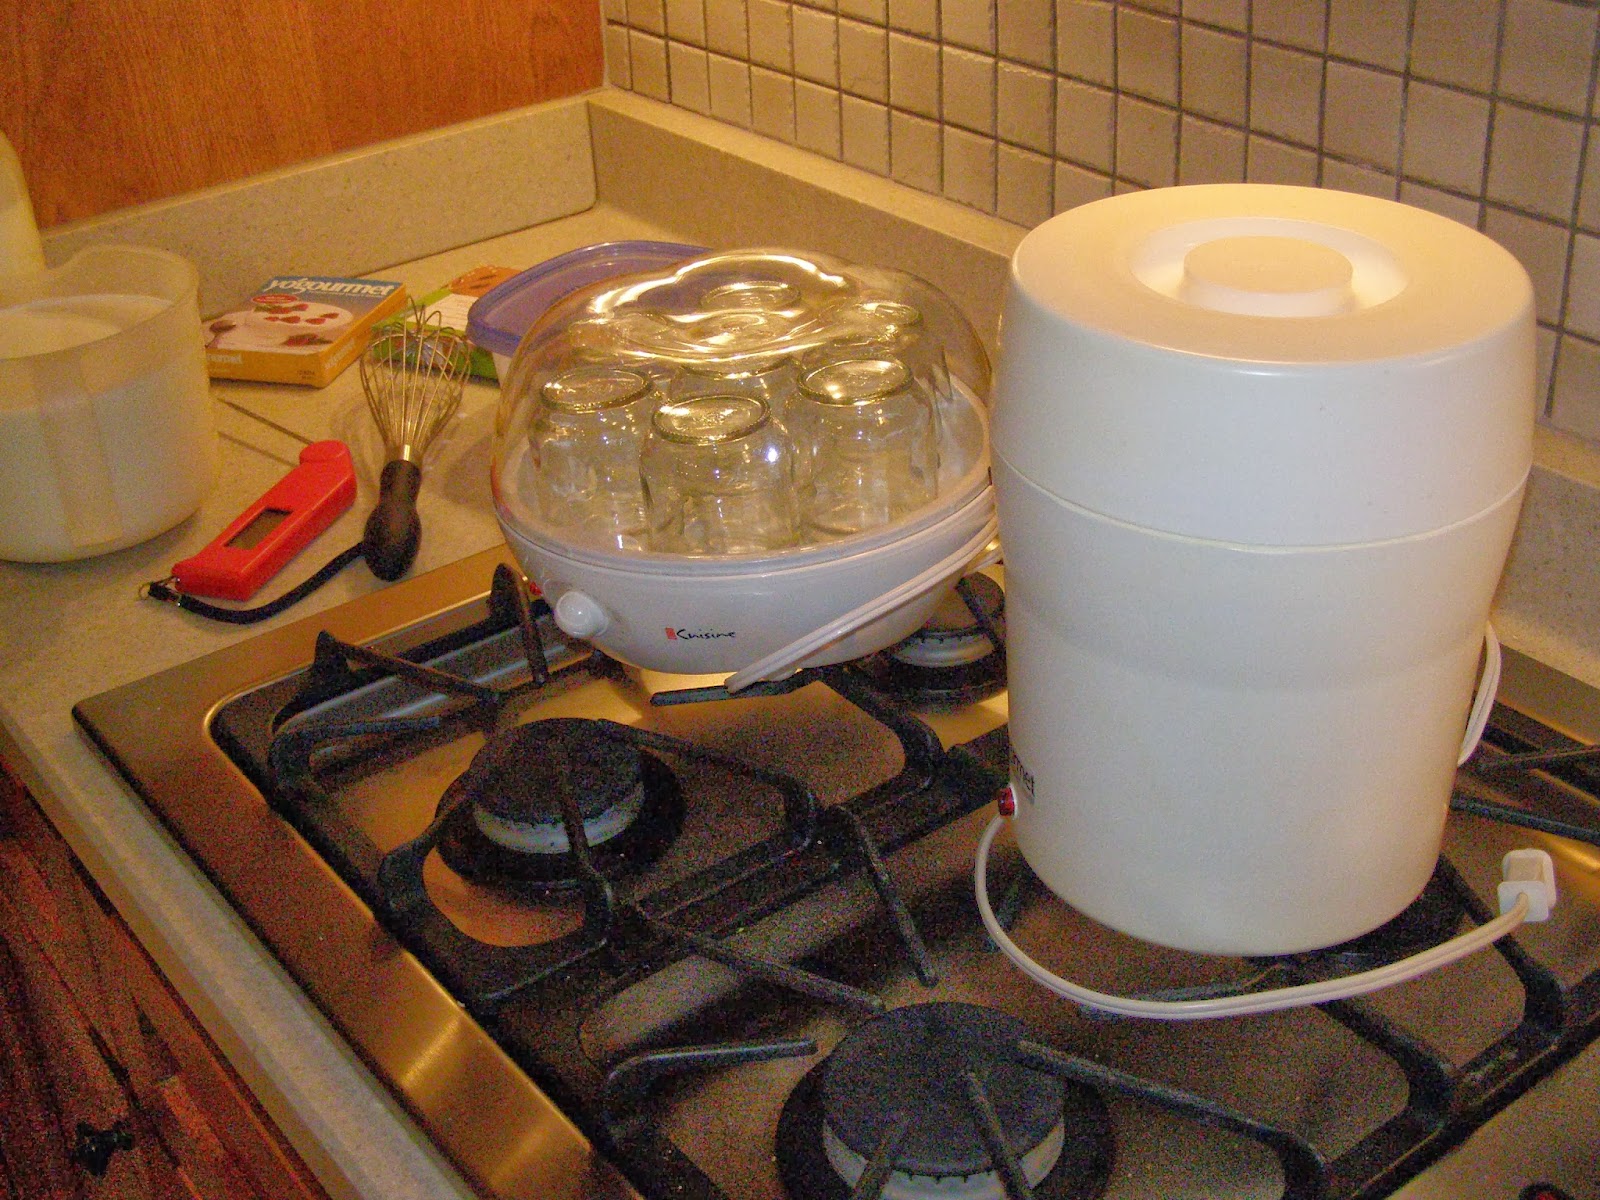
My two yogurt makers: the first has seven-6 oz jars for yogurt and the other makes large batches in a water bath. Between the two–I loved my Euro-Cuisine YM100 Automatic Yogurt Maker. I rarely had a bad batch in the Euro-Cuisine, and I loved the pre-measured jars. I would just throw them in the dishwasher for clean-up. I can tell you this, the small the amount of yogurt the more likely for success. Feel free to start out making a quart with the first couple of batches.
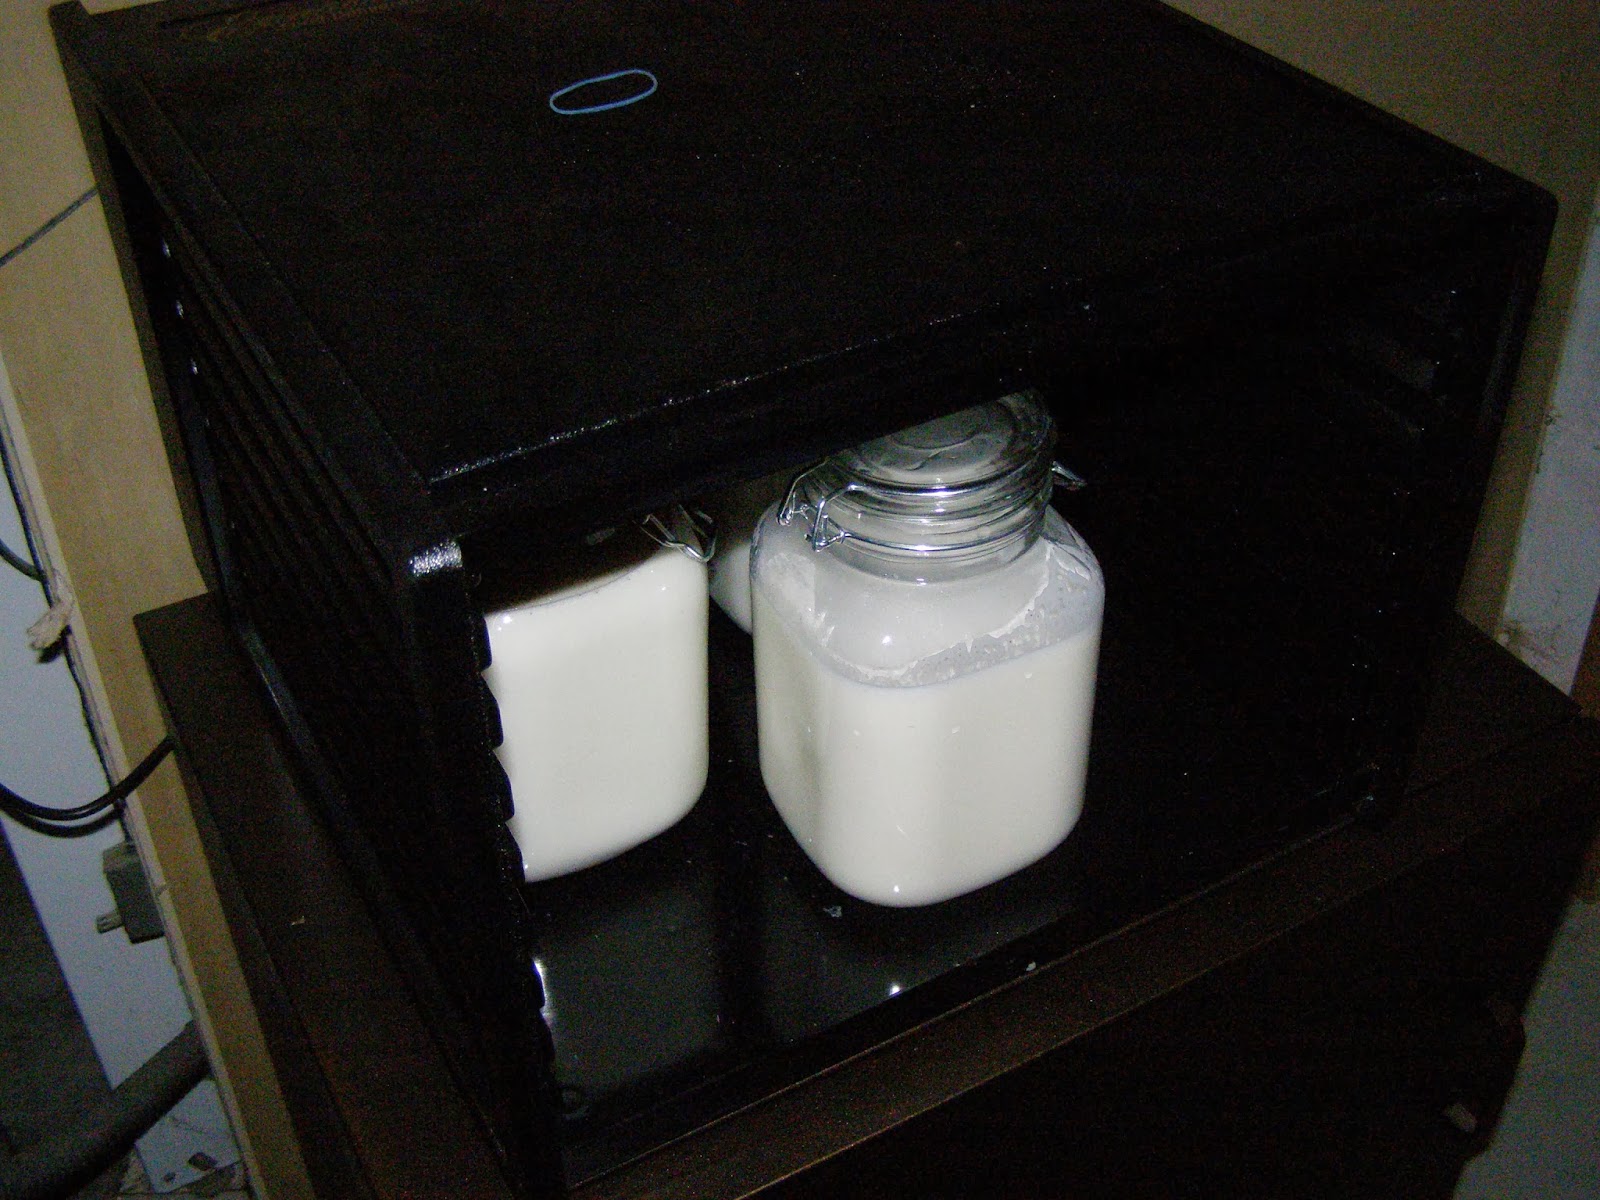
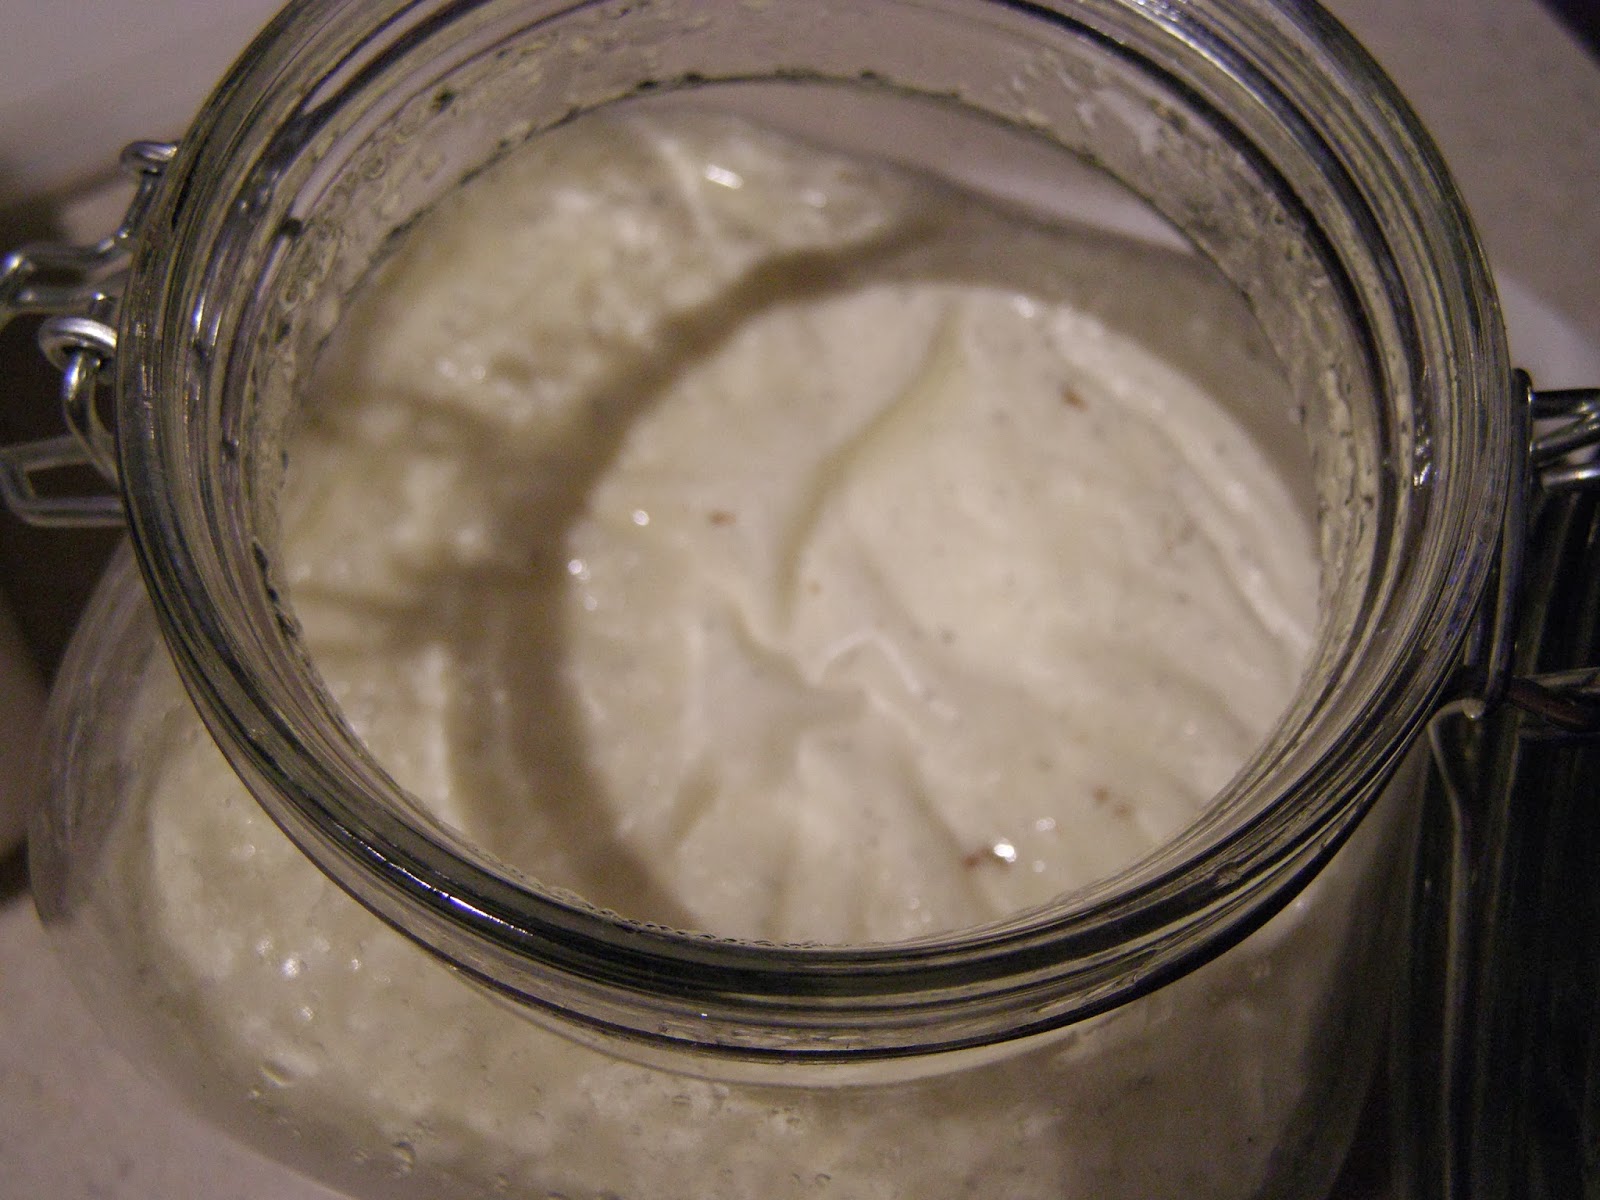
Here is the yogurt after culturing undisturbed for 24 hours and then refrigerated for 12 hours. The yogurt must be chilled after it is through culturing. It is not a complete process until it is thoroughly cooled. You can consume the yogurt here, or if you want a more solid consistency, continue to the steps below.
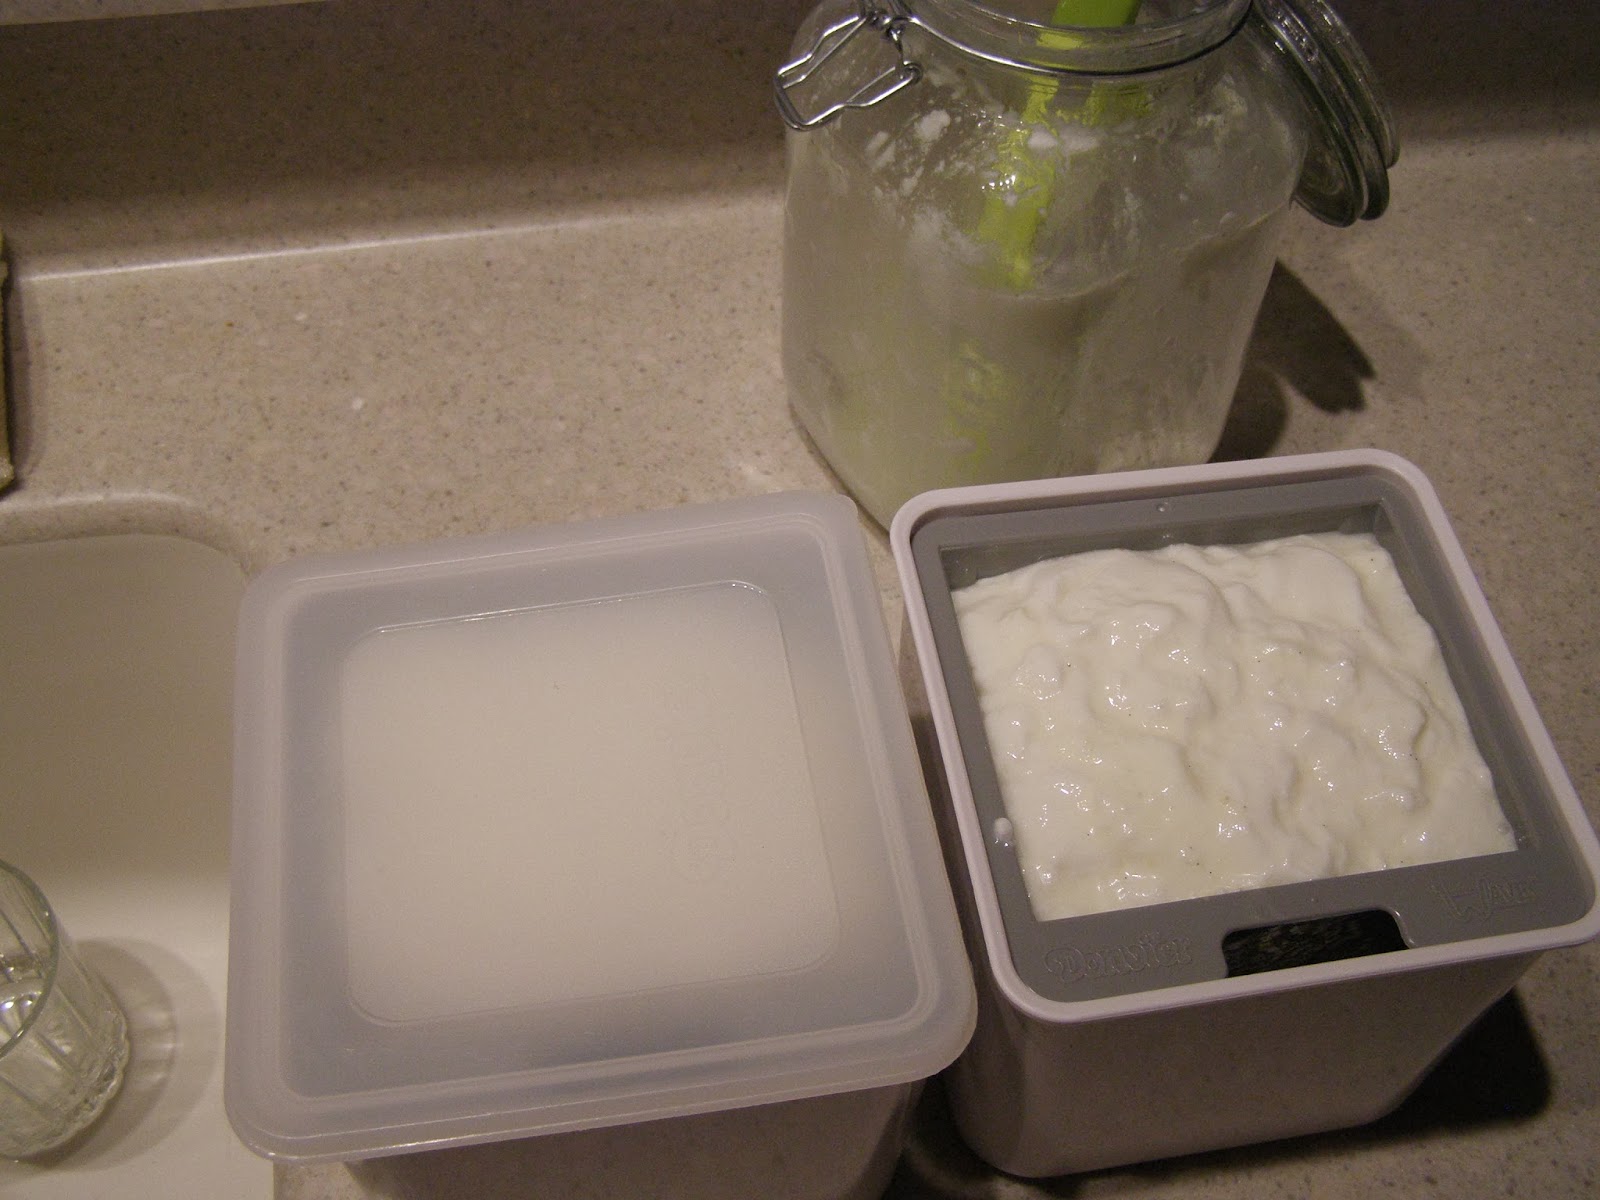
Remember when I told you the raw milk produced runny yogurt? I combat that with making Greek yogurt. I take the chilled yogurt and scoop it into this container, Cuisipro Donvier Yogurt Cheese Maker, or any container for straining. You can also use cheesecloth or a very fine sieve. After you find a container to strain it, place it in the fridge for 4-6 more hours. It really depends on how you like it. I like my yogurt to contain some whey, so I don’t leave it strain too long.
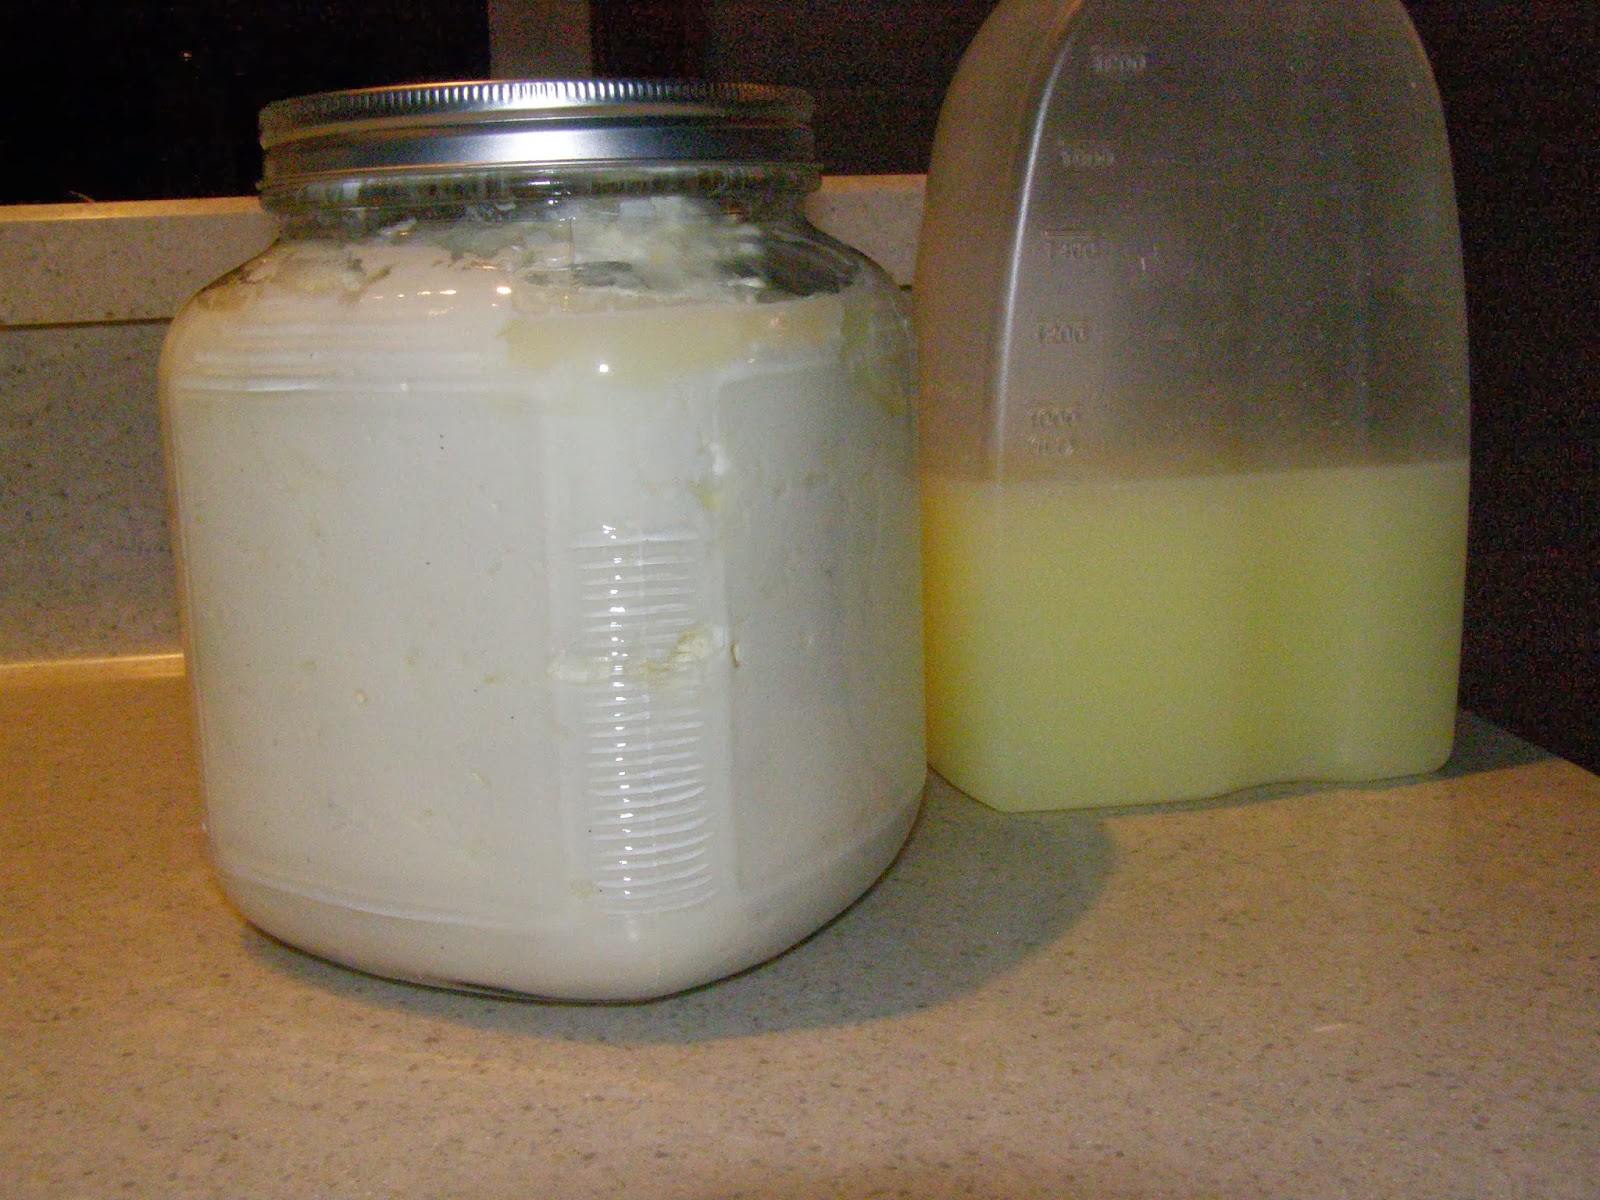
Pictured here is most of the yogurt I made(minus 12 ounces I’ve already eaten). The first time I strained the yogurt like this, I was aghast at the waste. You take out the whey and the volume of yogurt is drastically reduced. Oh, so this is why Greek yogurt costs so much more. To the right of the yogurt is some of the whey but not even close to all of the whey I collected. I use it in bread recipes and water my plants and sprouts. It’s a great source of protein, so I try not to waste it. To give you an idea of how much yogurt I yielded after culturing 160 ozs. of milk, I had about a total of 72 ozs. of yogurt post straining. Trust me, none of this yogurt will go to waste.

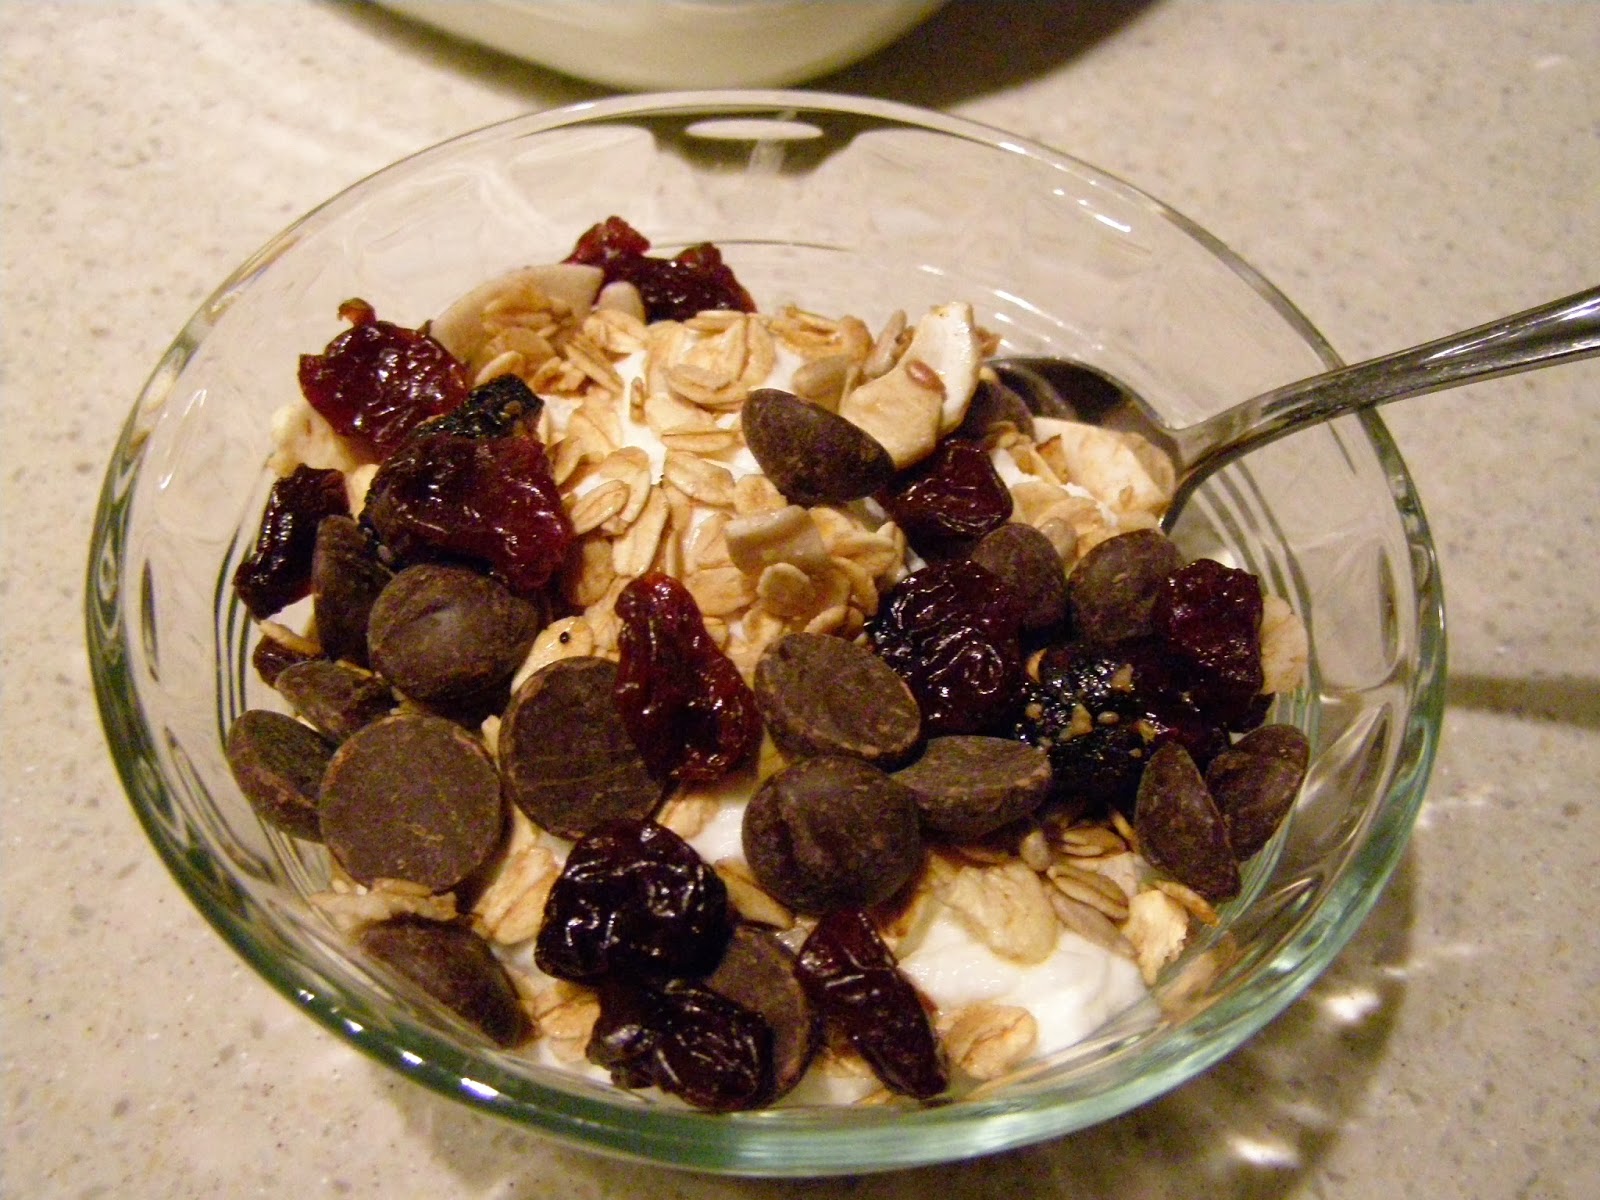
Here is the finished product with granola and dark chocolate chips.
Maybe if my mother had dressed up her yogurt like this, I would have loved yogurt a long time ago.